More info coming soon…
Pictures
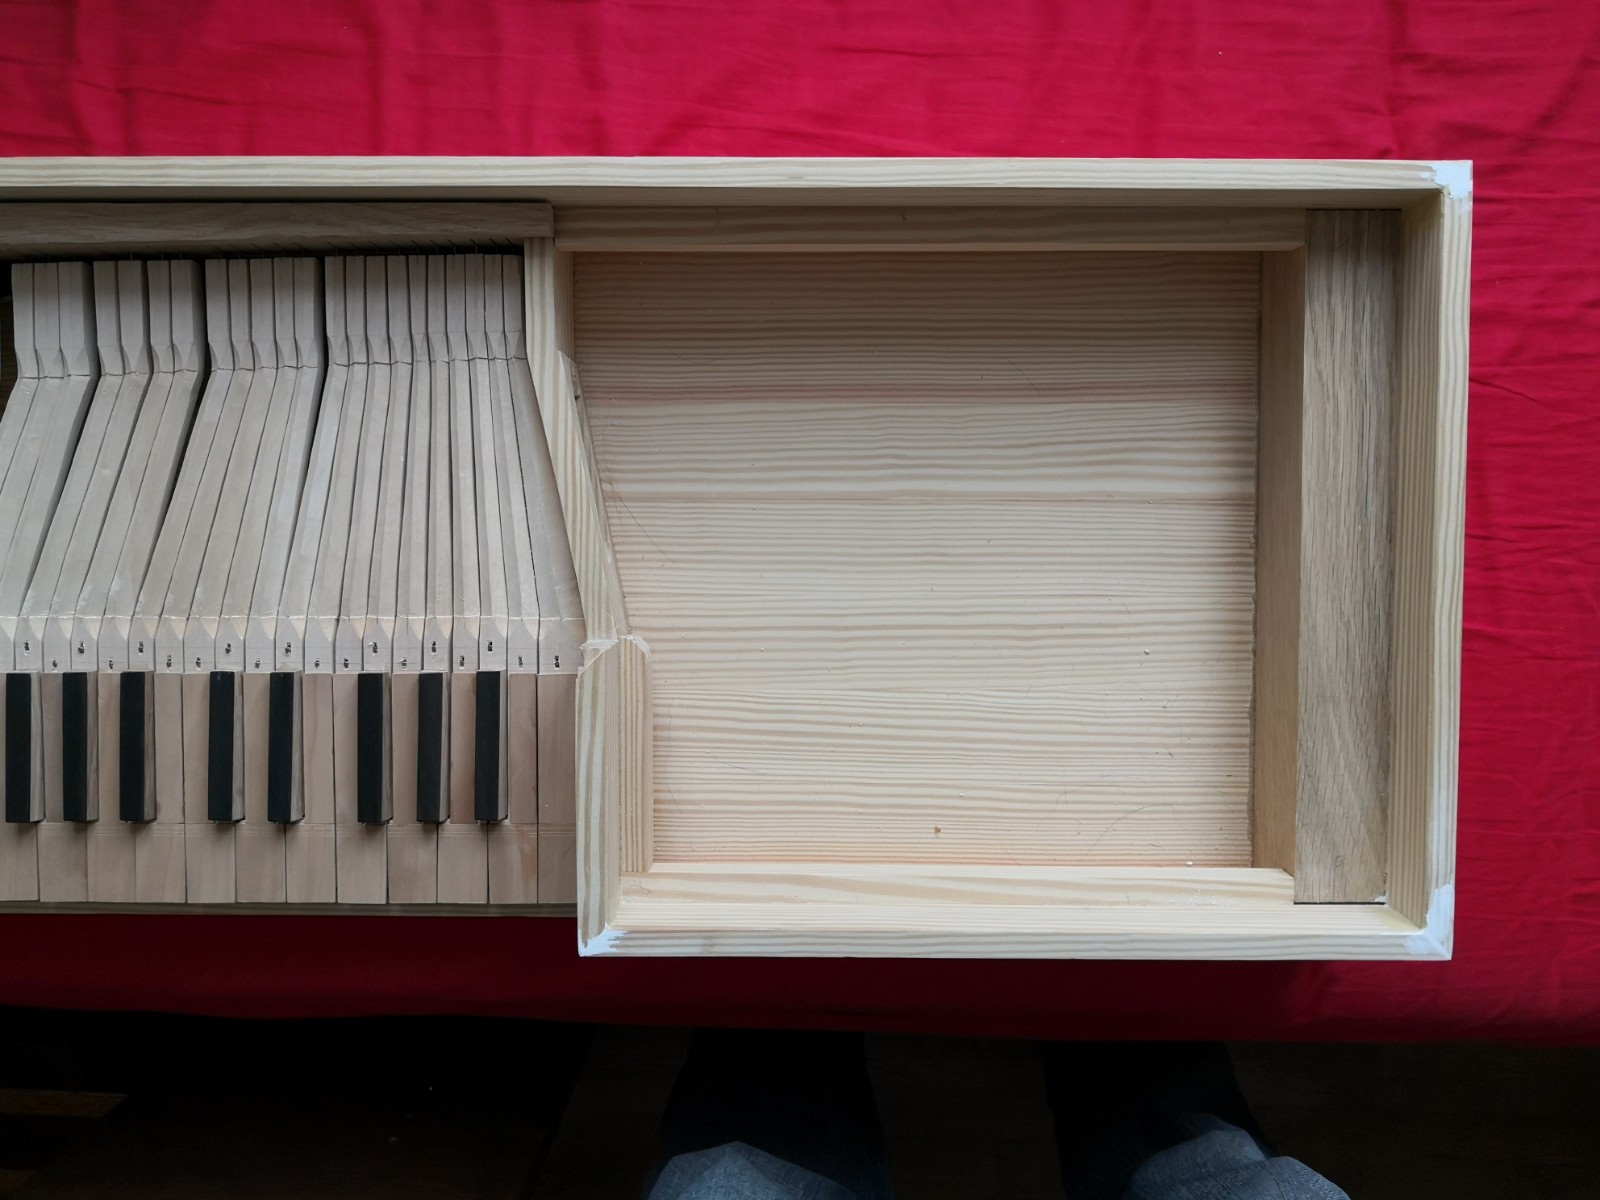
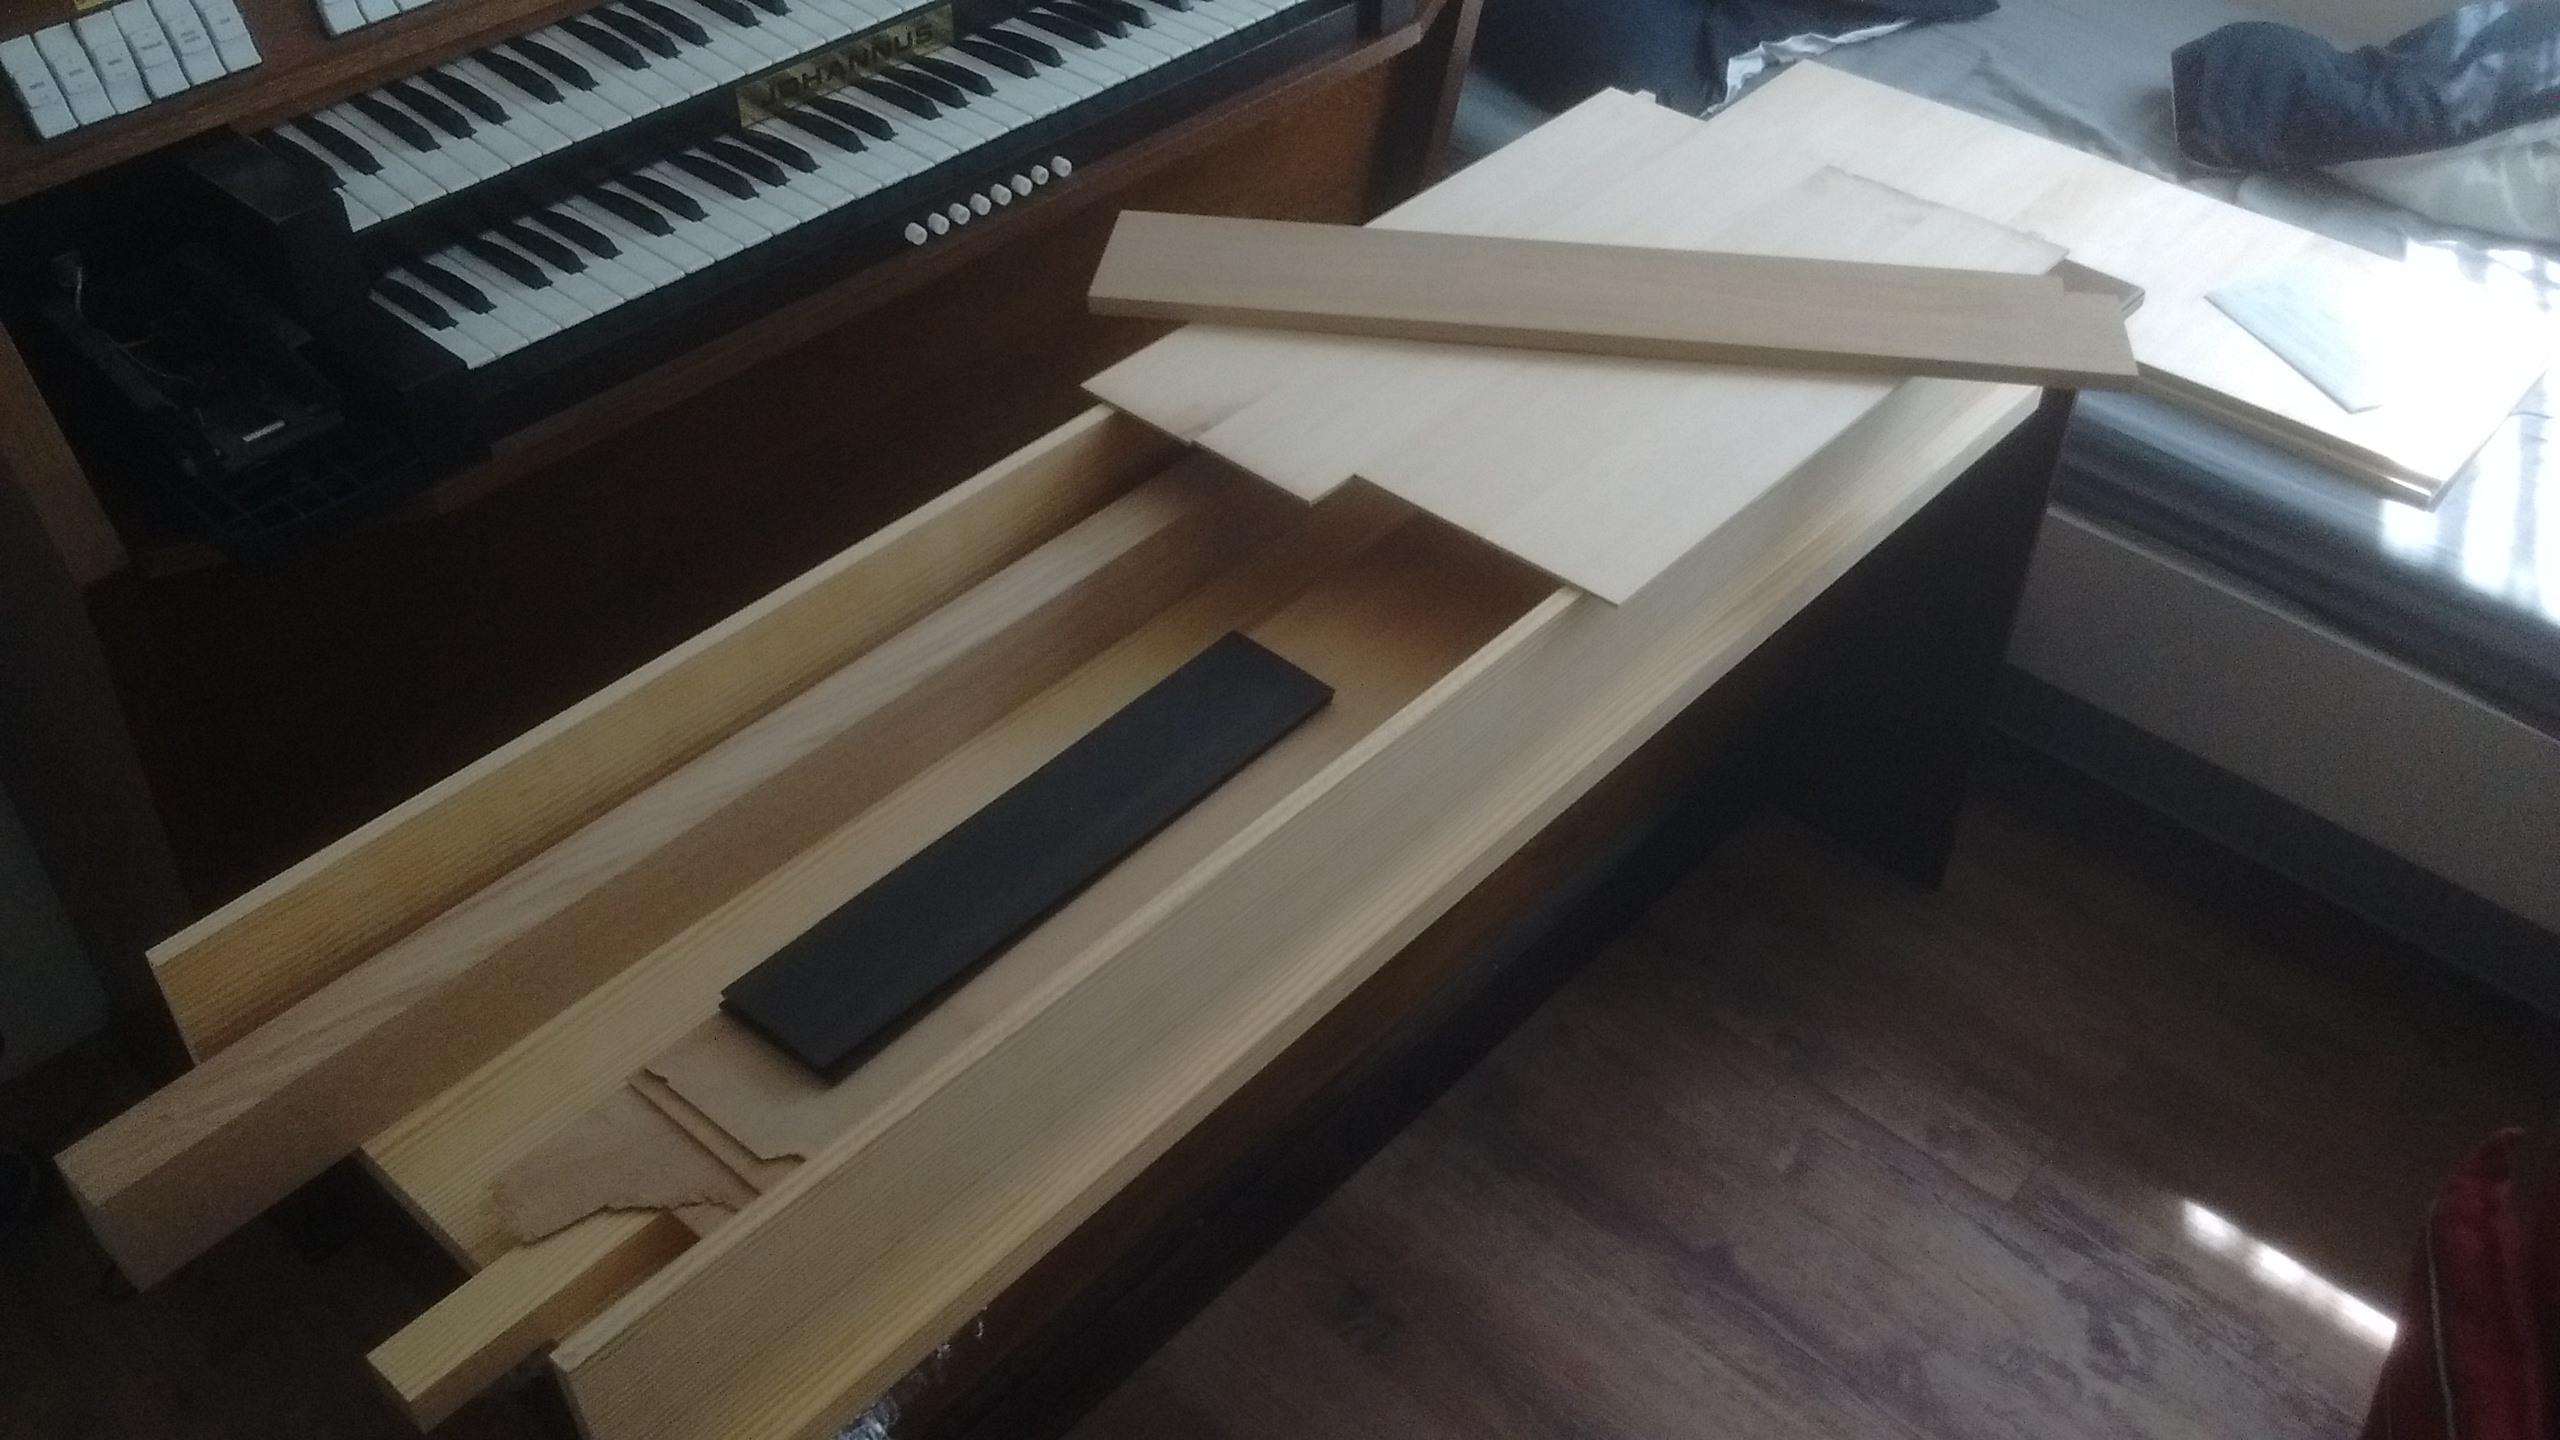 The stock.
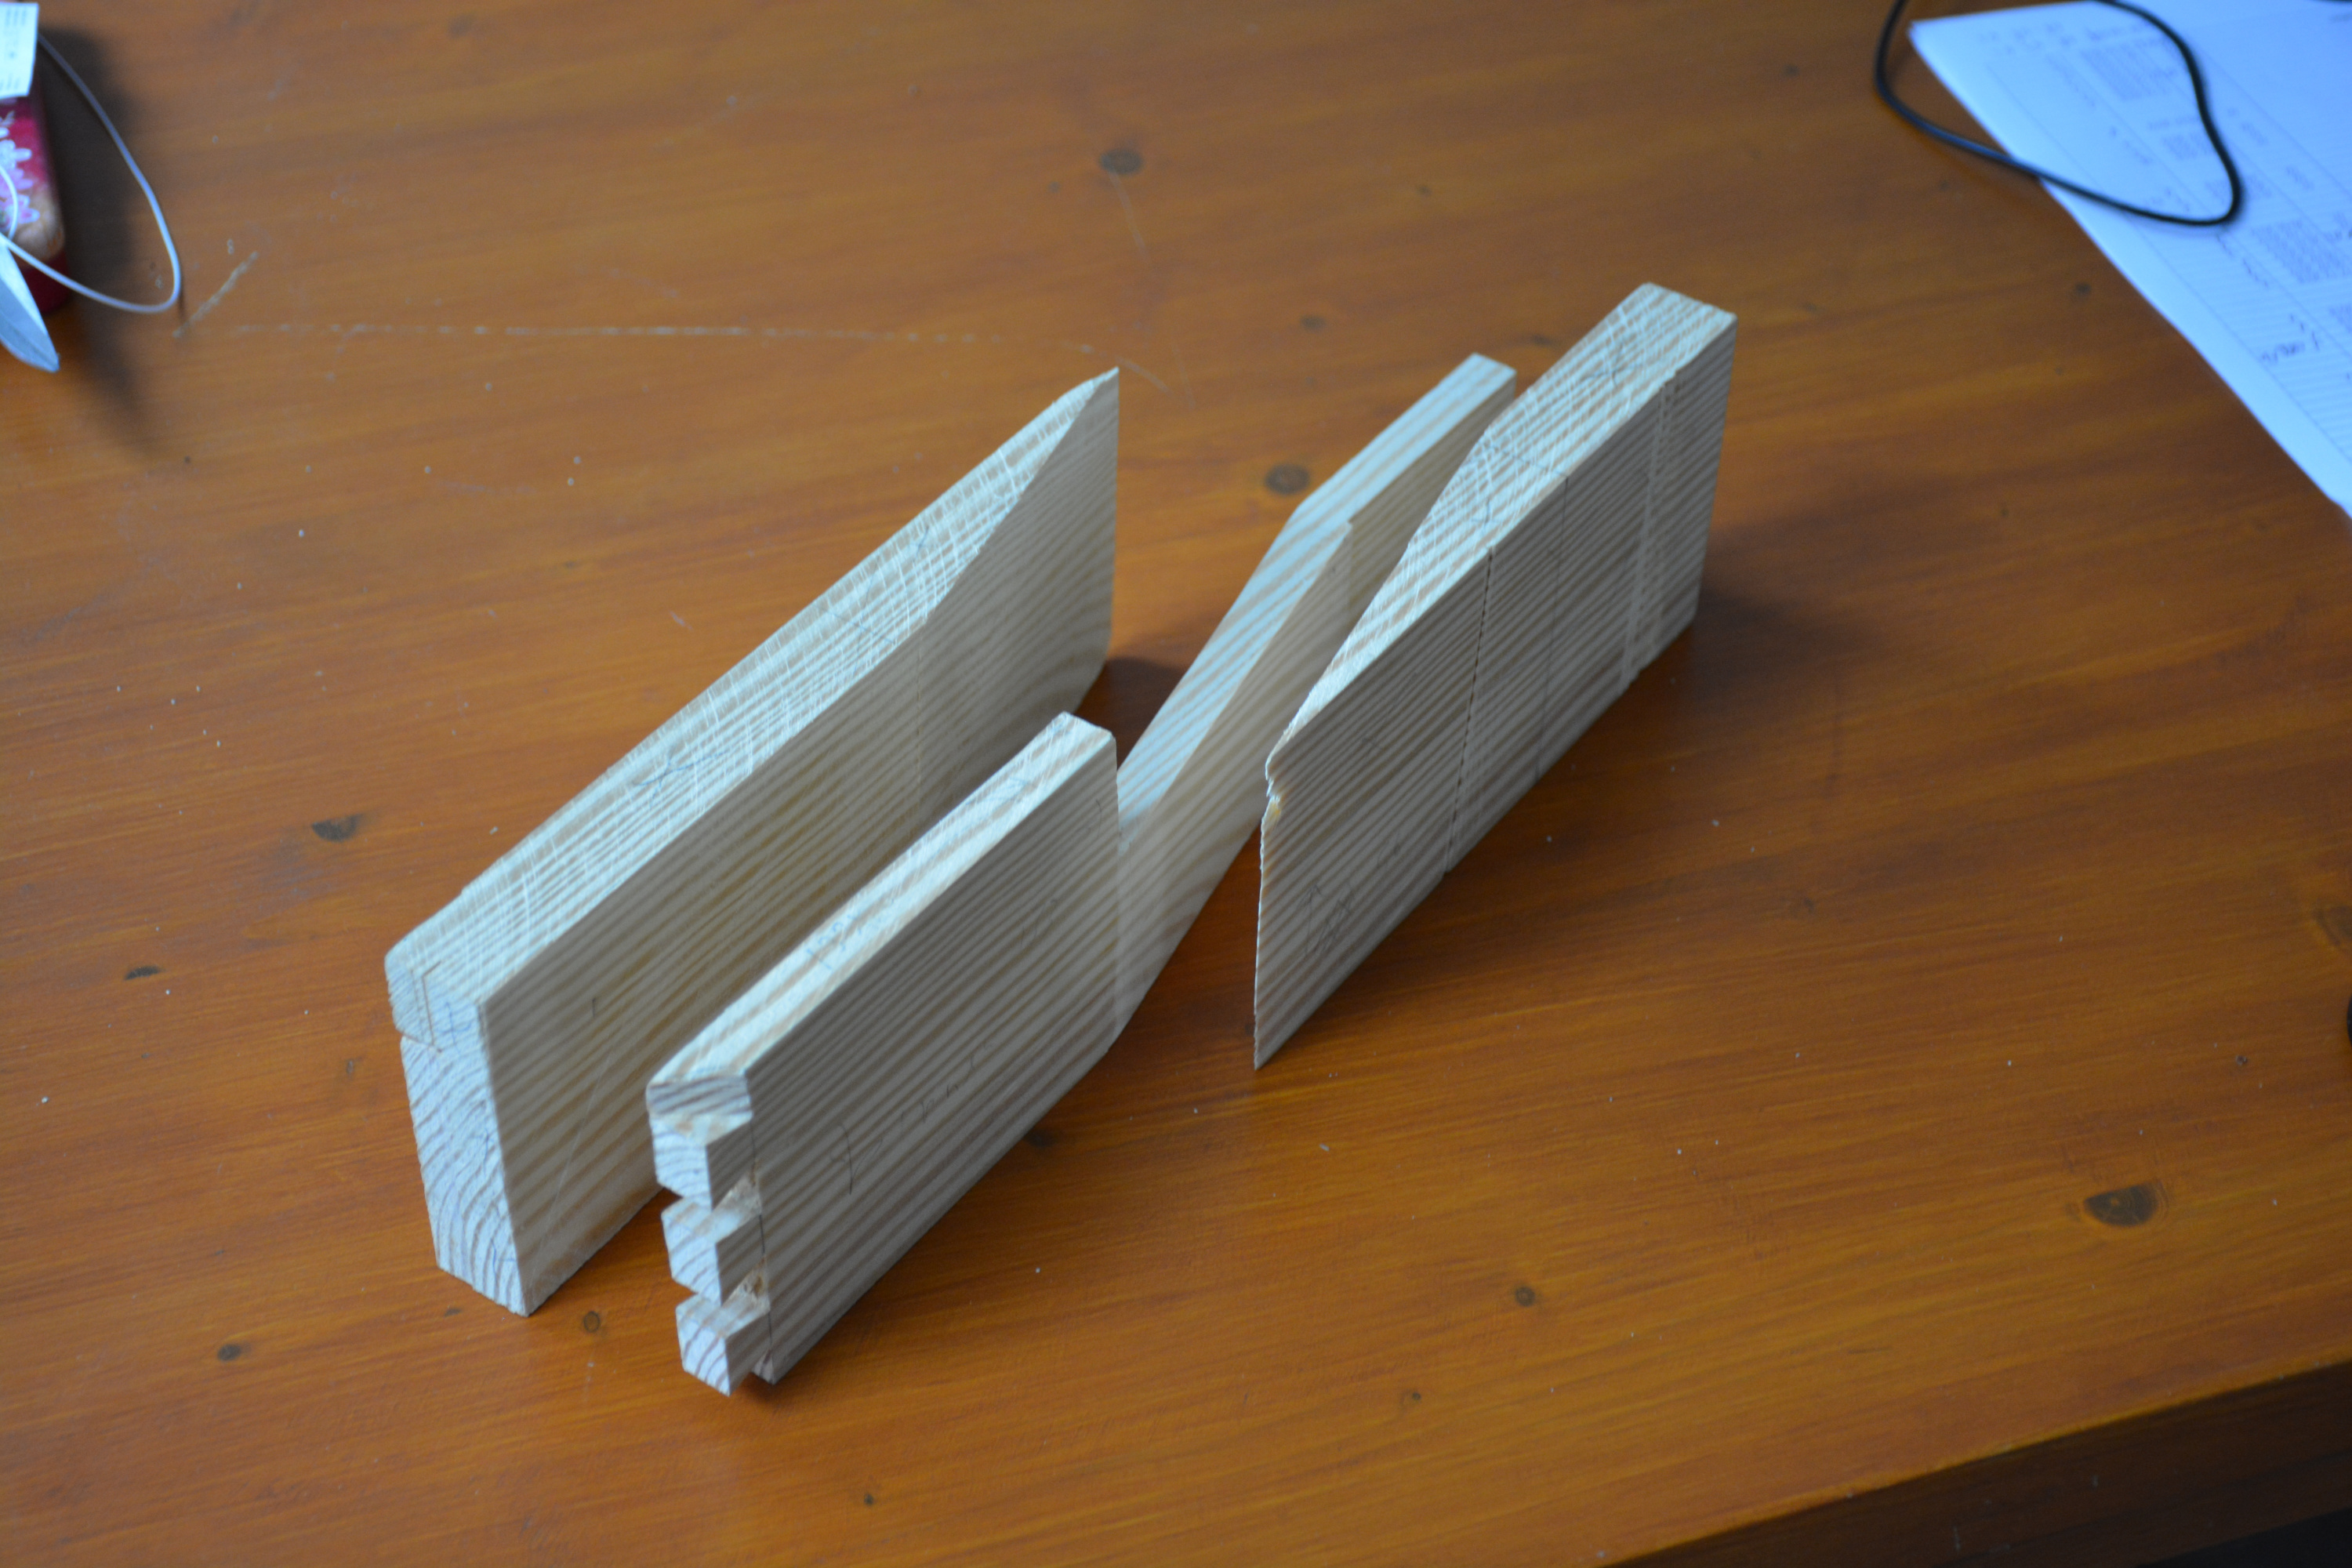 The belly rail, extracted from a solid block of pine.
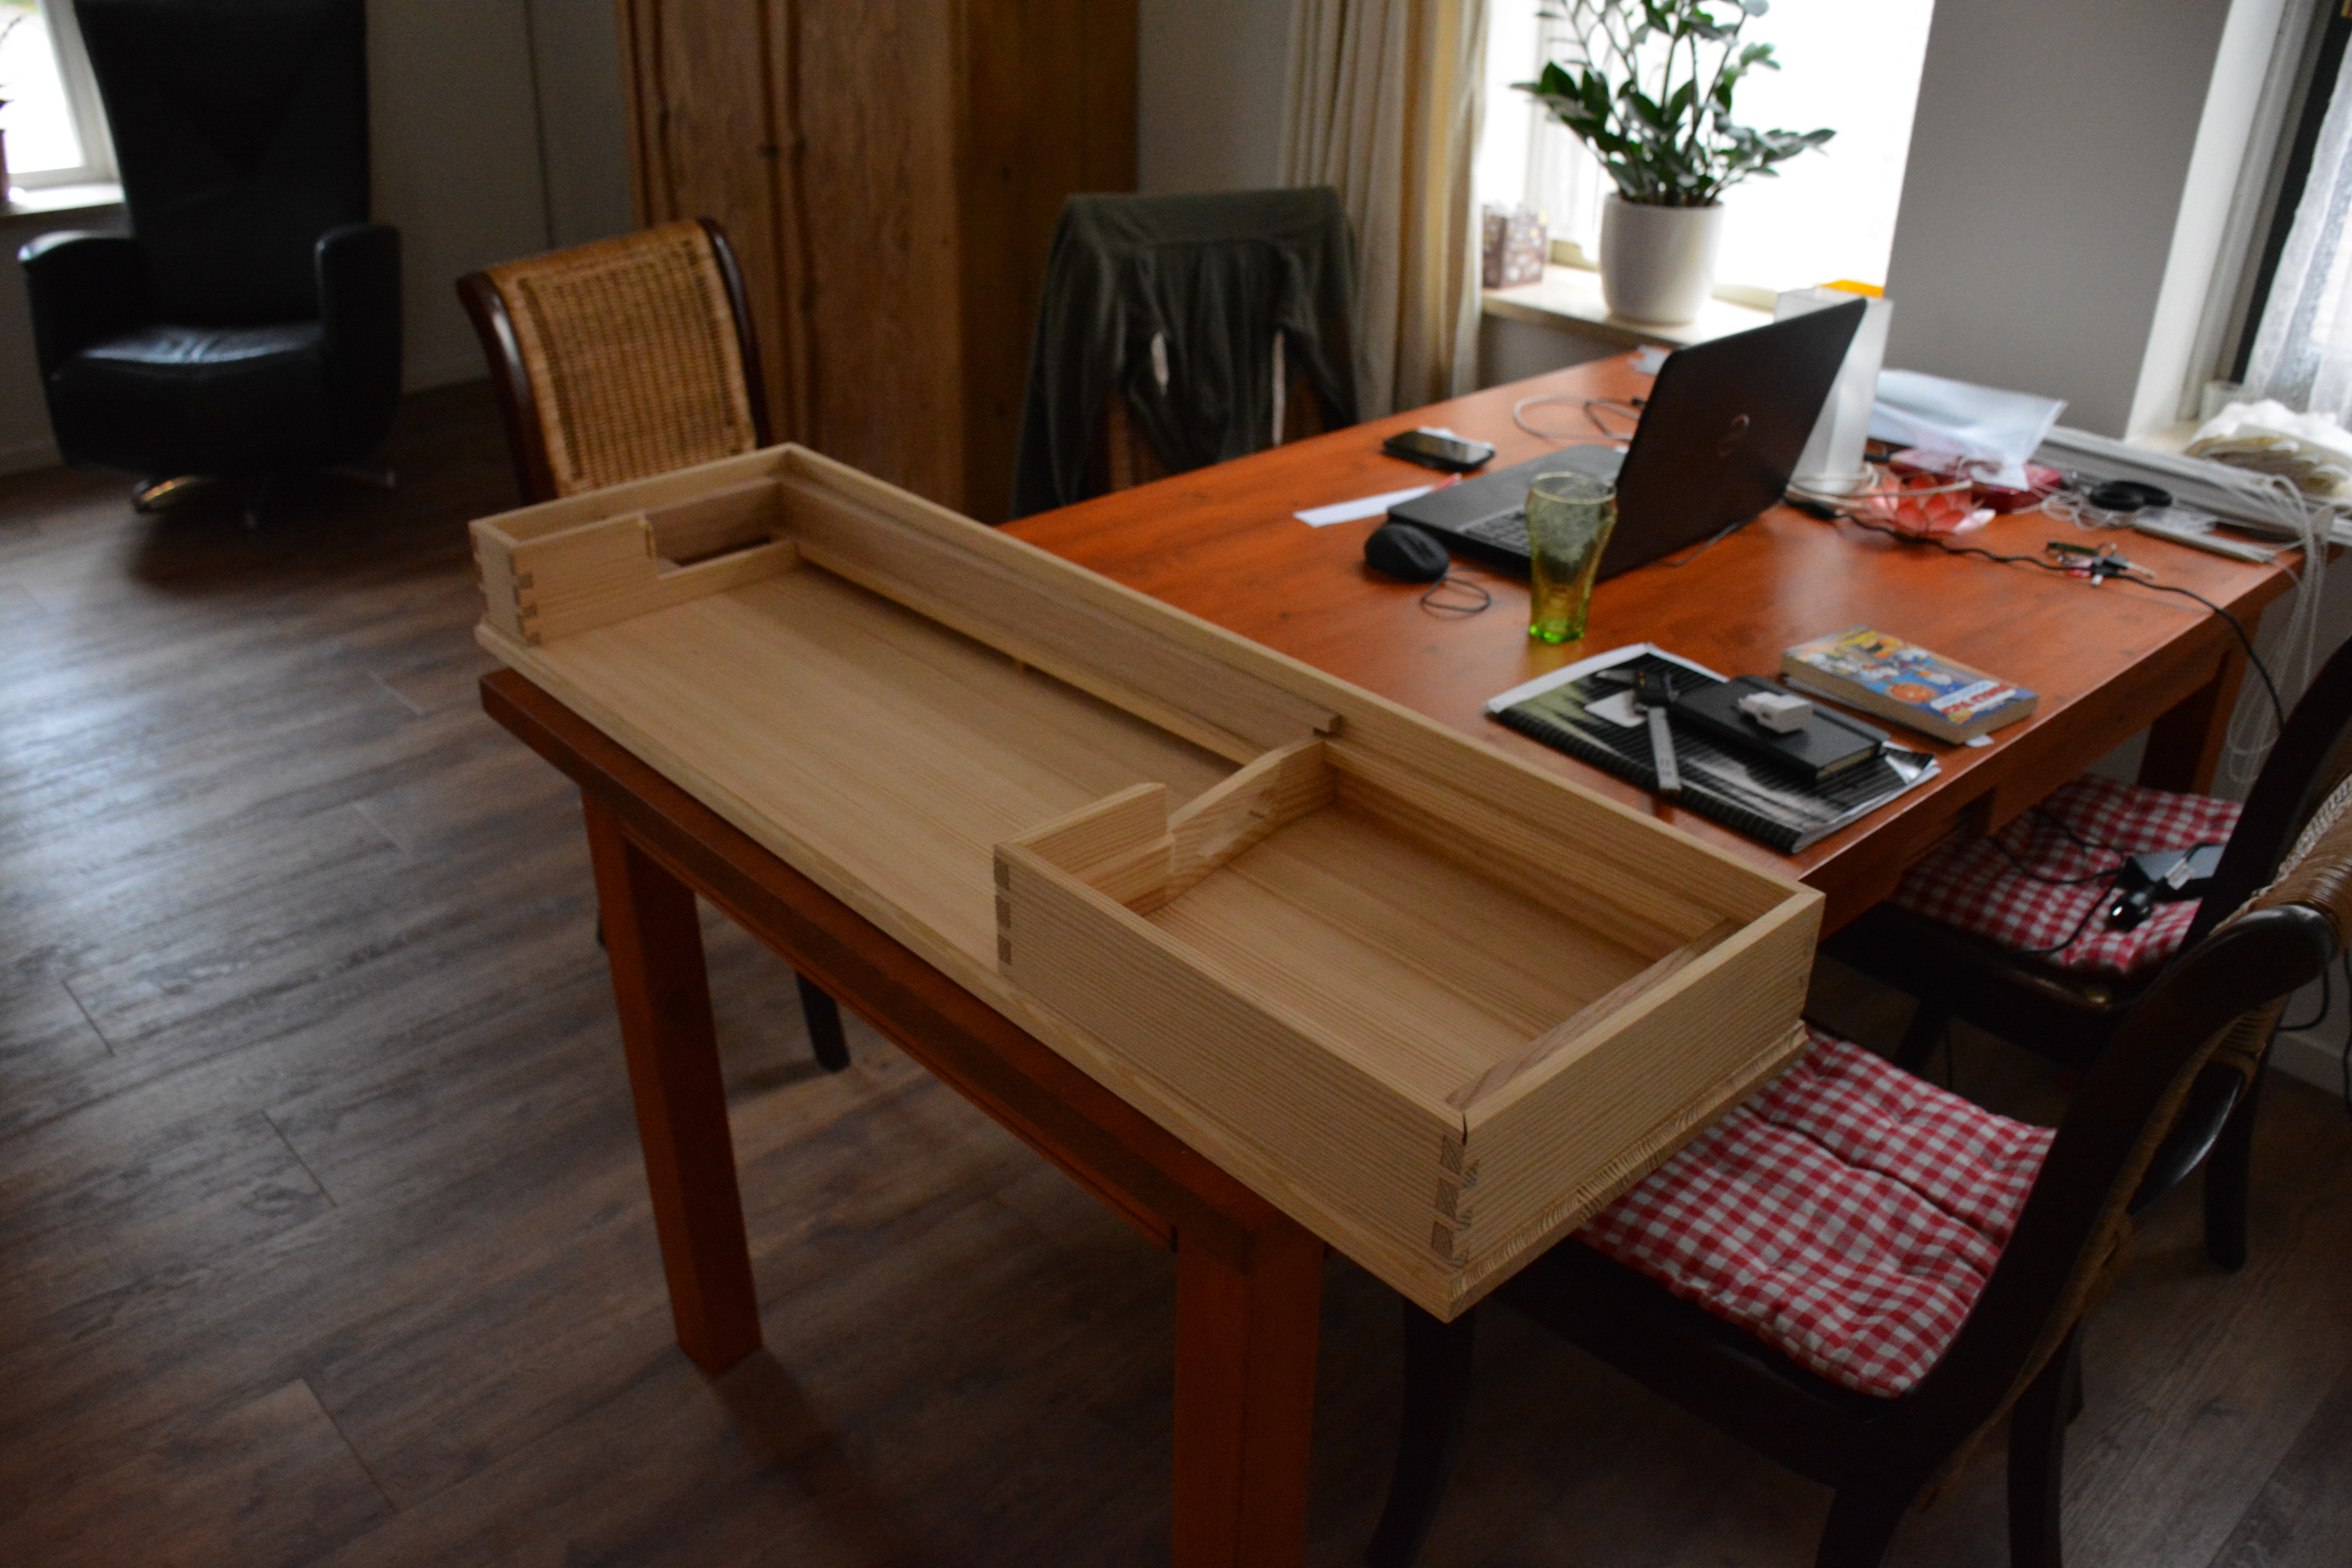
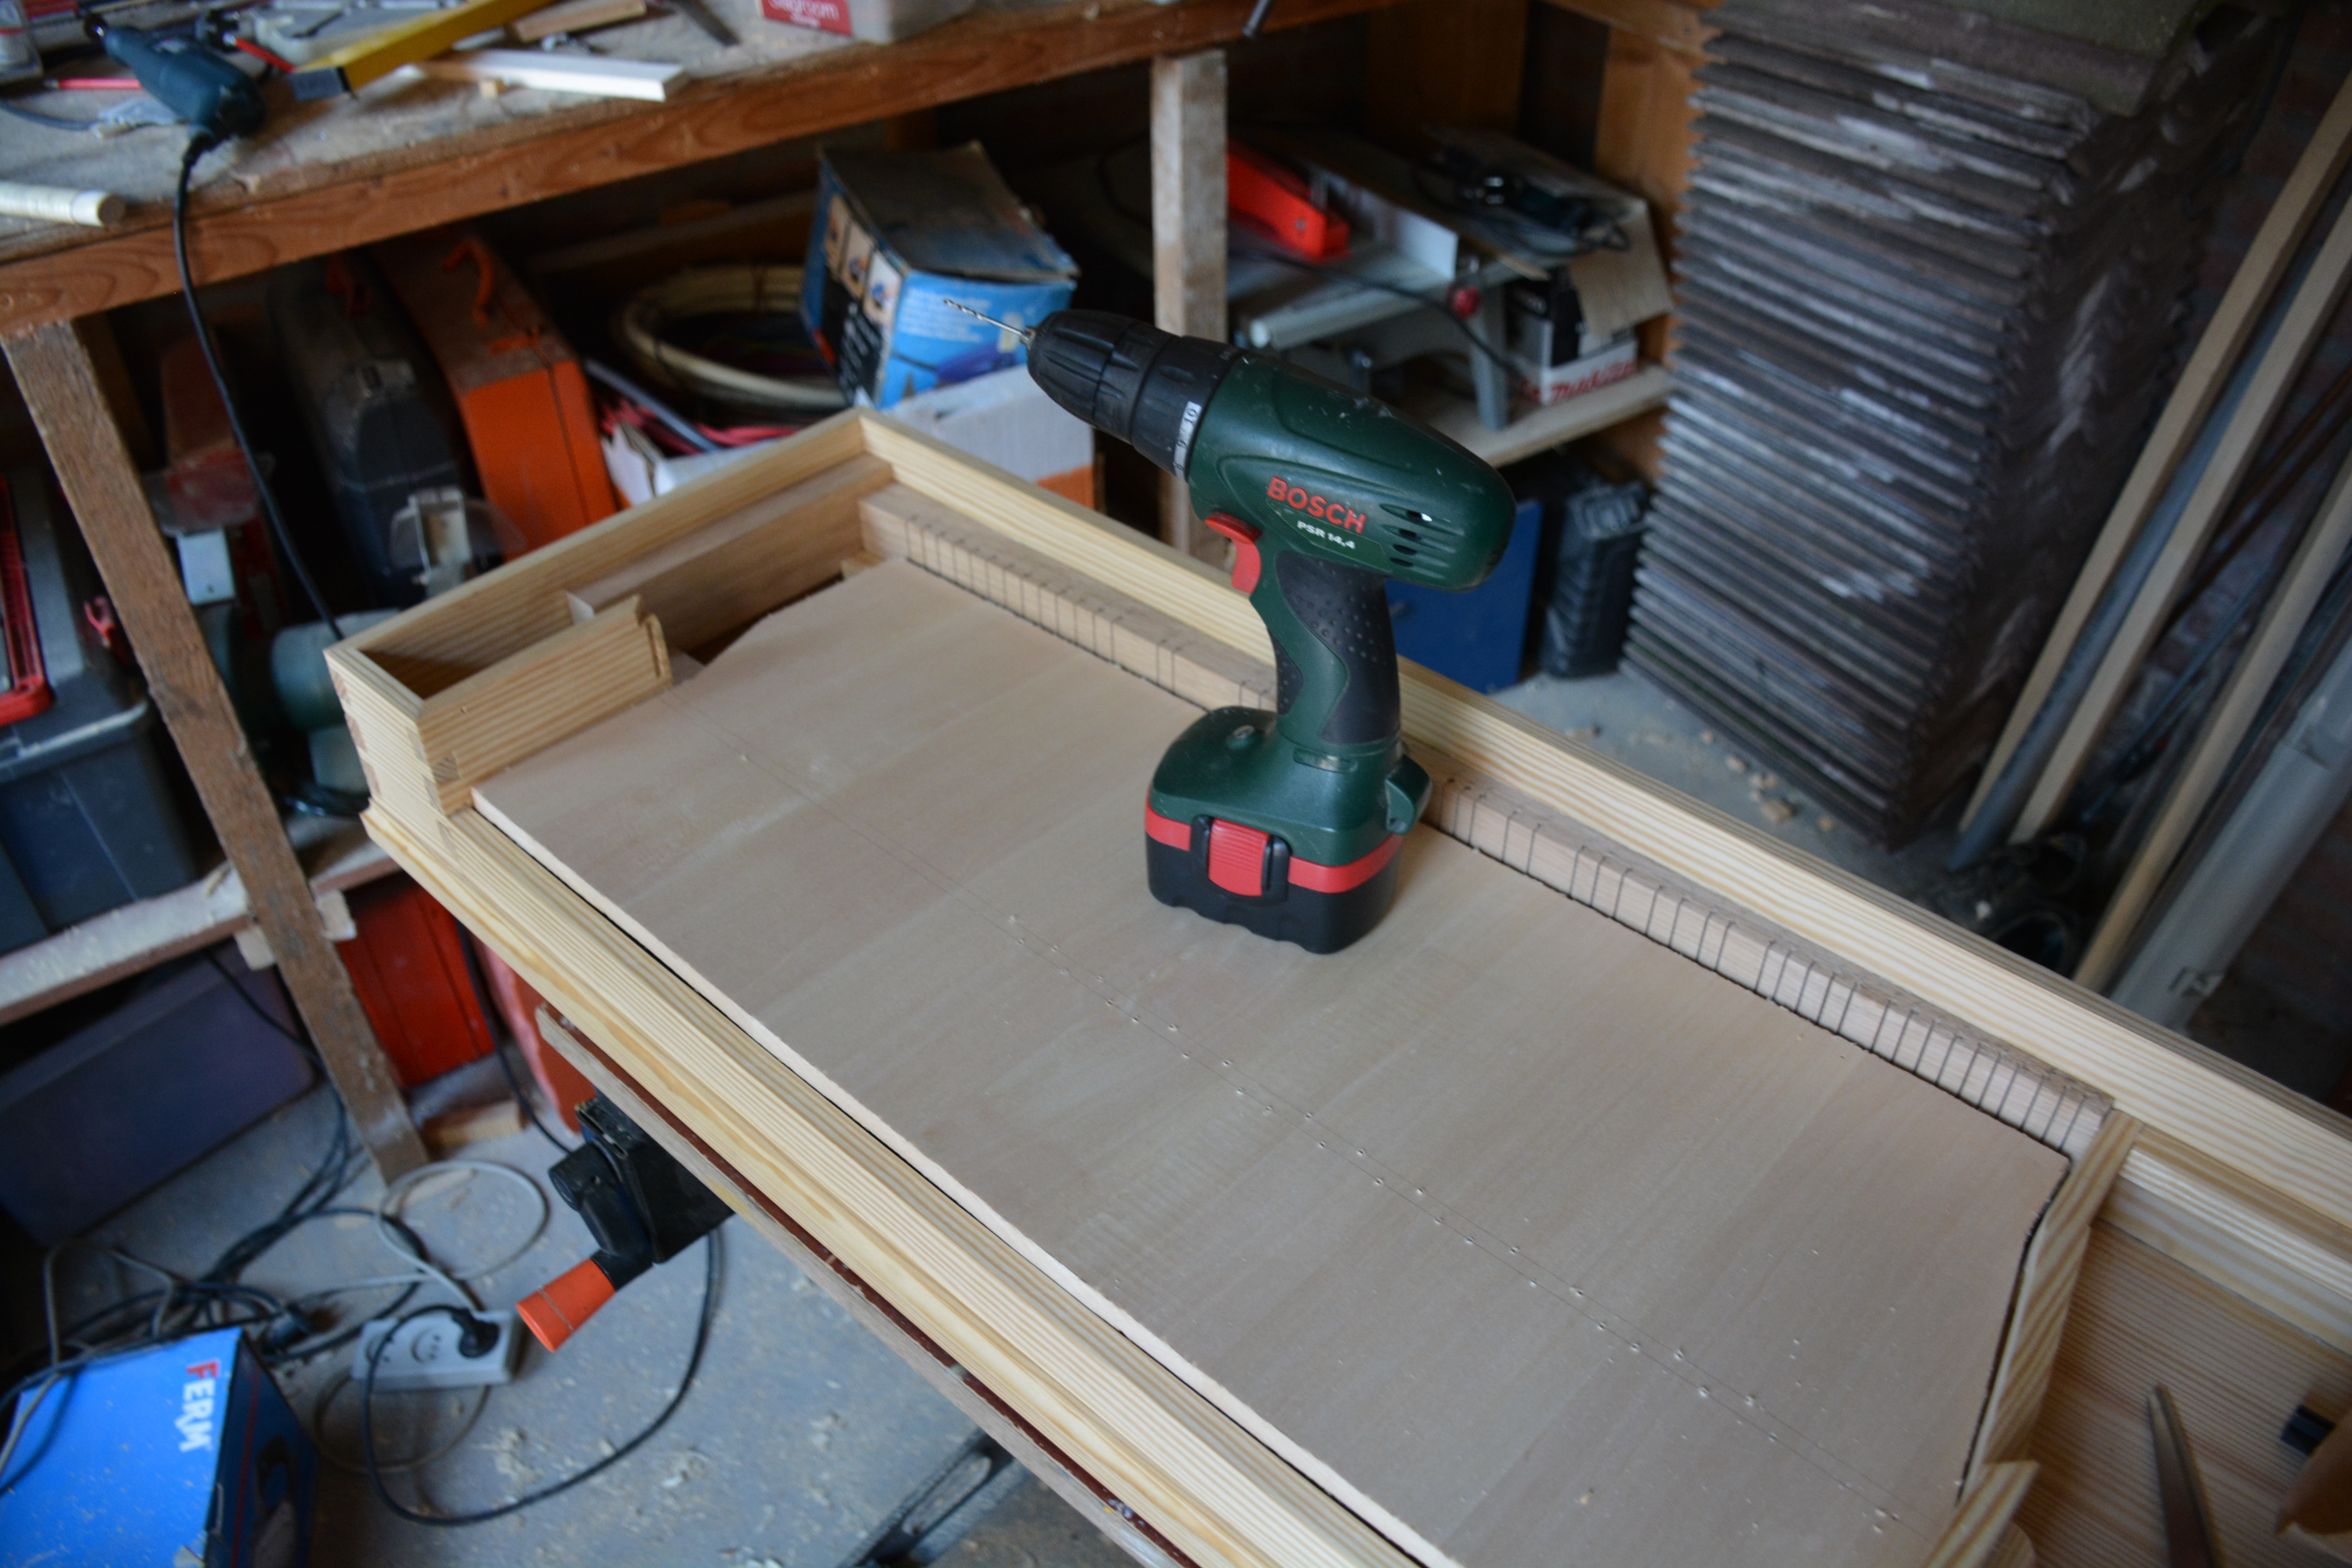
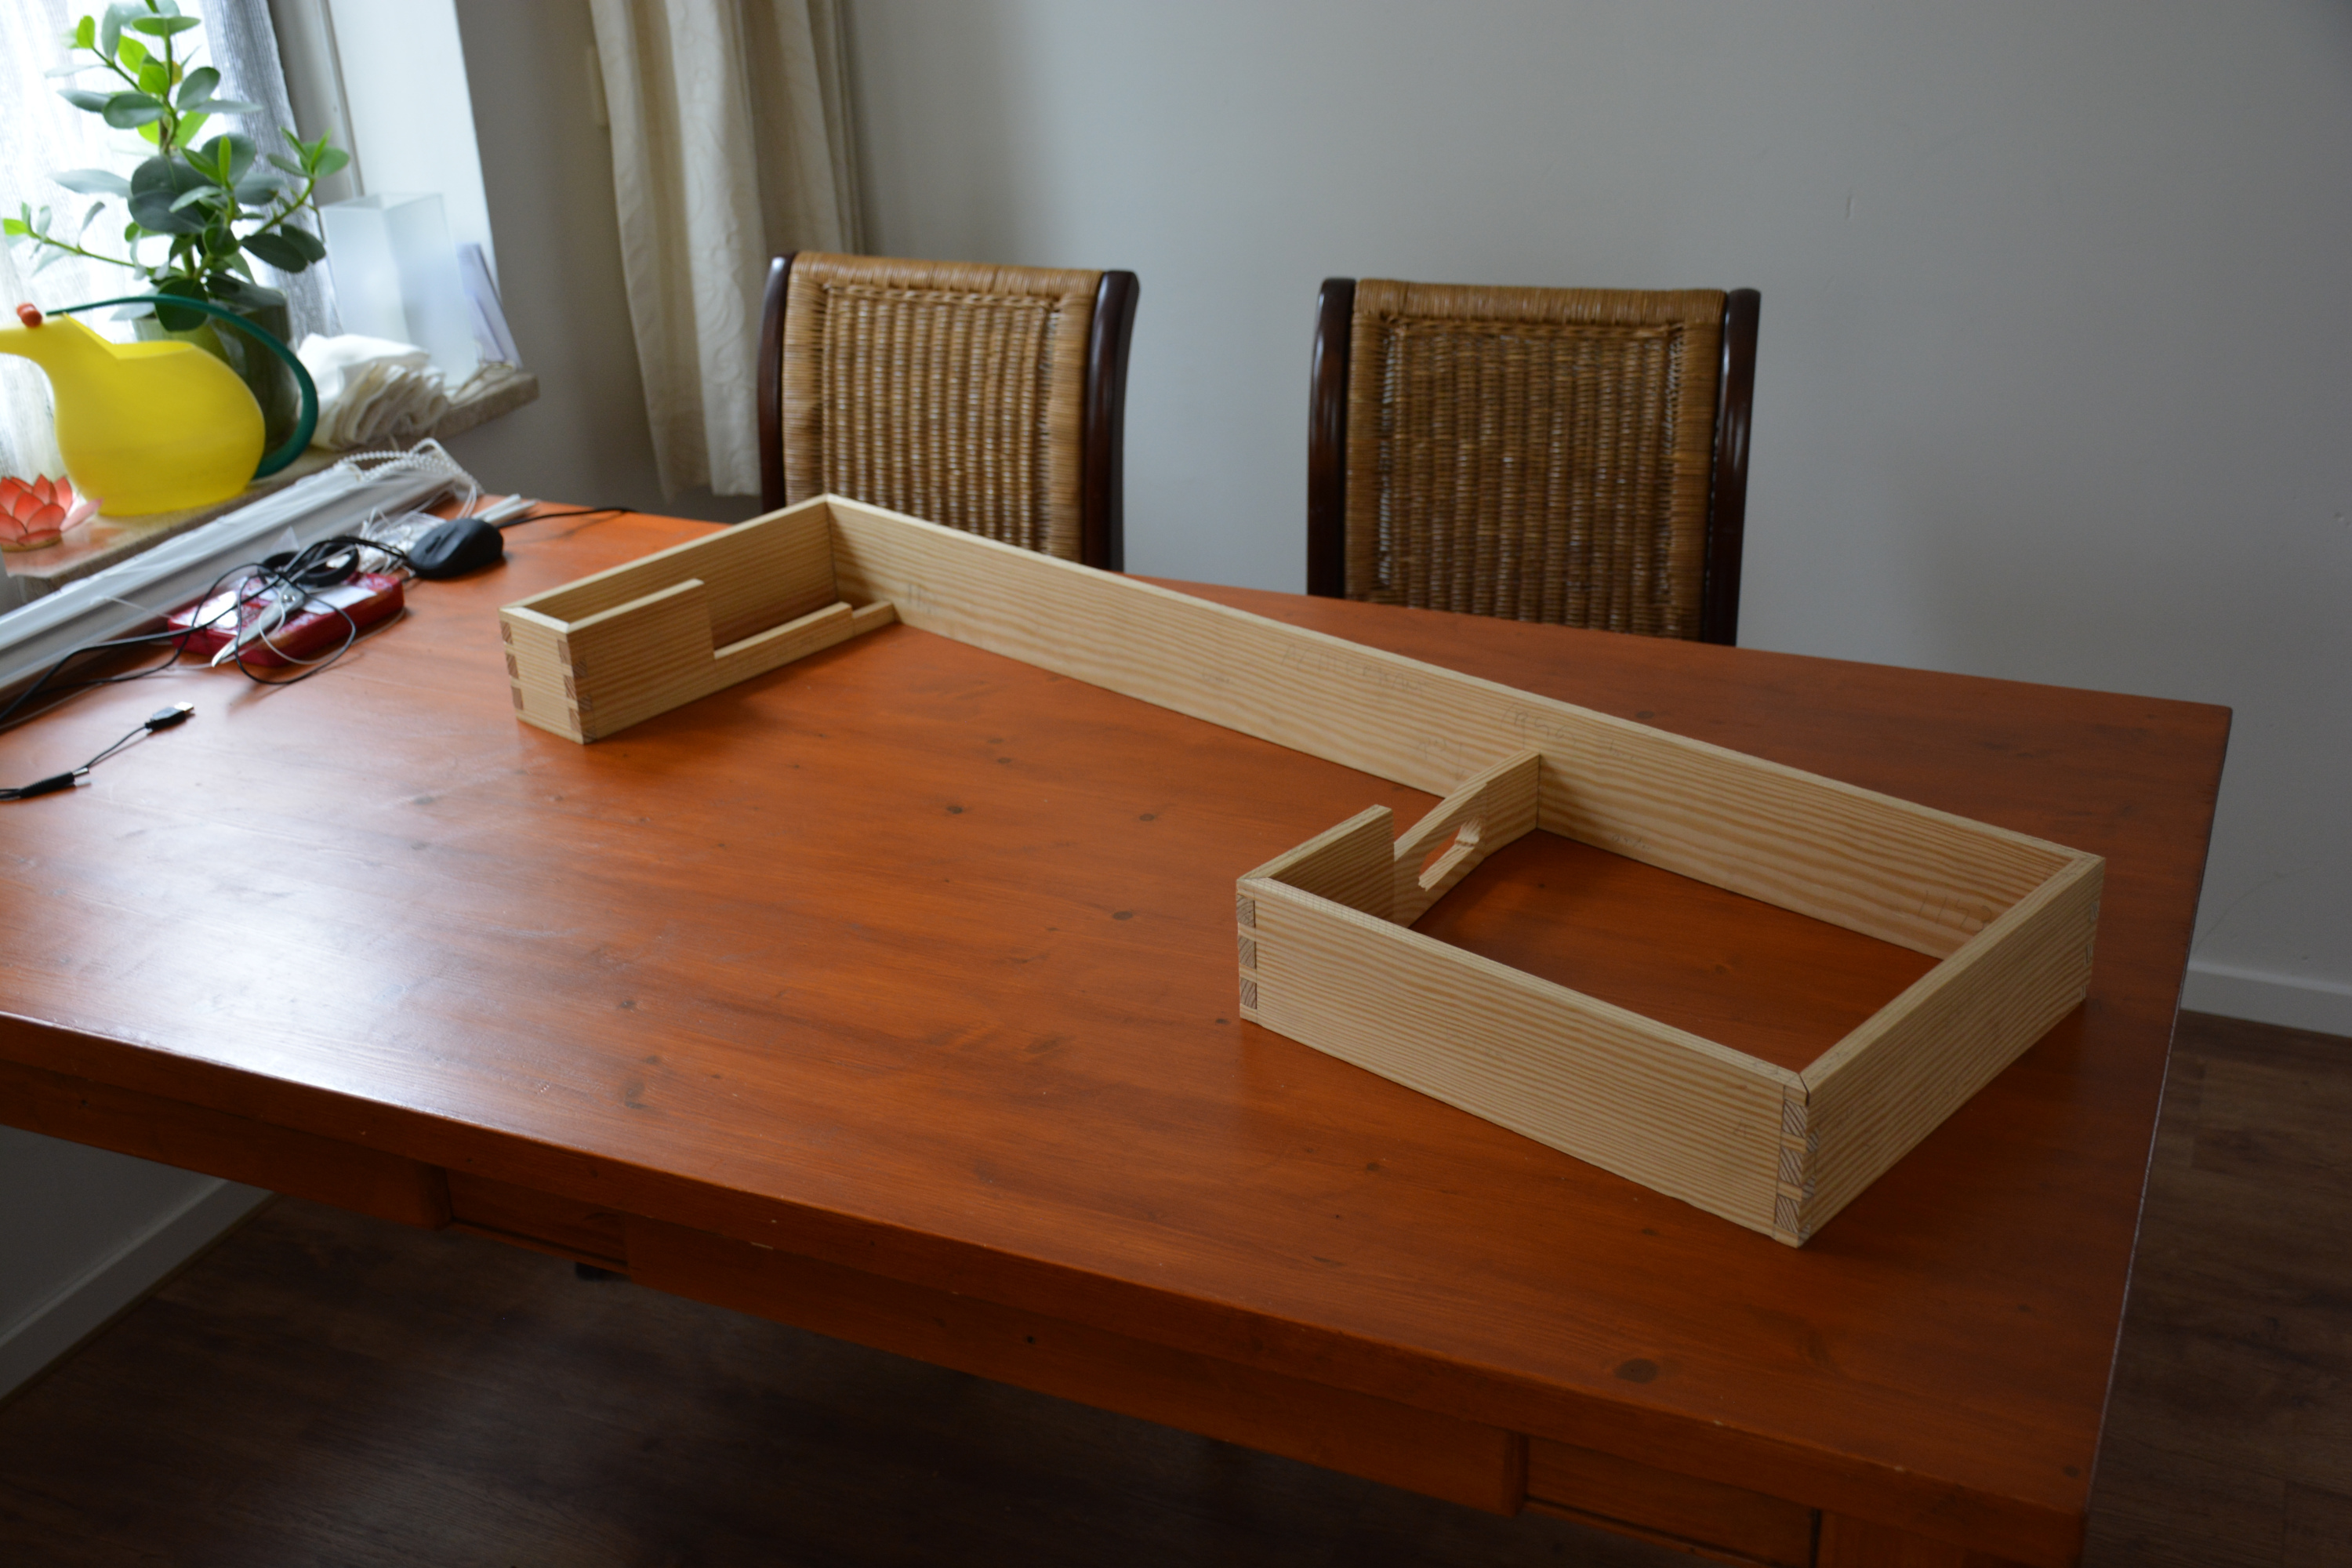 The assembled frame.
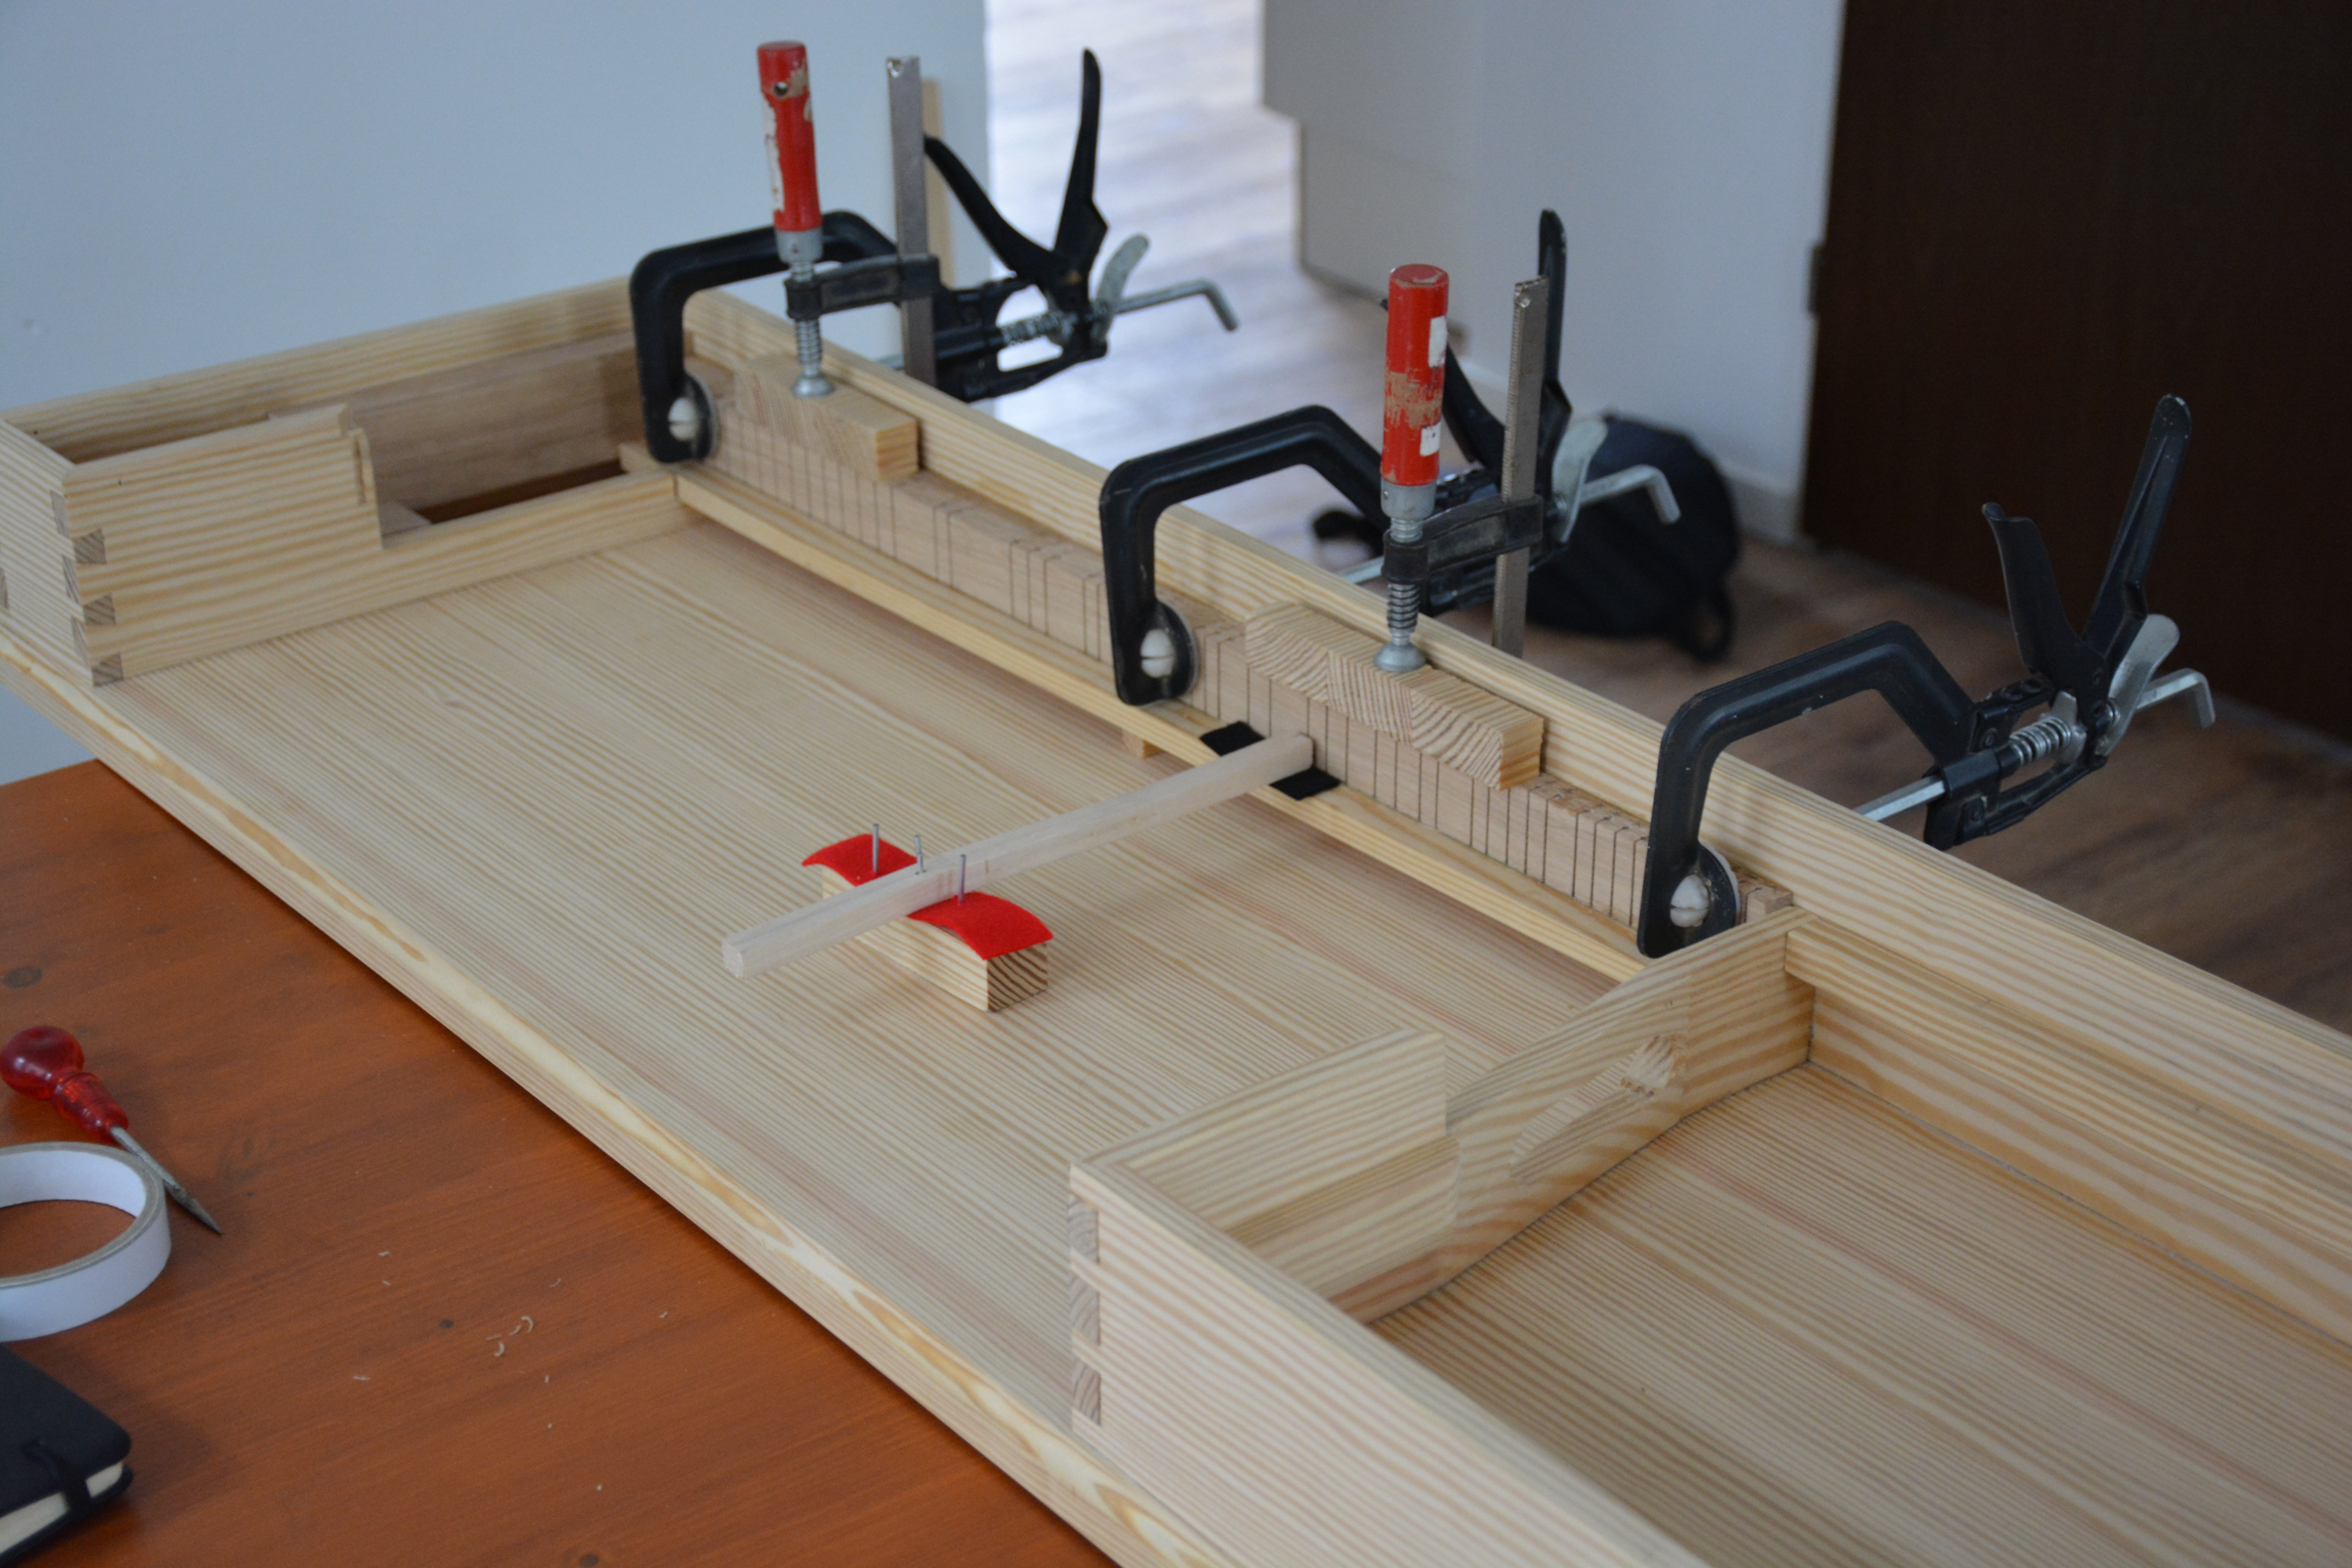
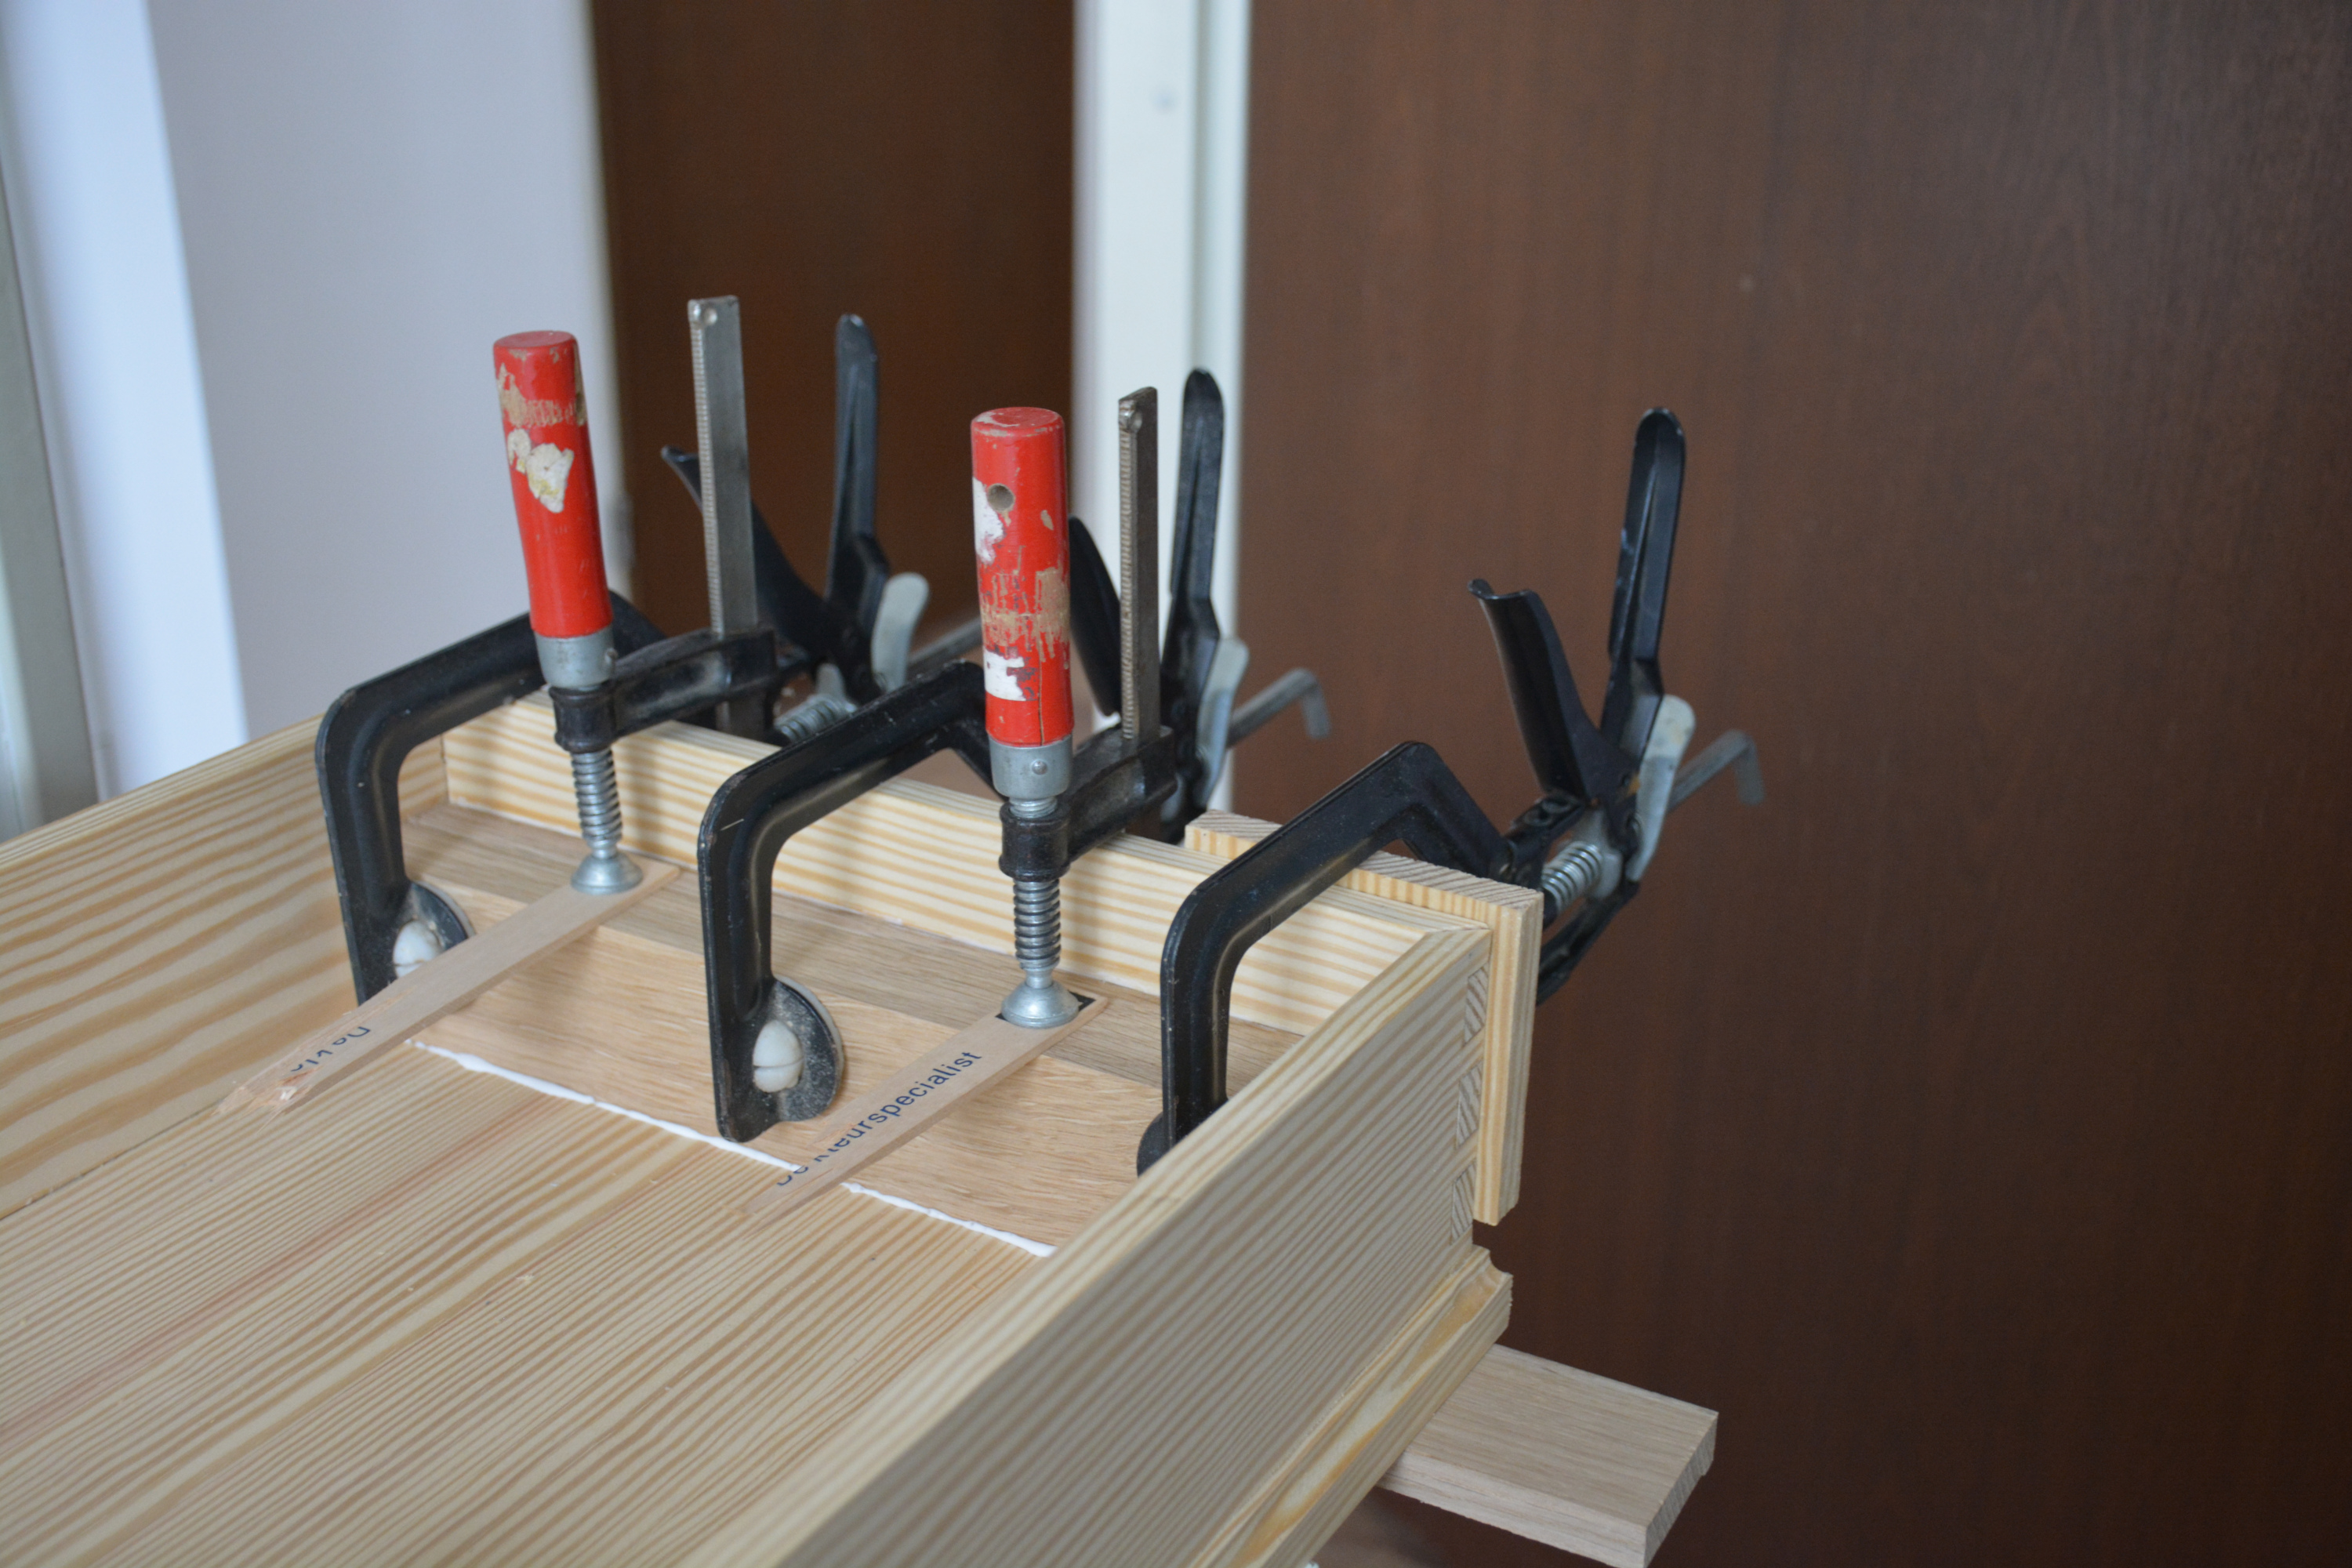 Glueing the wrestplank onto the bottom and sides.
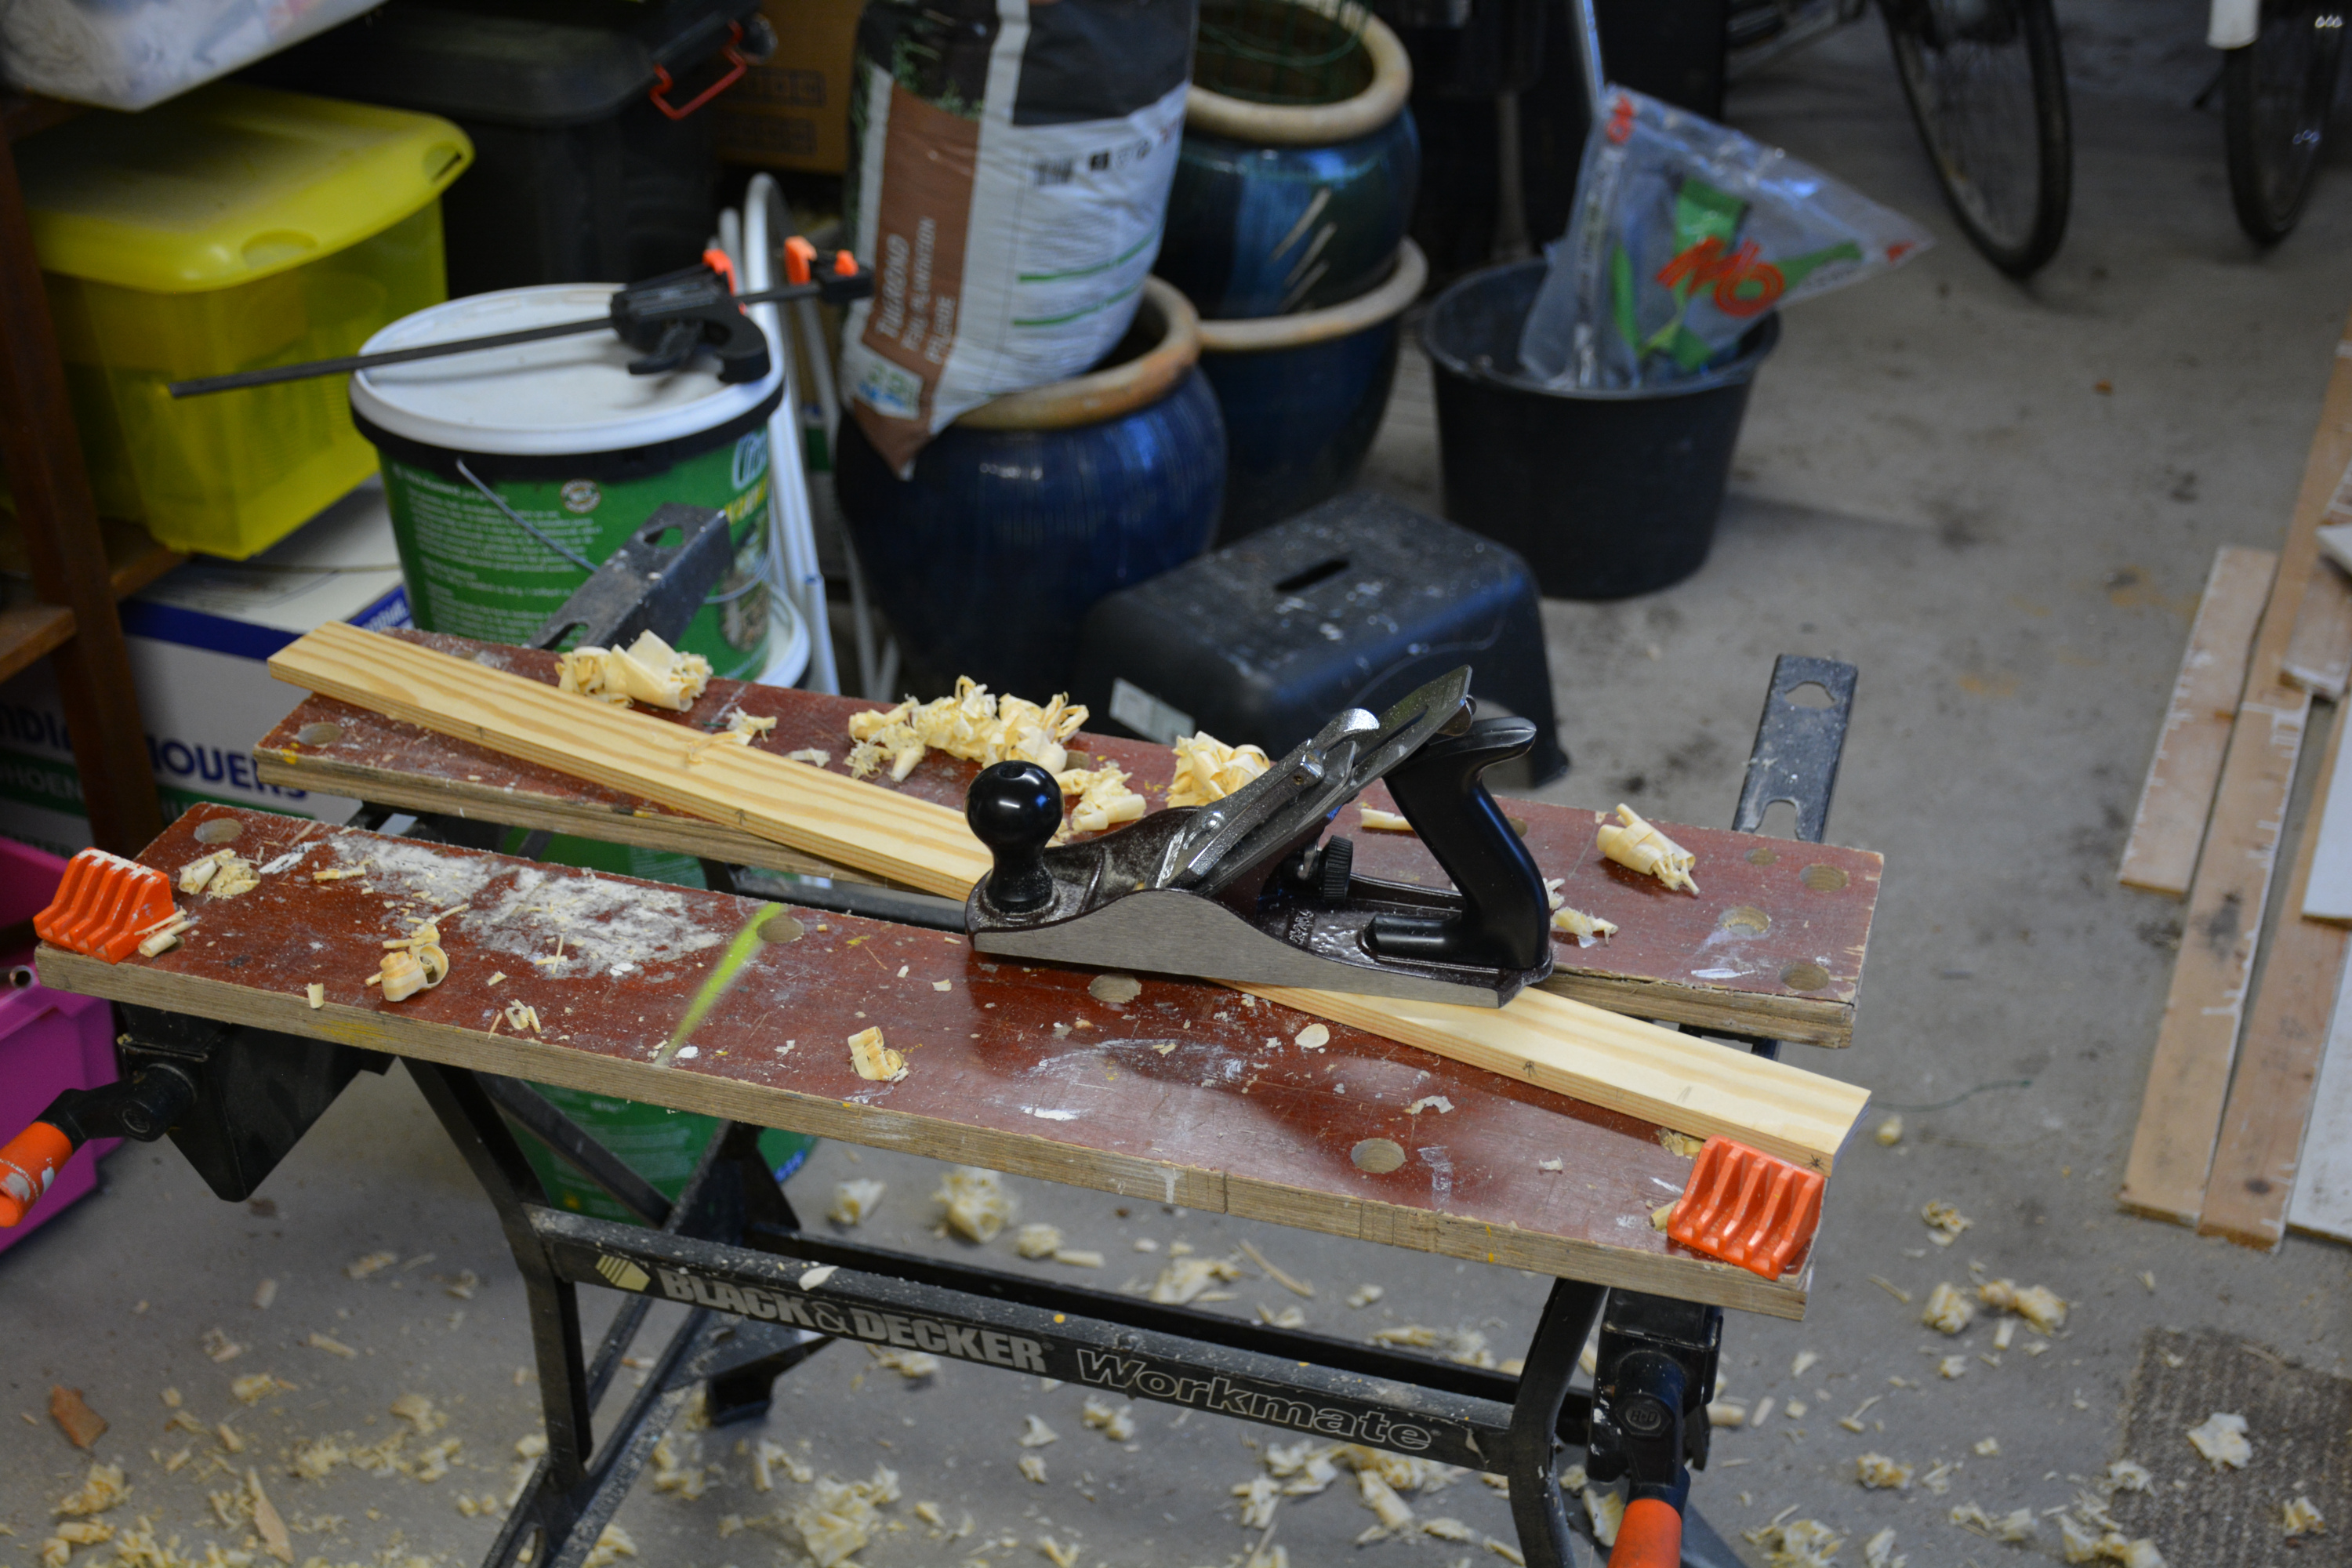 Learning how to use a hand plane.
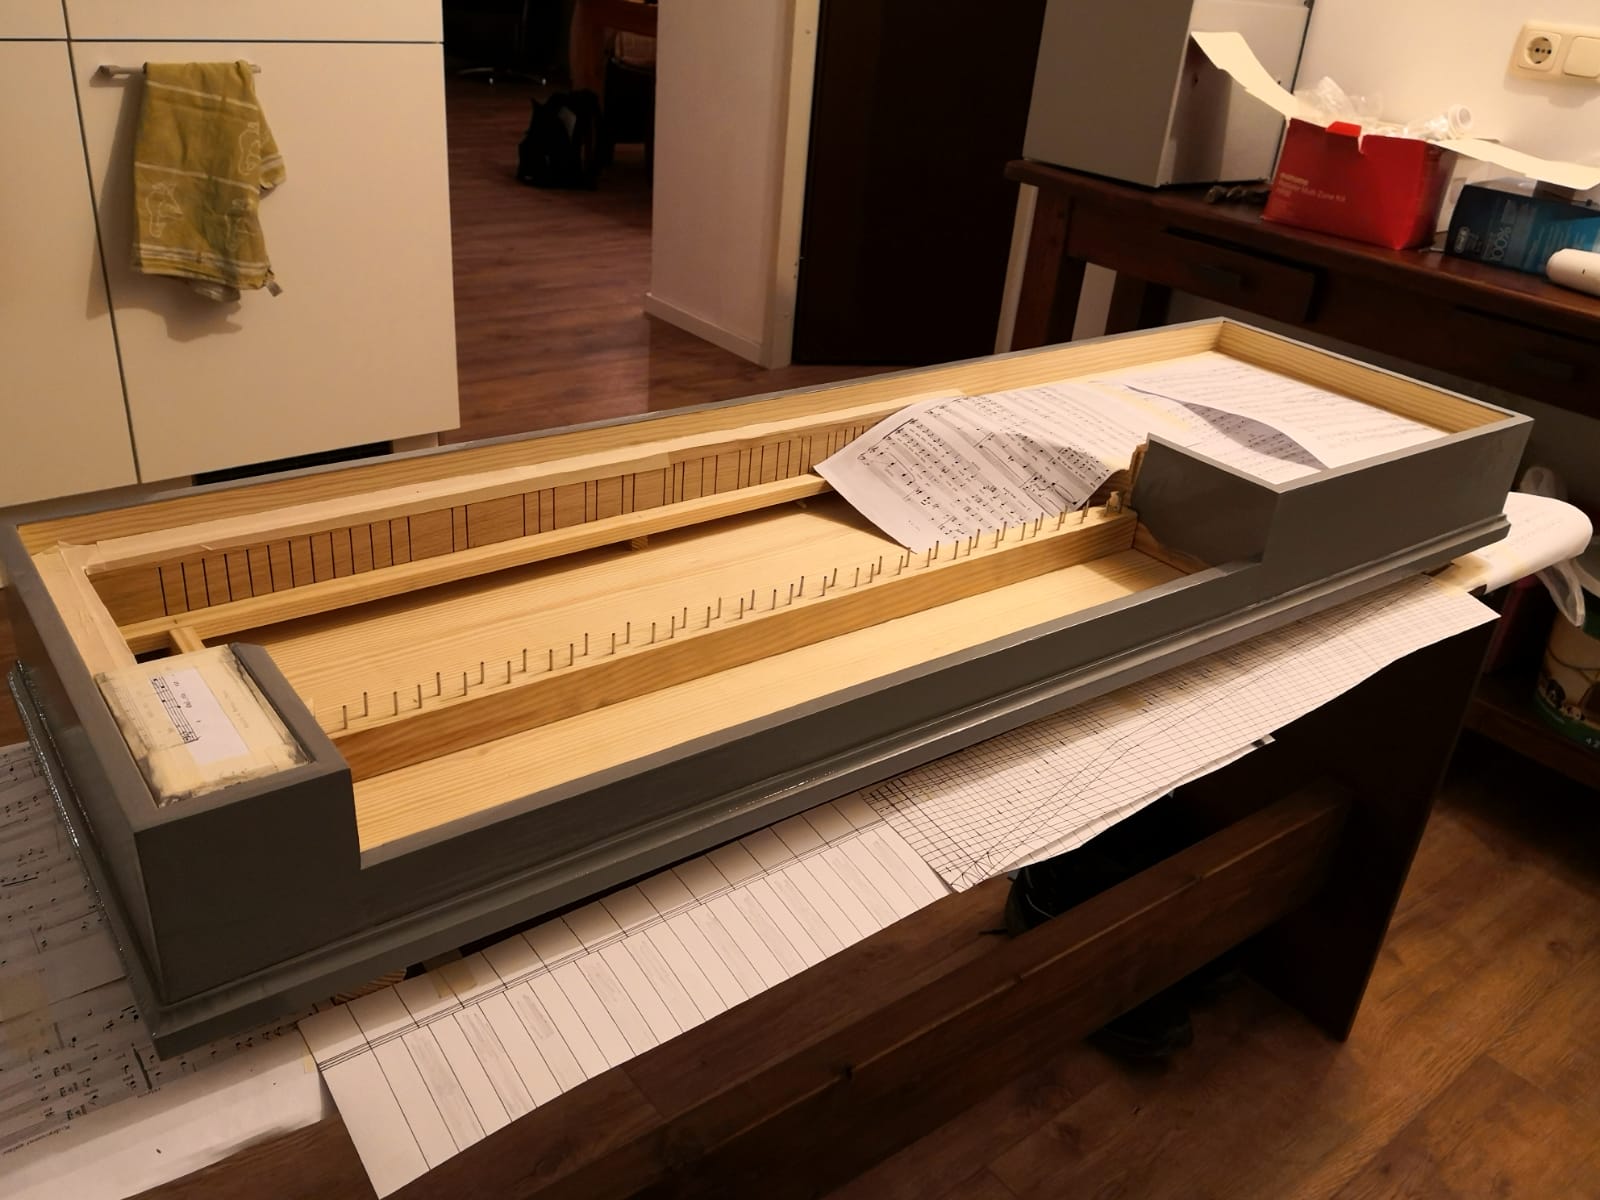
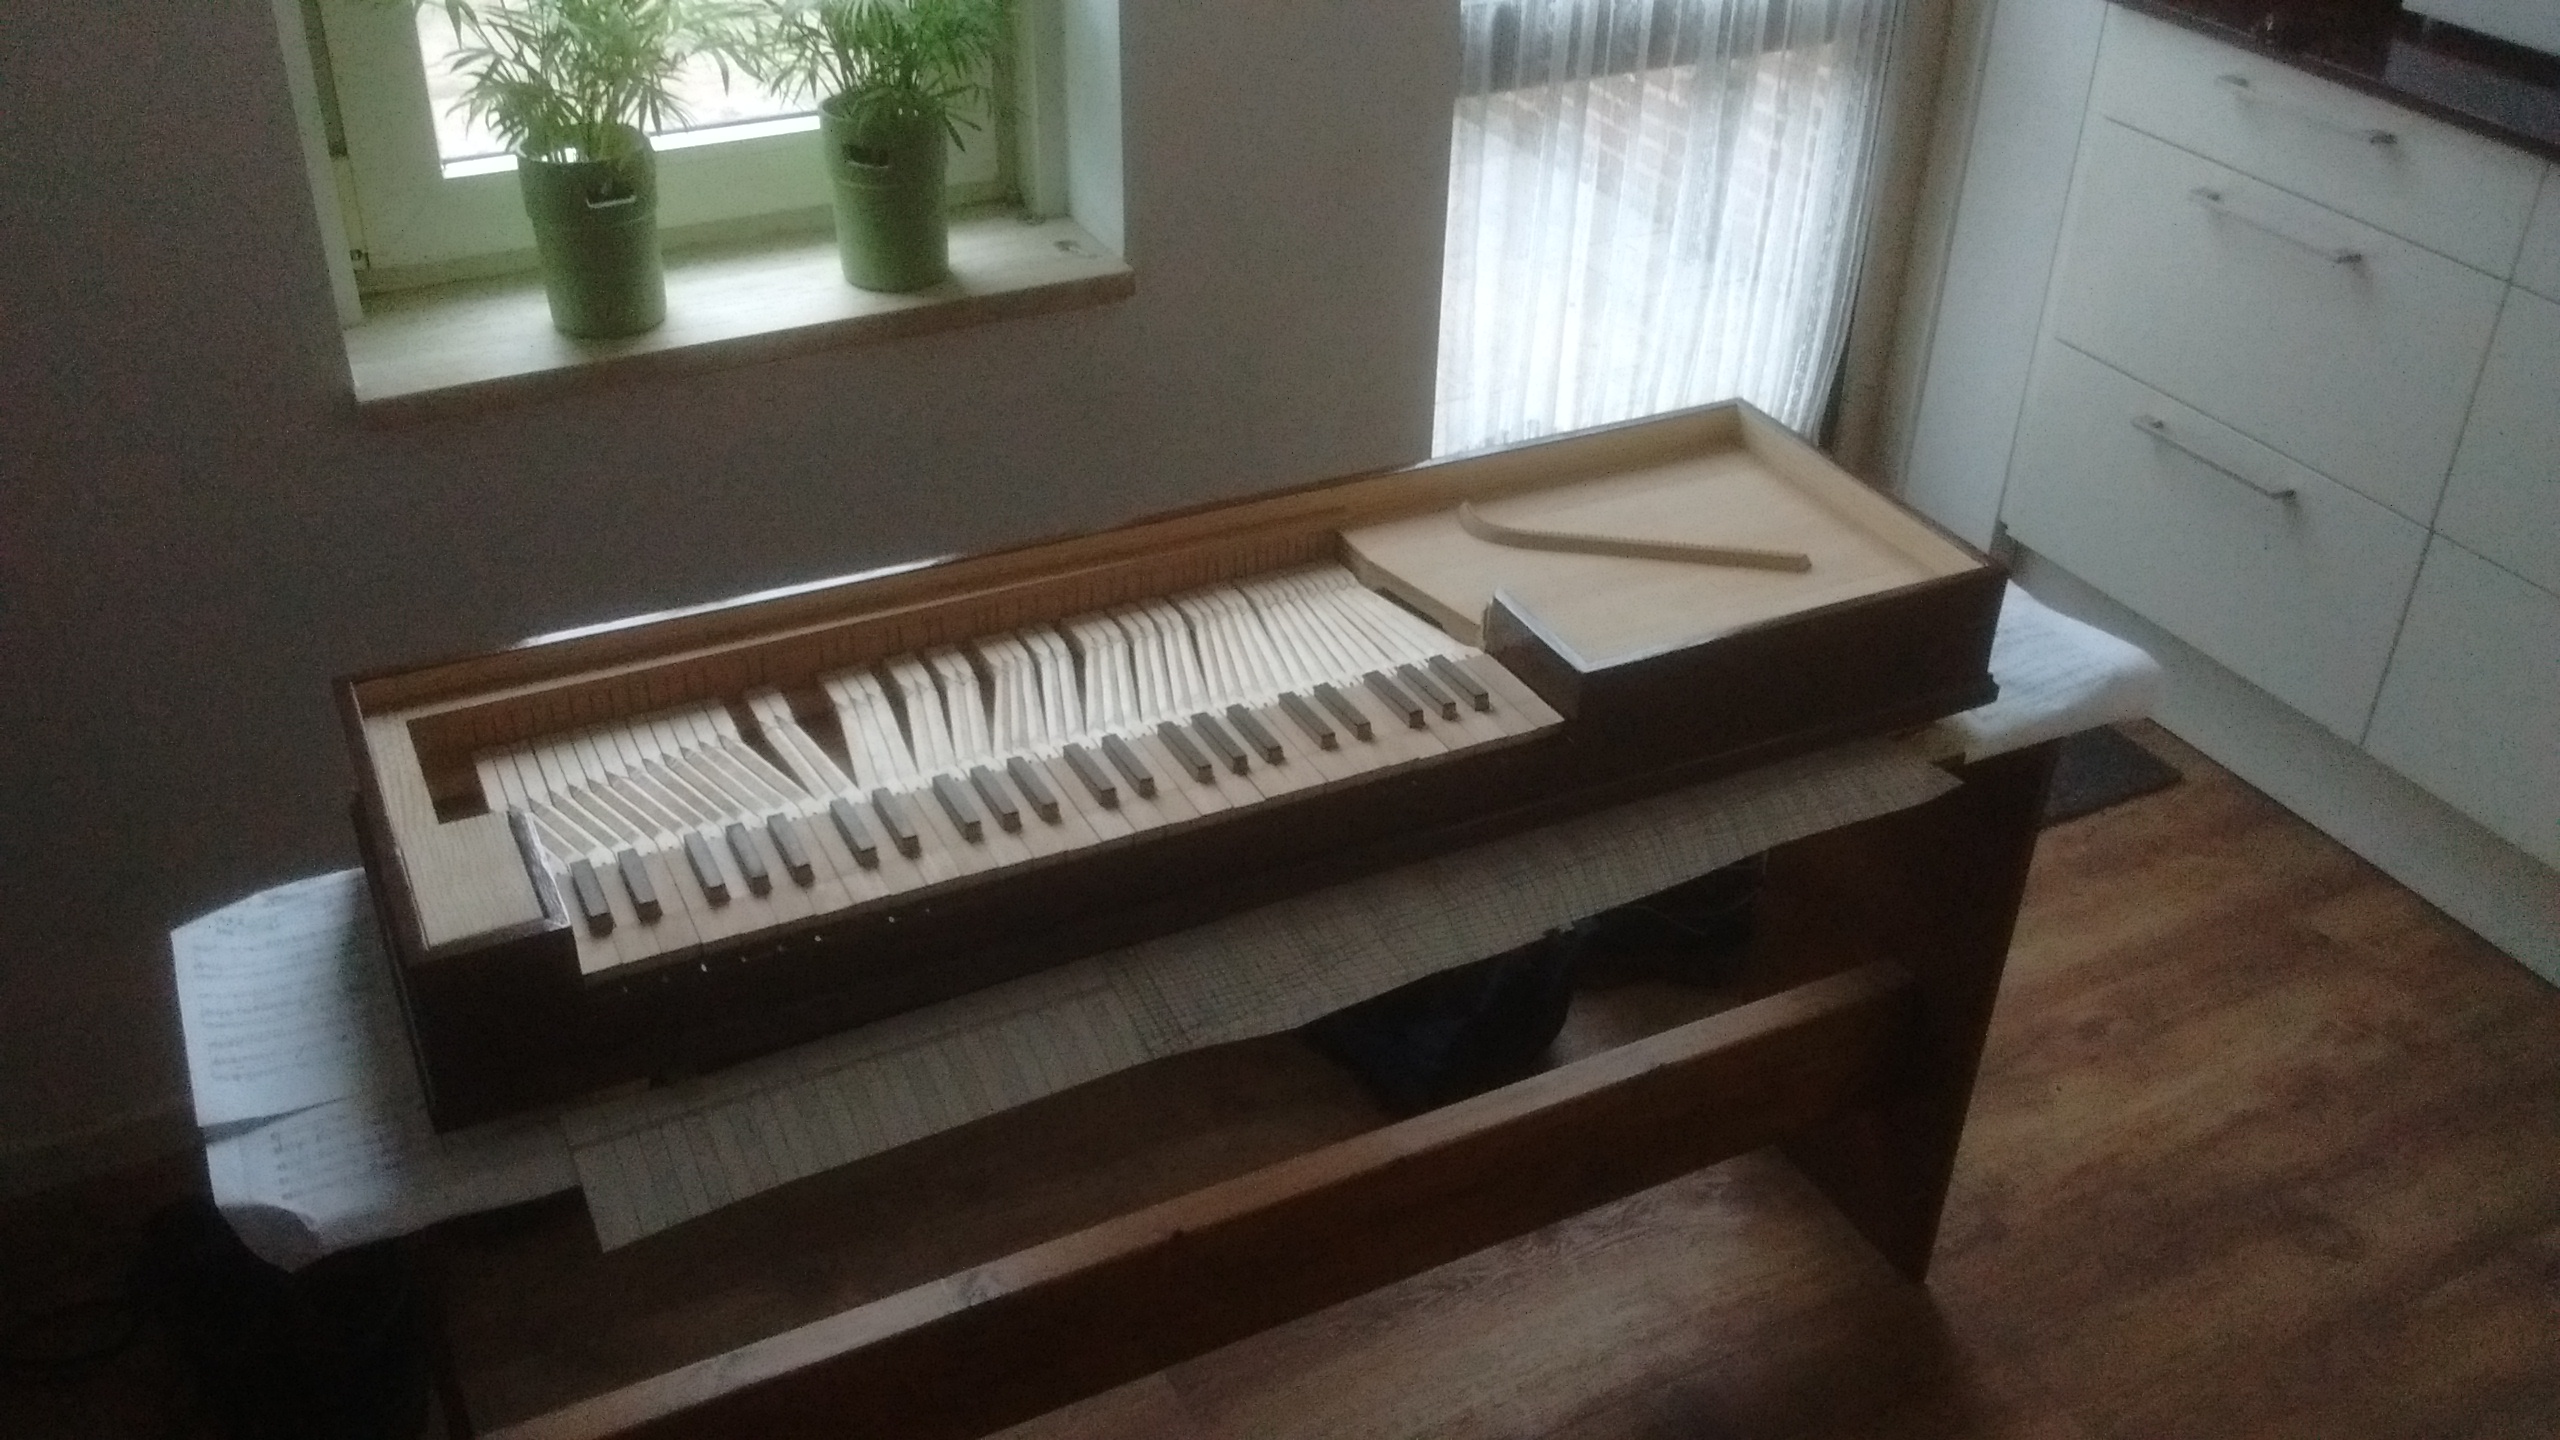
 Overview shot with the bottom attached to the frame. The soundboard liners, touchrail and bass hitchpin rail have also been attached.
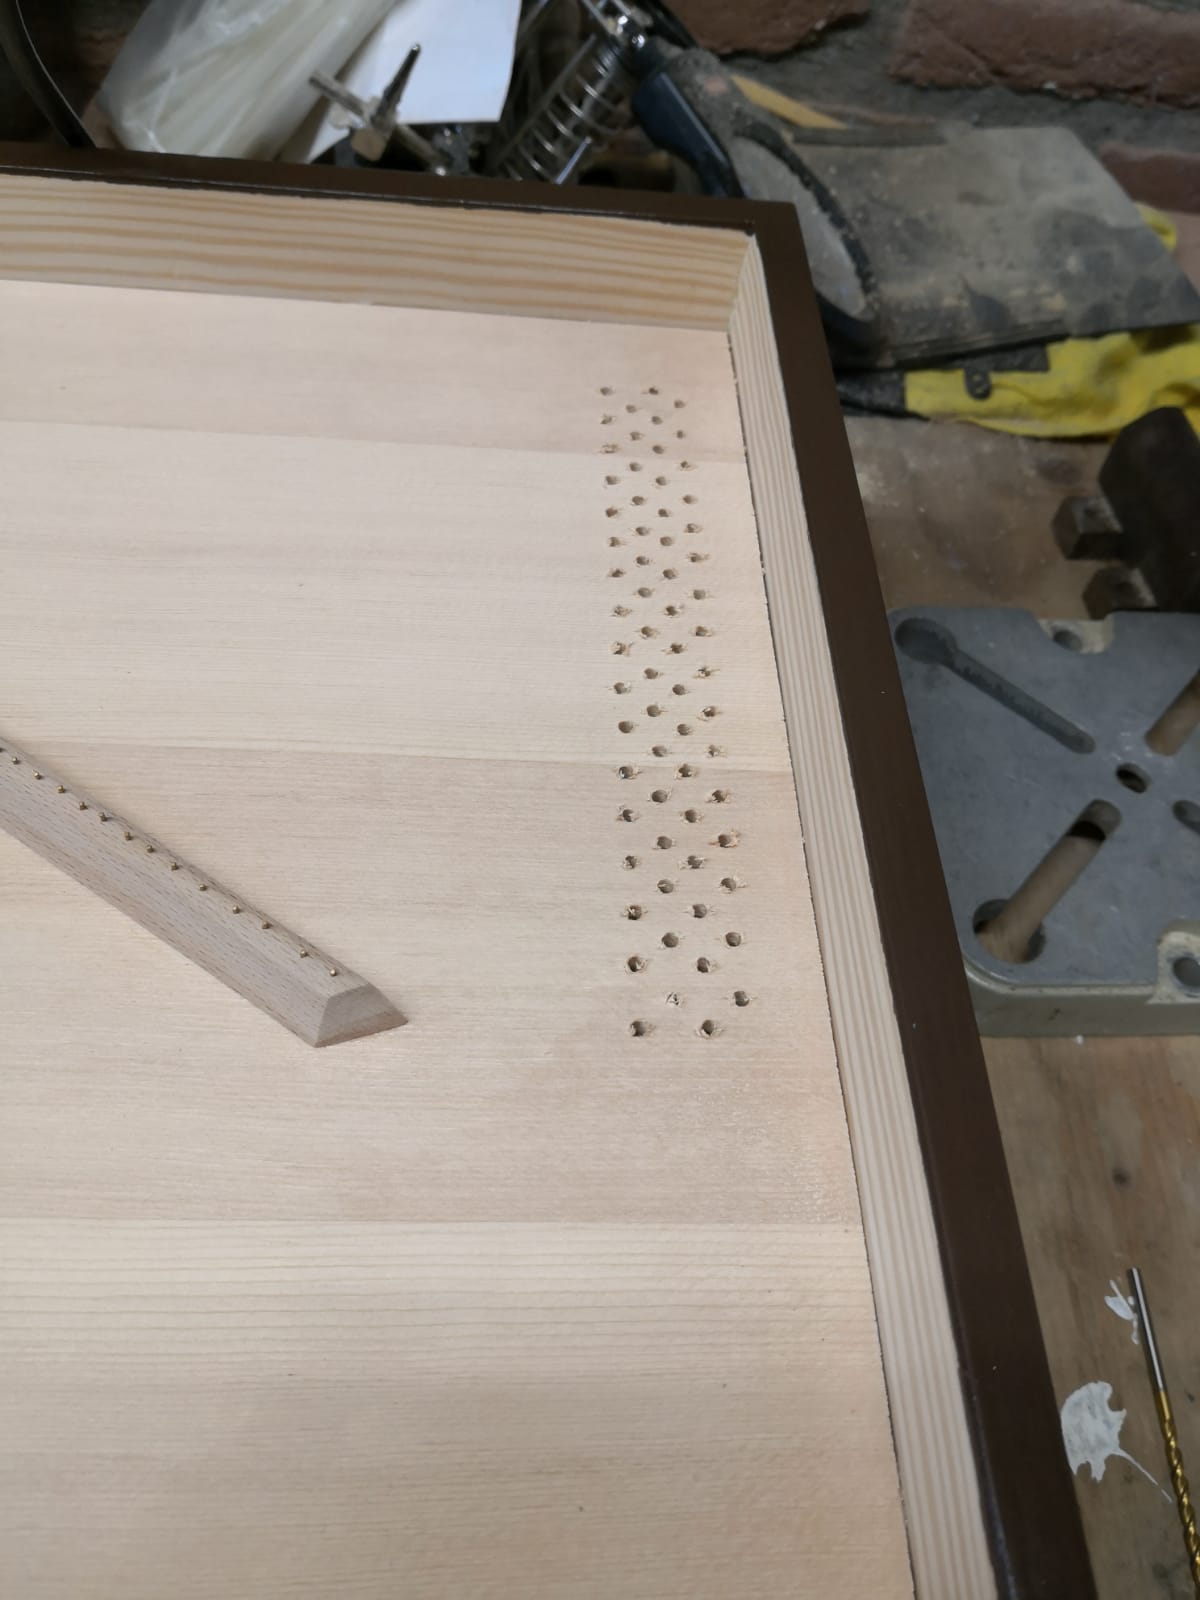
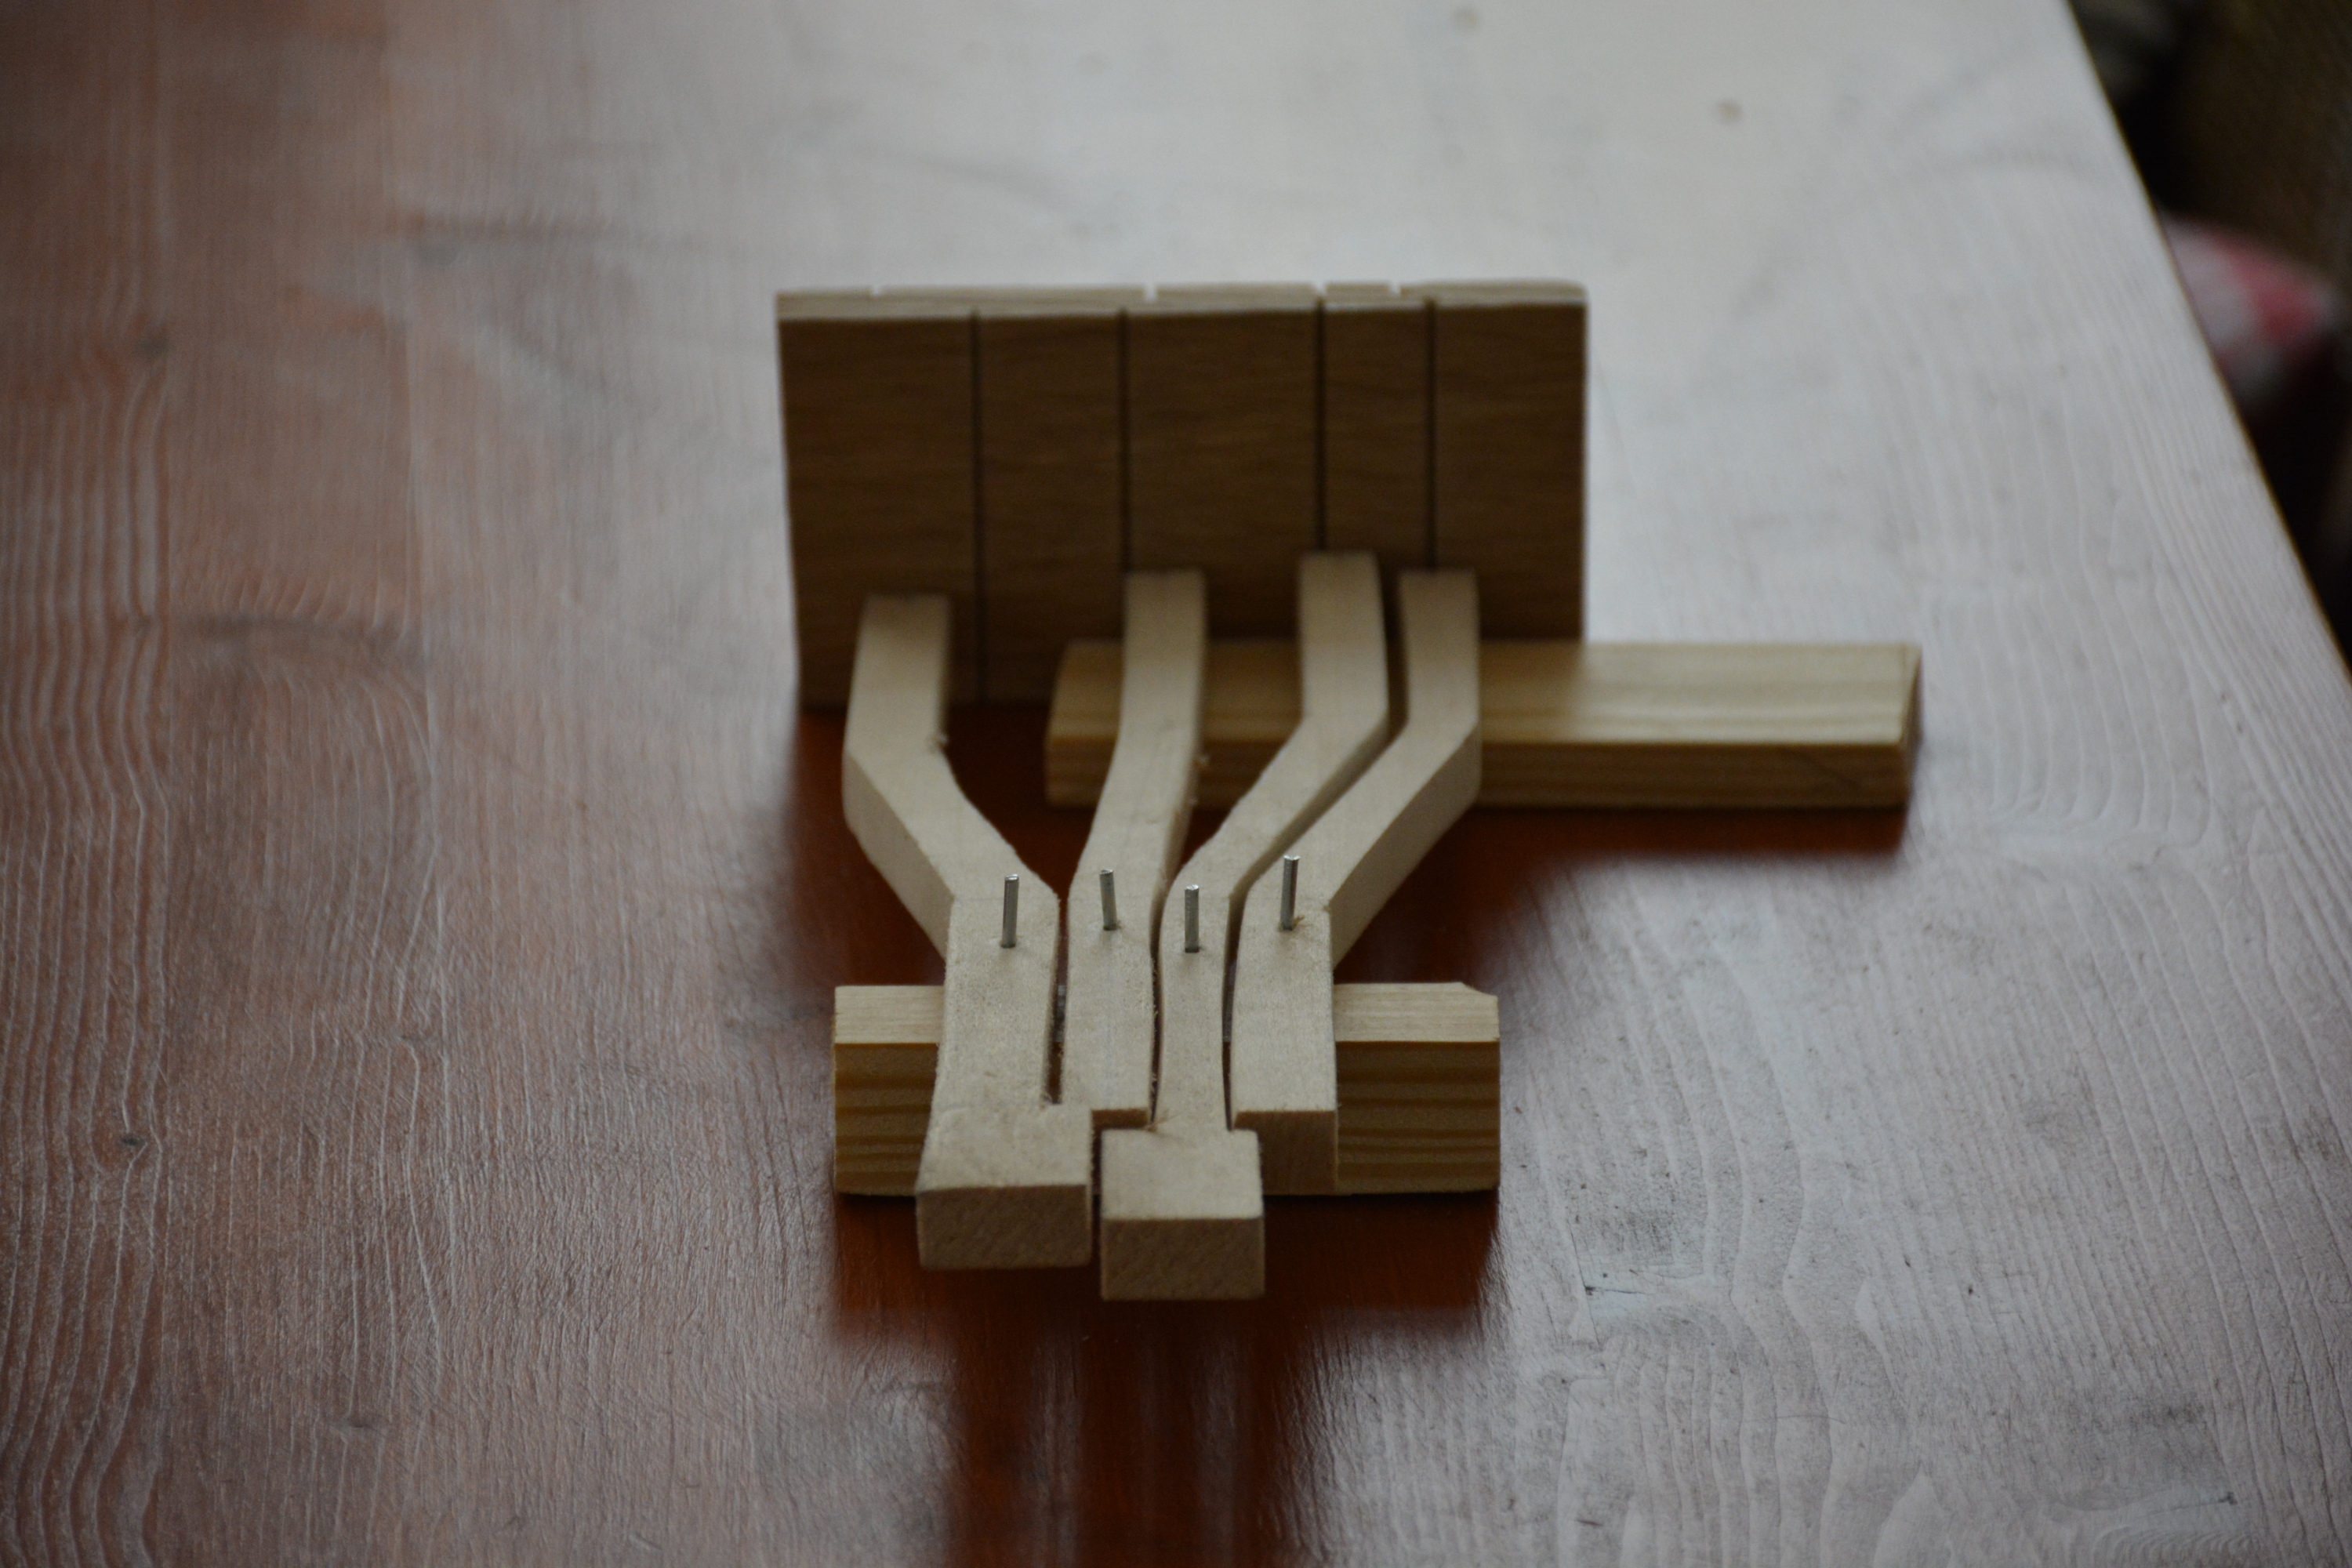 A key tester for finding the best way of cutting the guide rack slots.
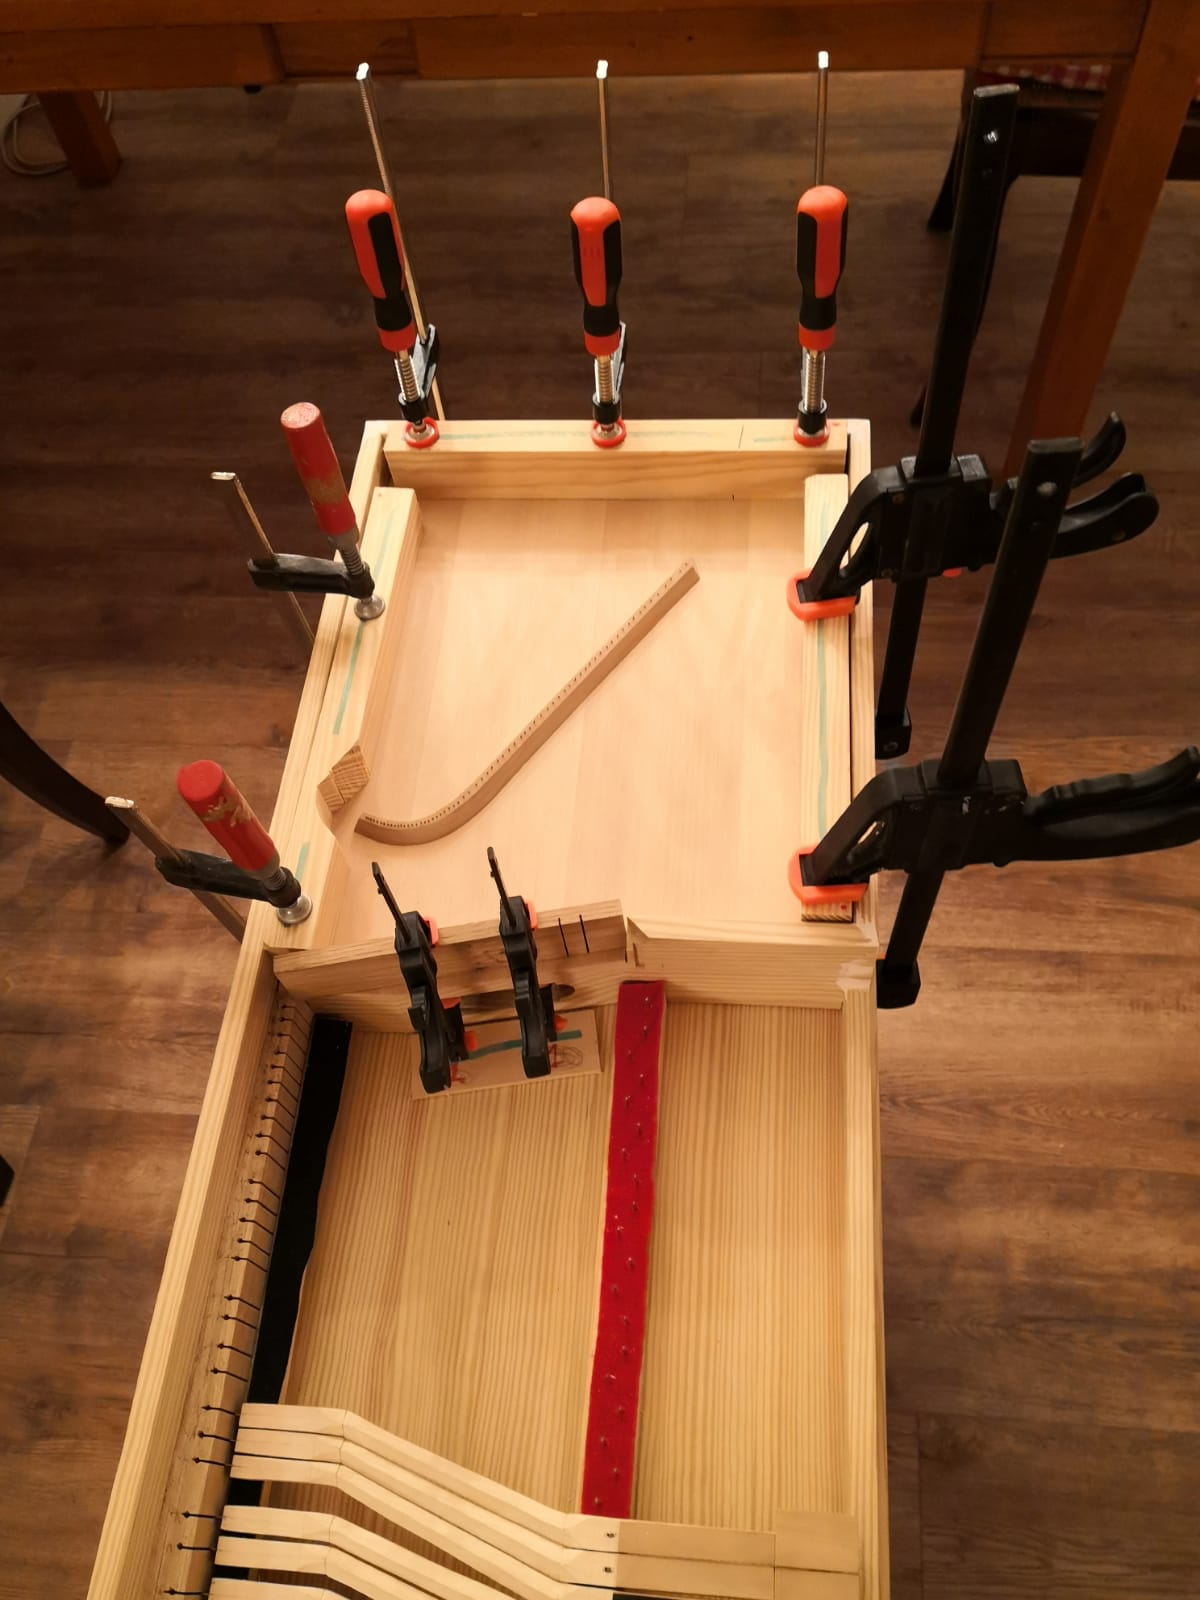
 Glueing the rack into the instrument with hide glue.
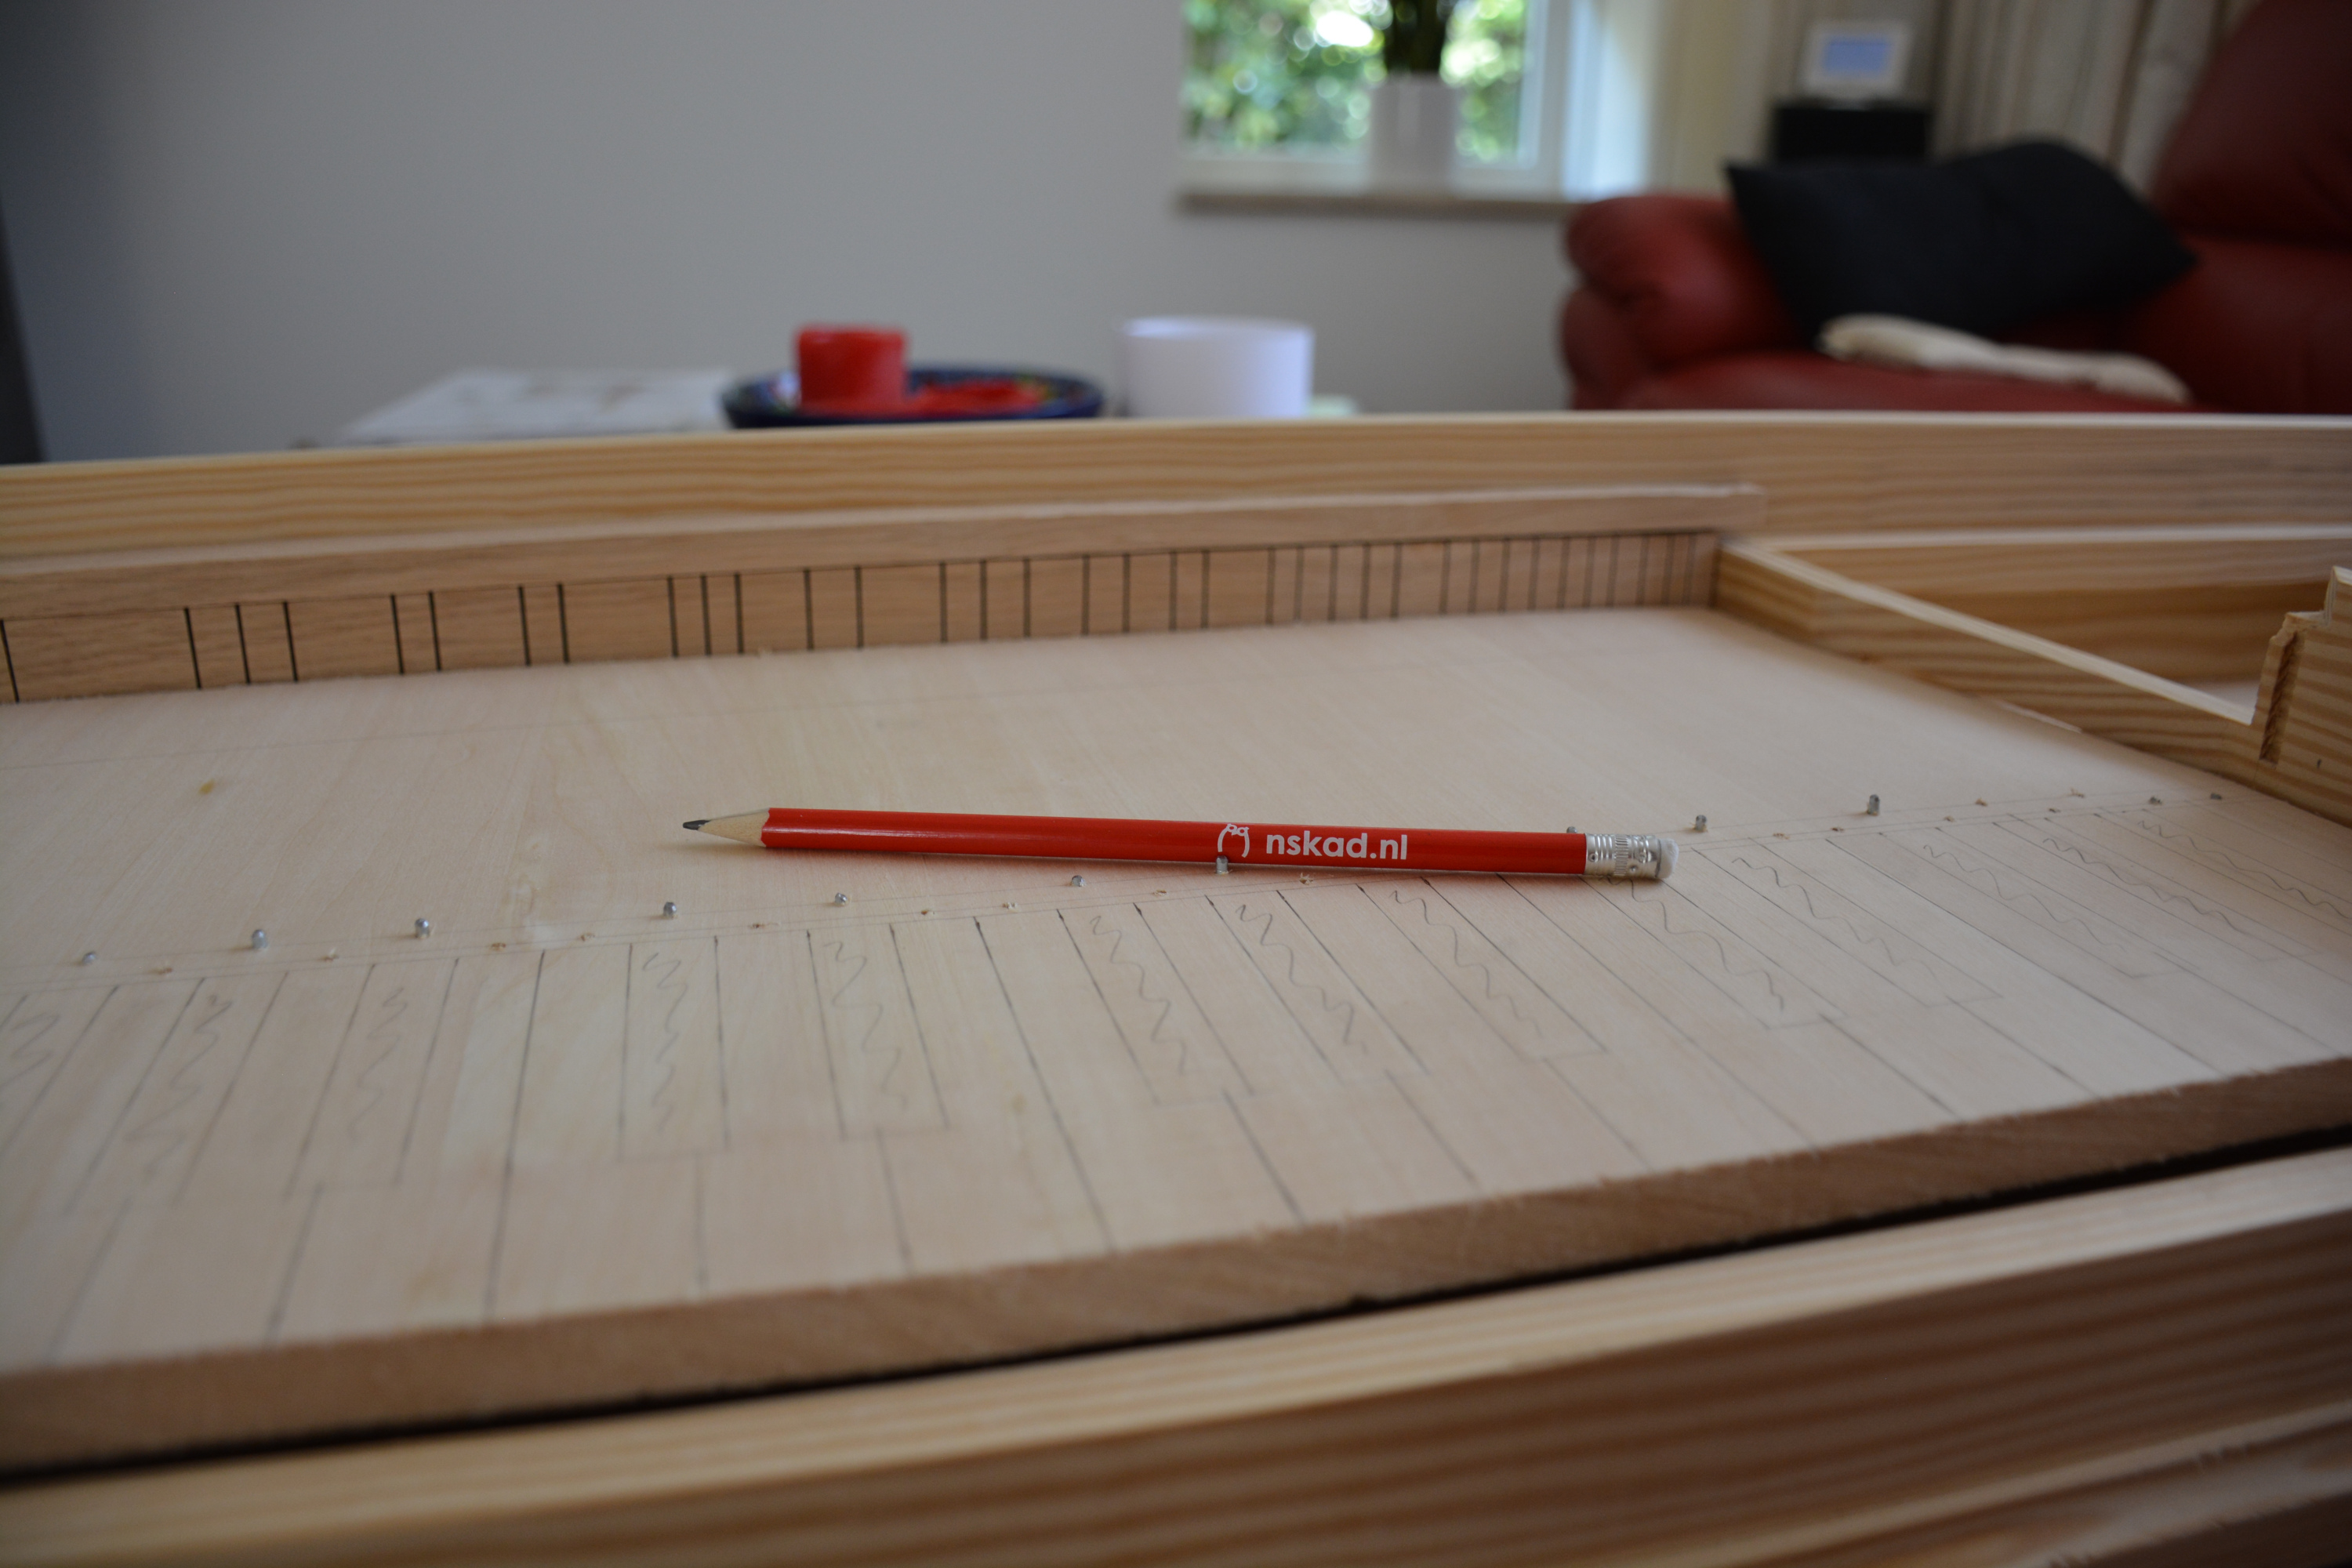
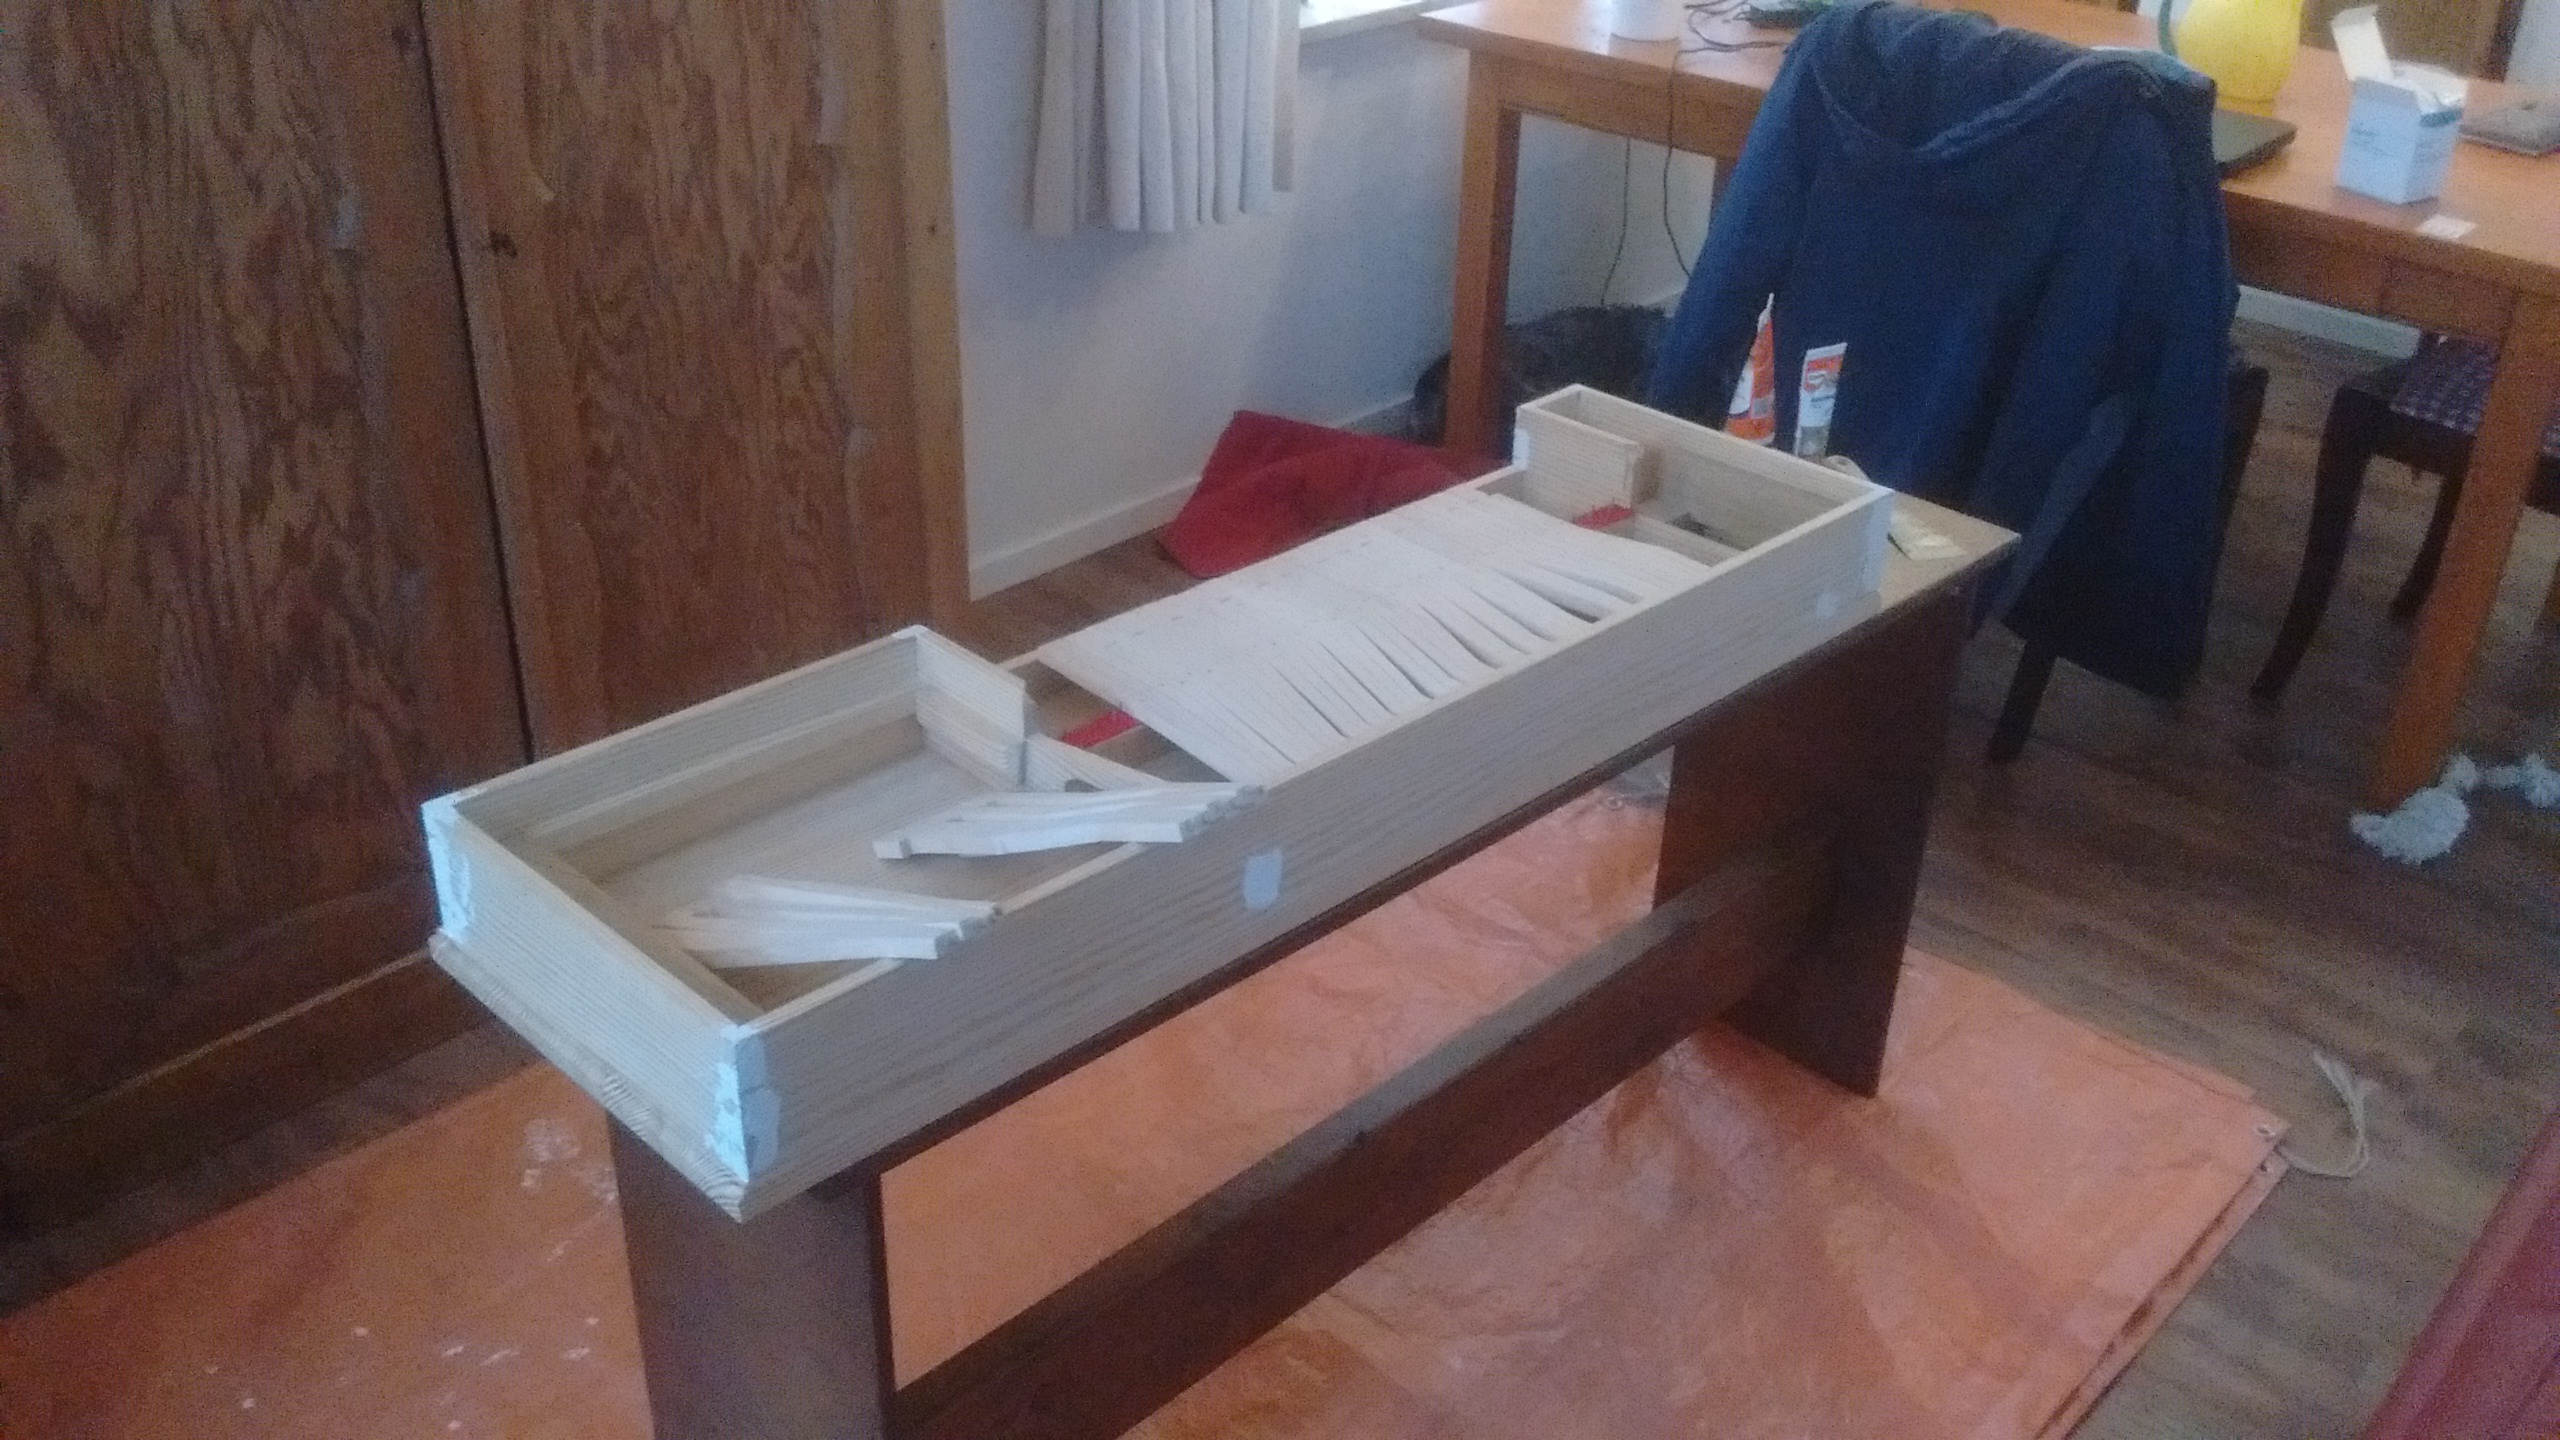
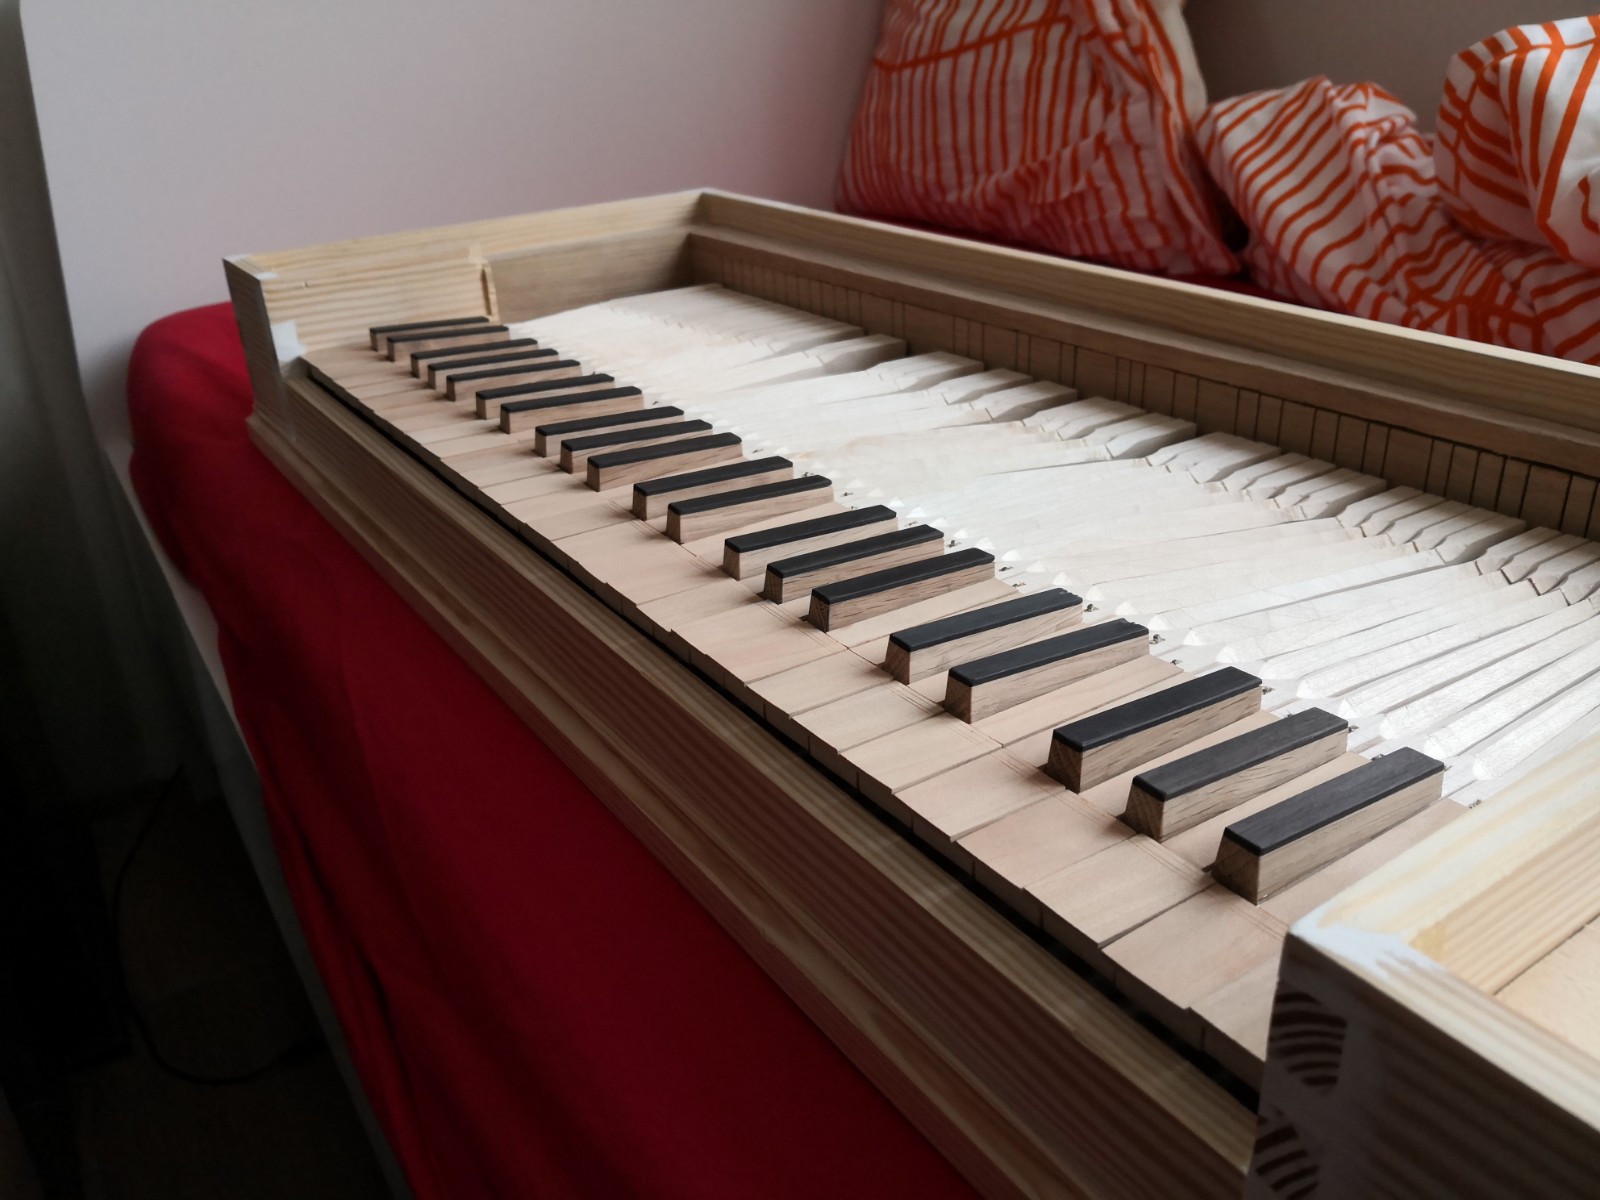
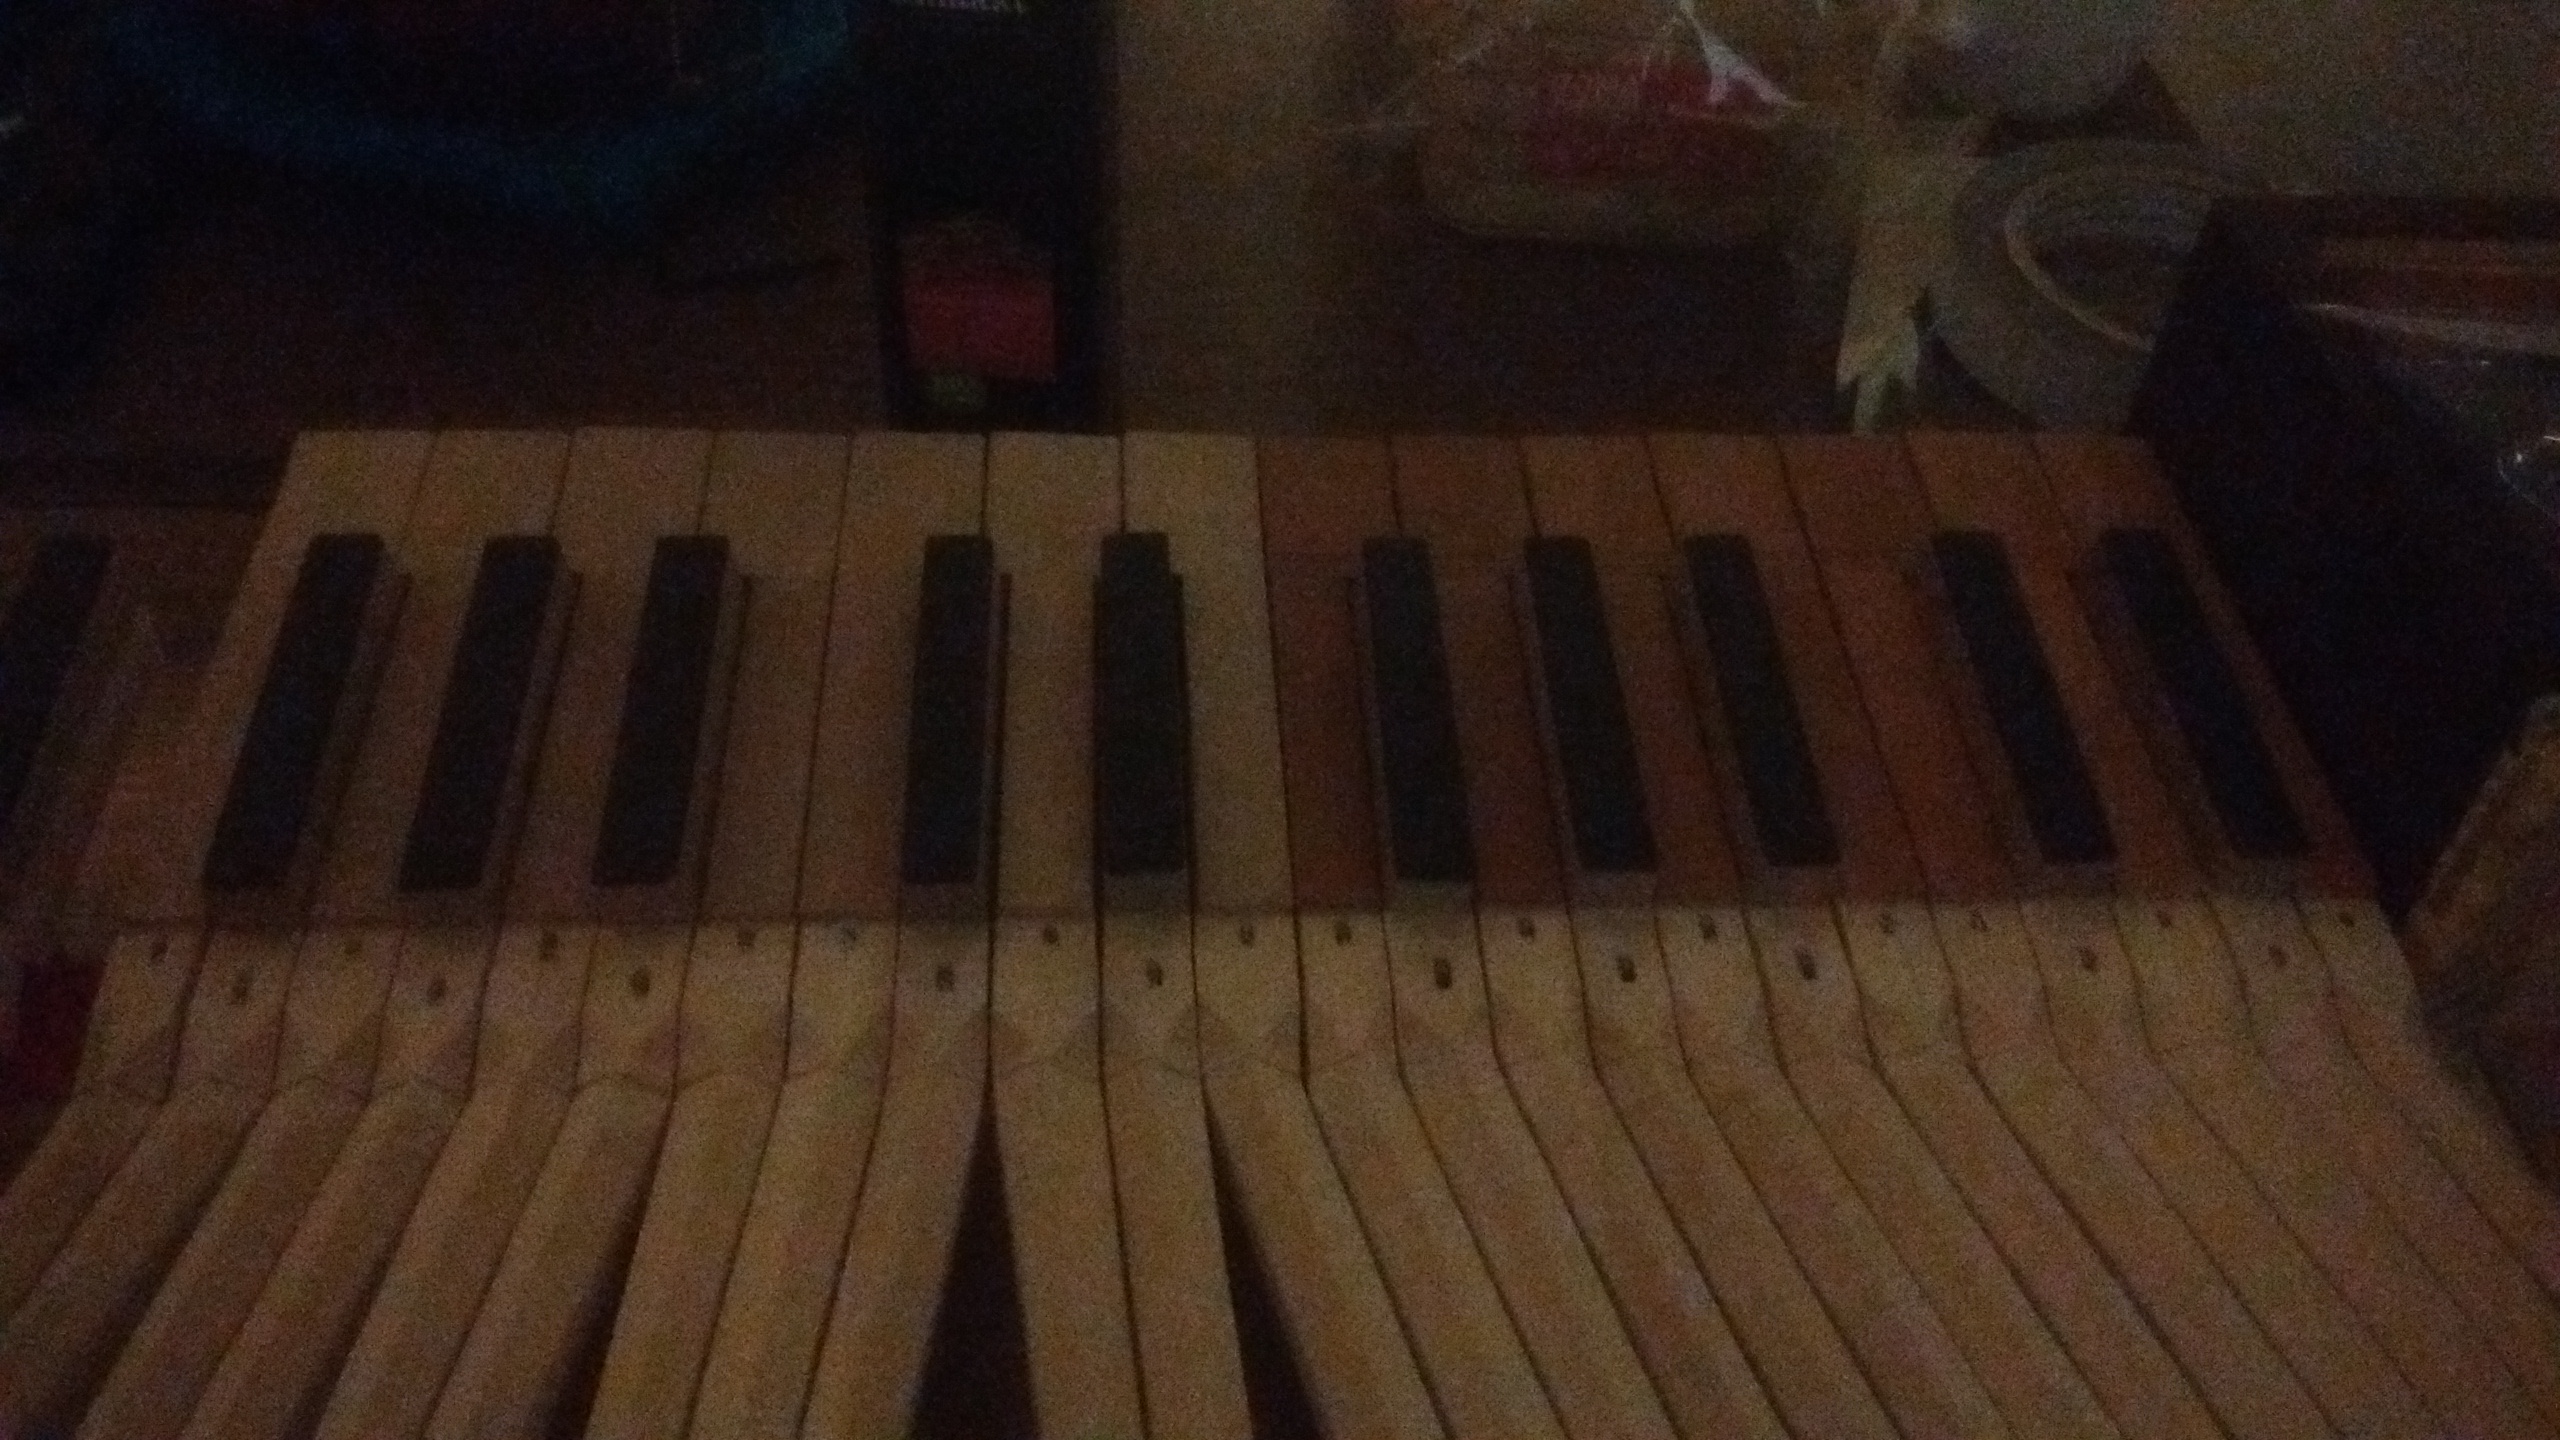
 The keyboard cut to size with a paper layout attached.
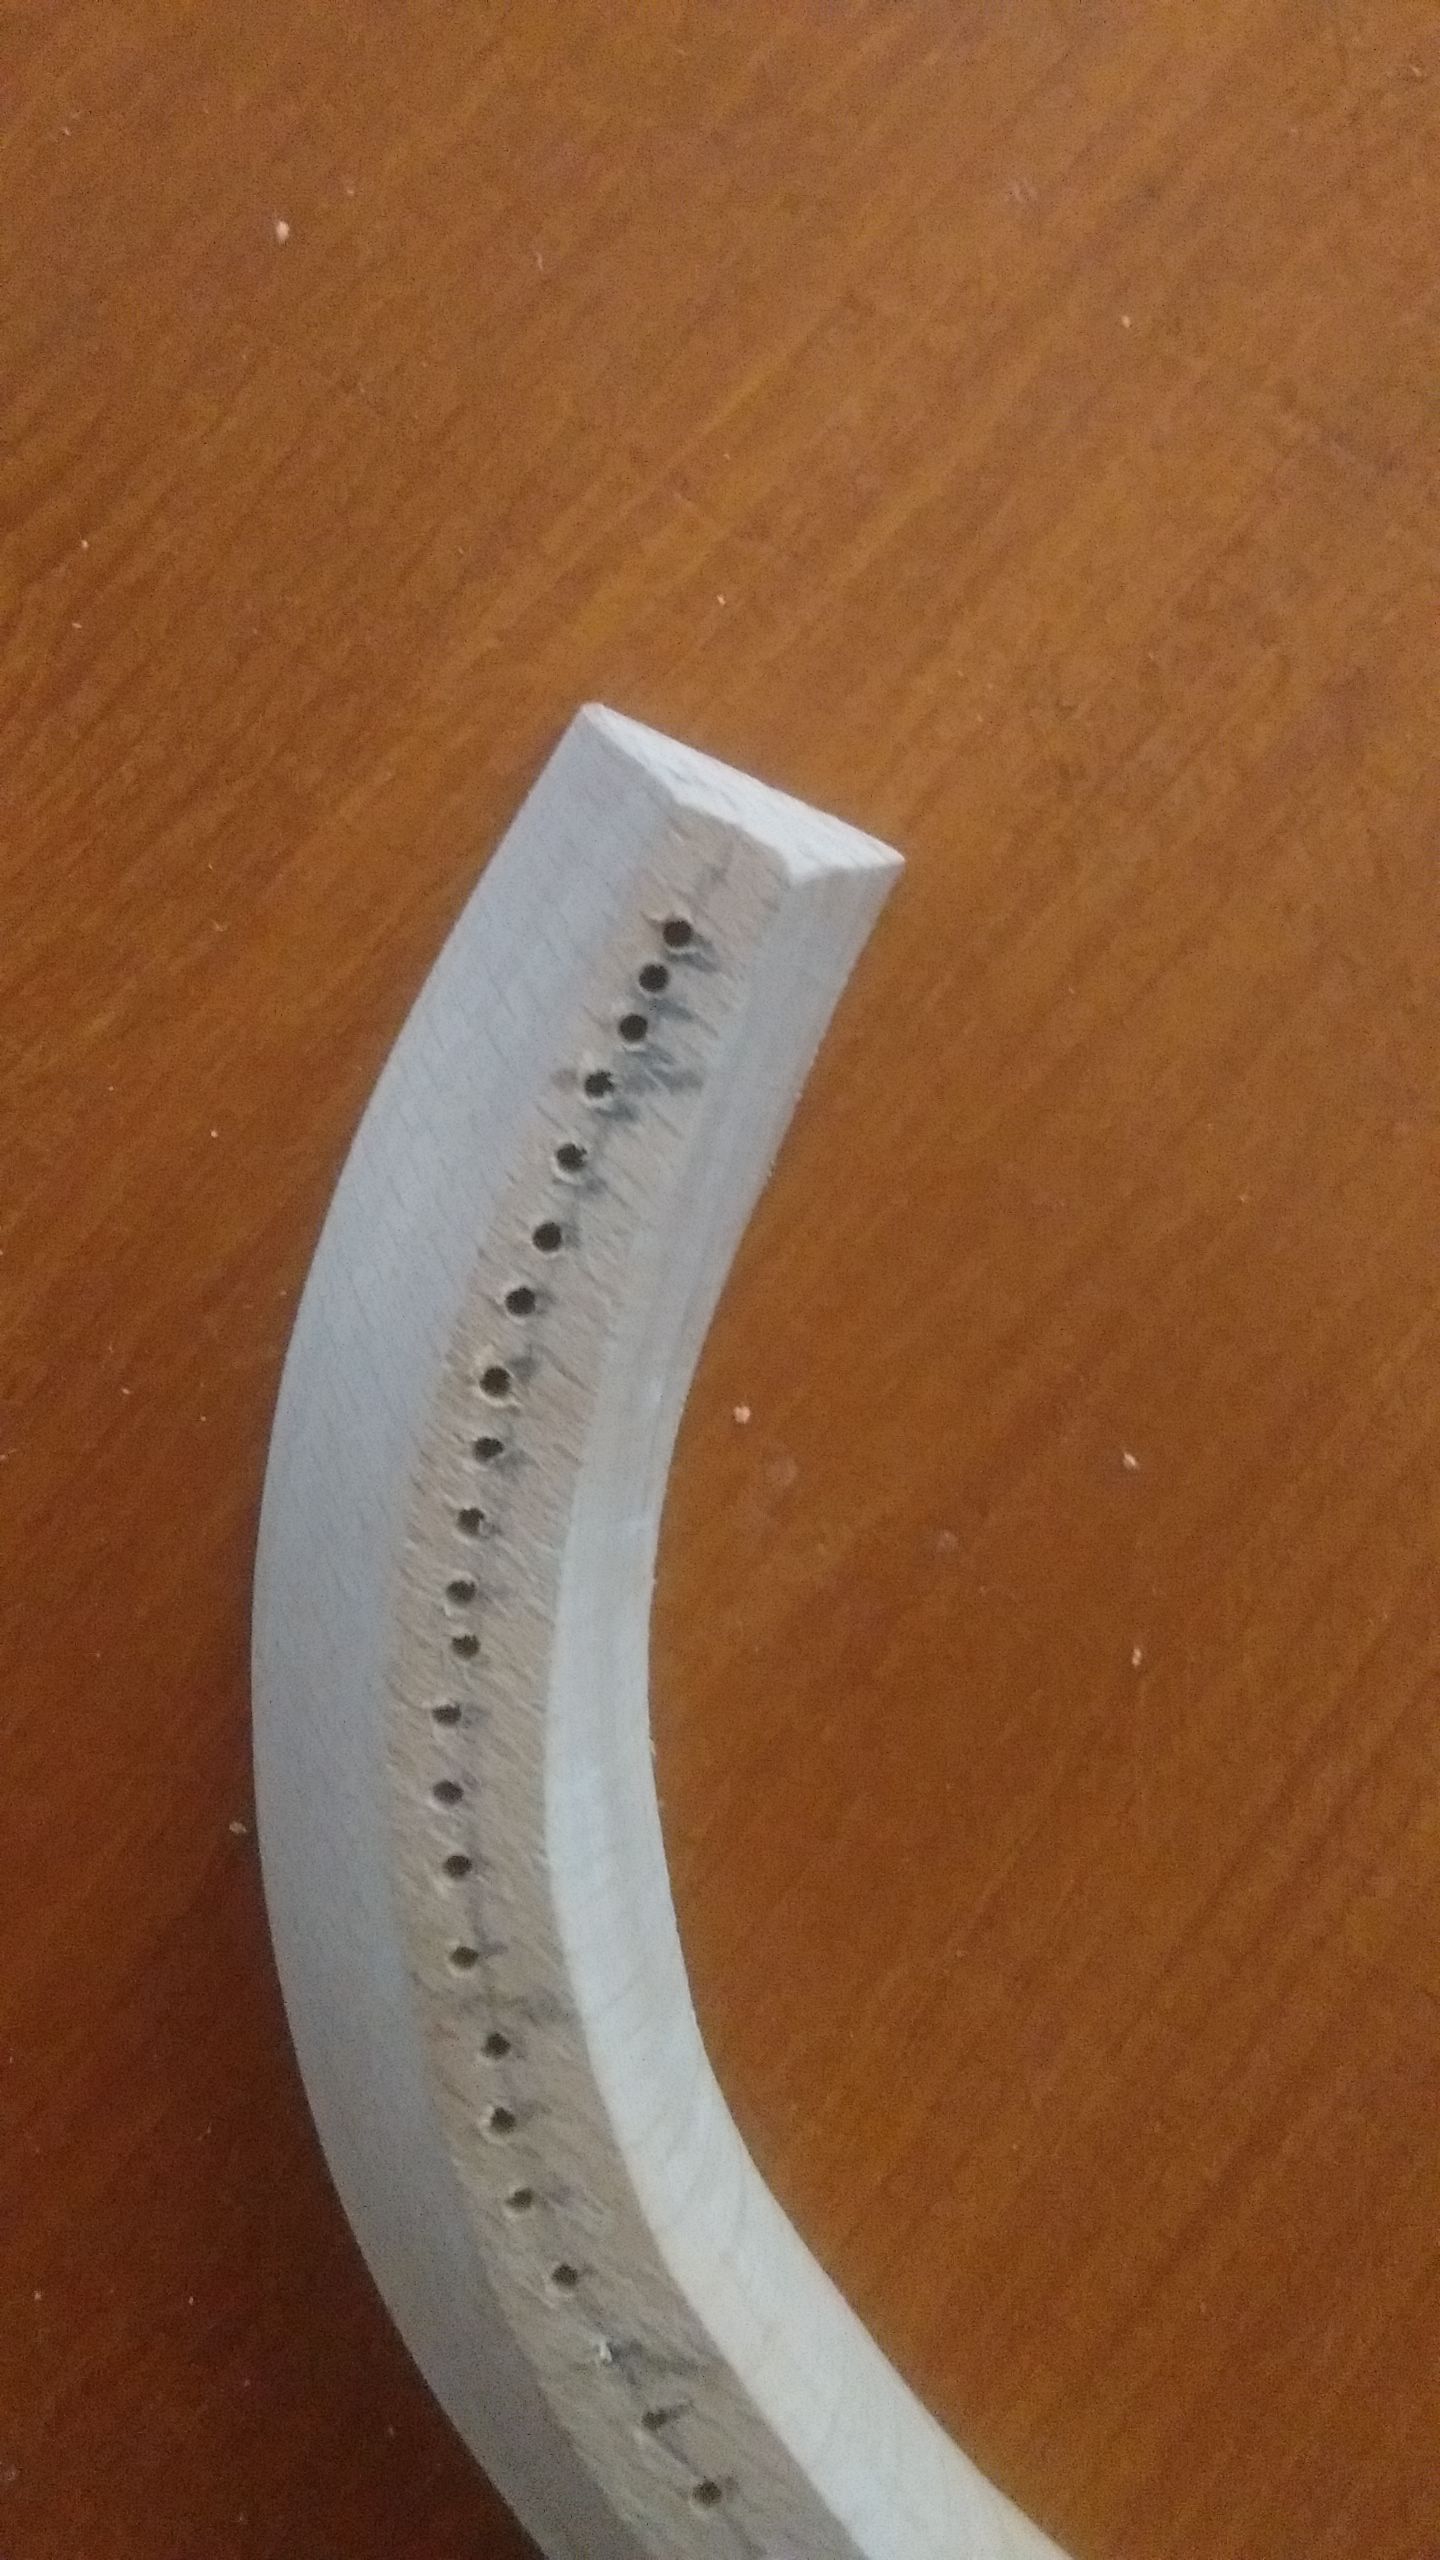
 Drilling the balance pin holes (freehand! maybe not the best idea).
 My trusty companion.
 The soundboard cut to size.
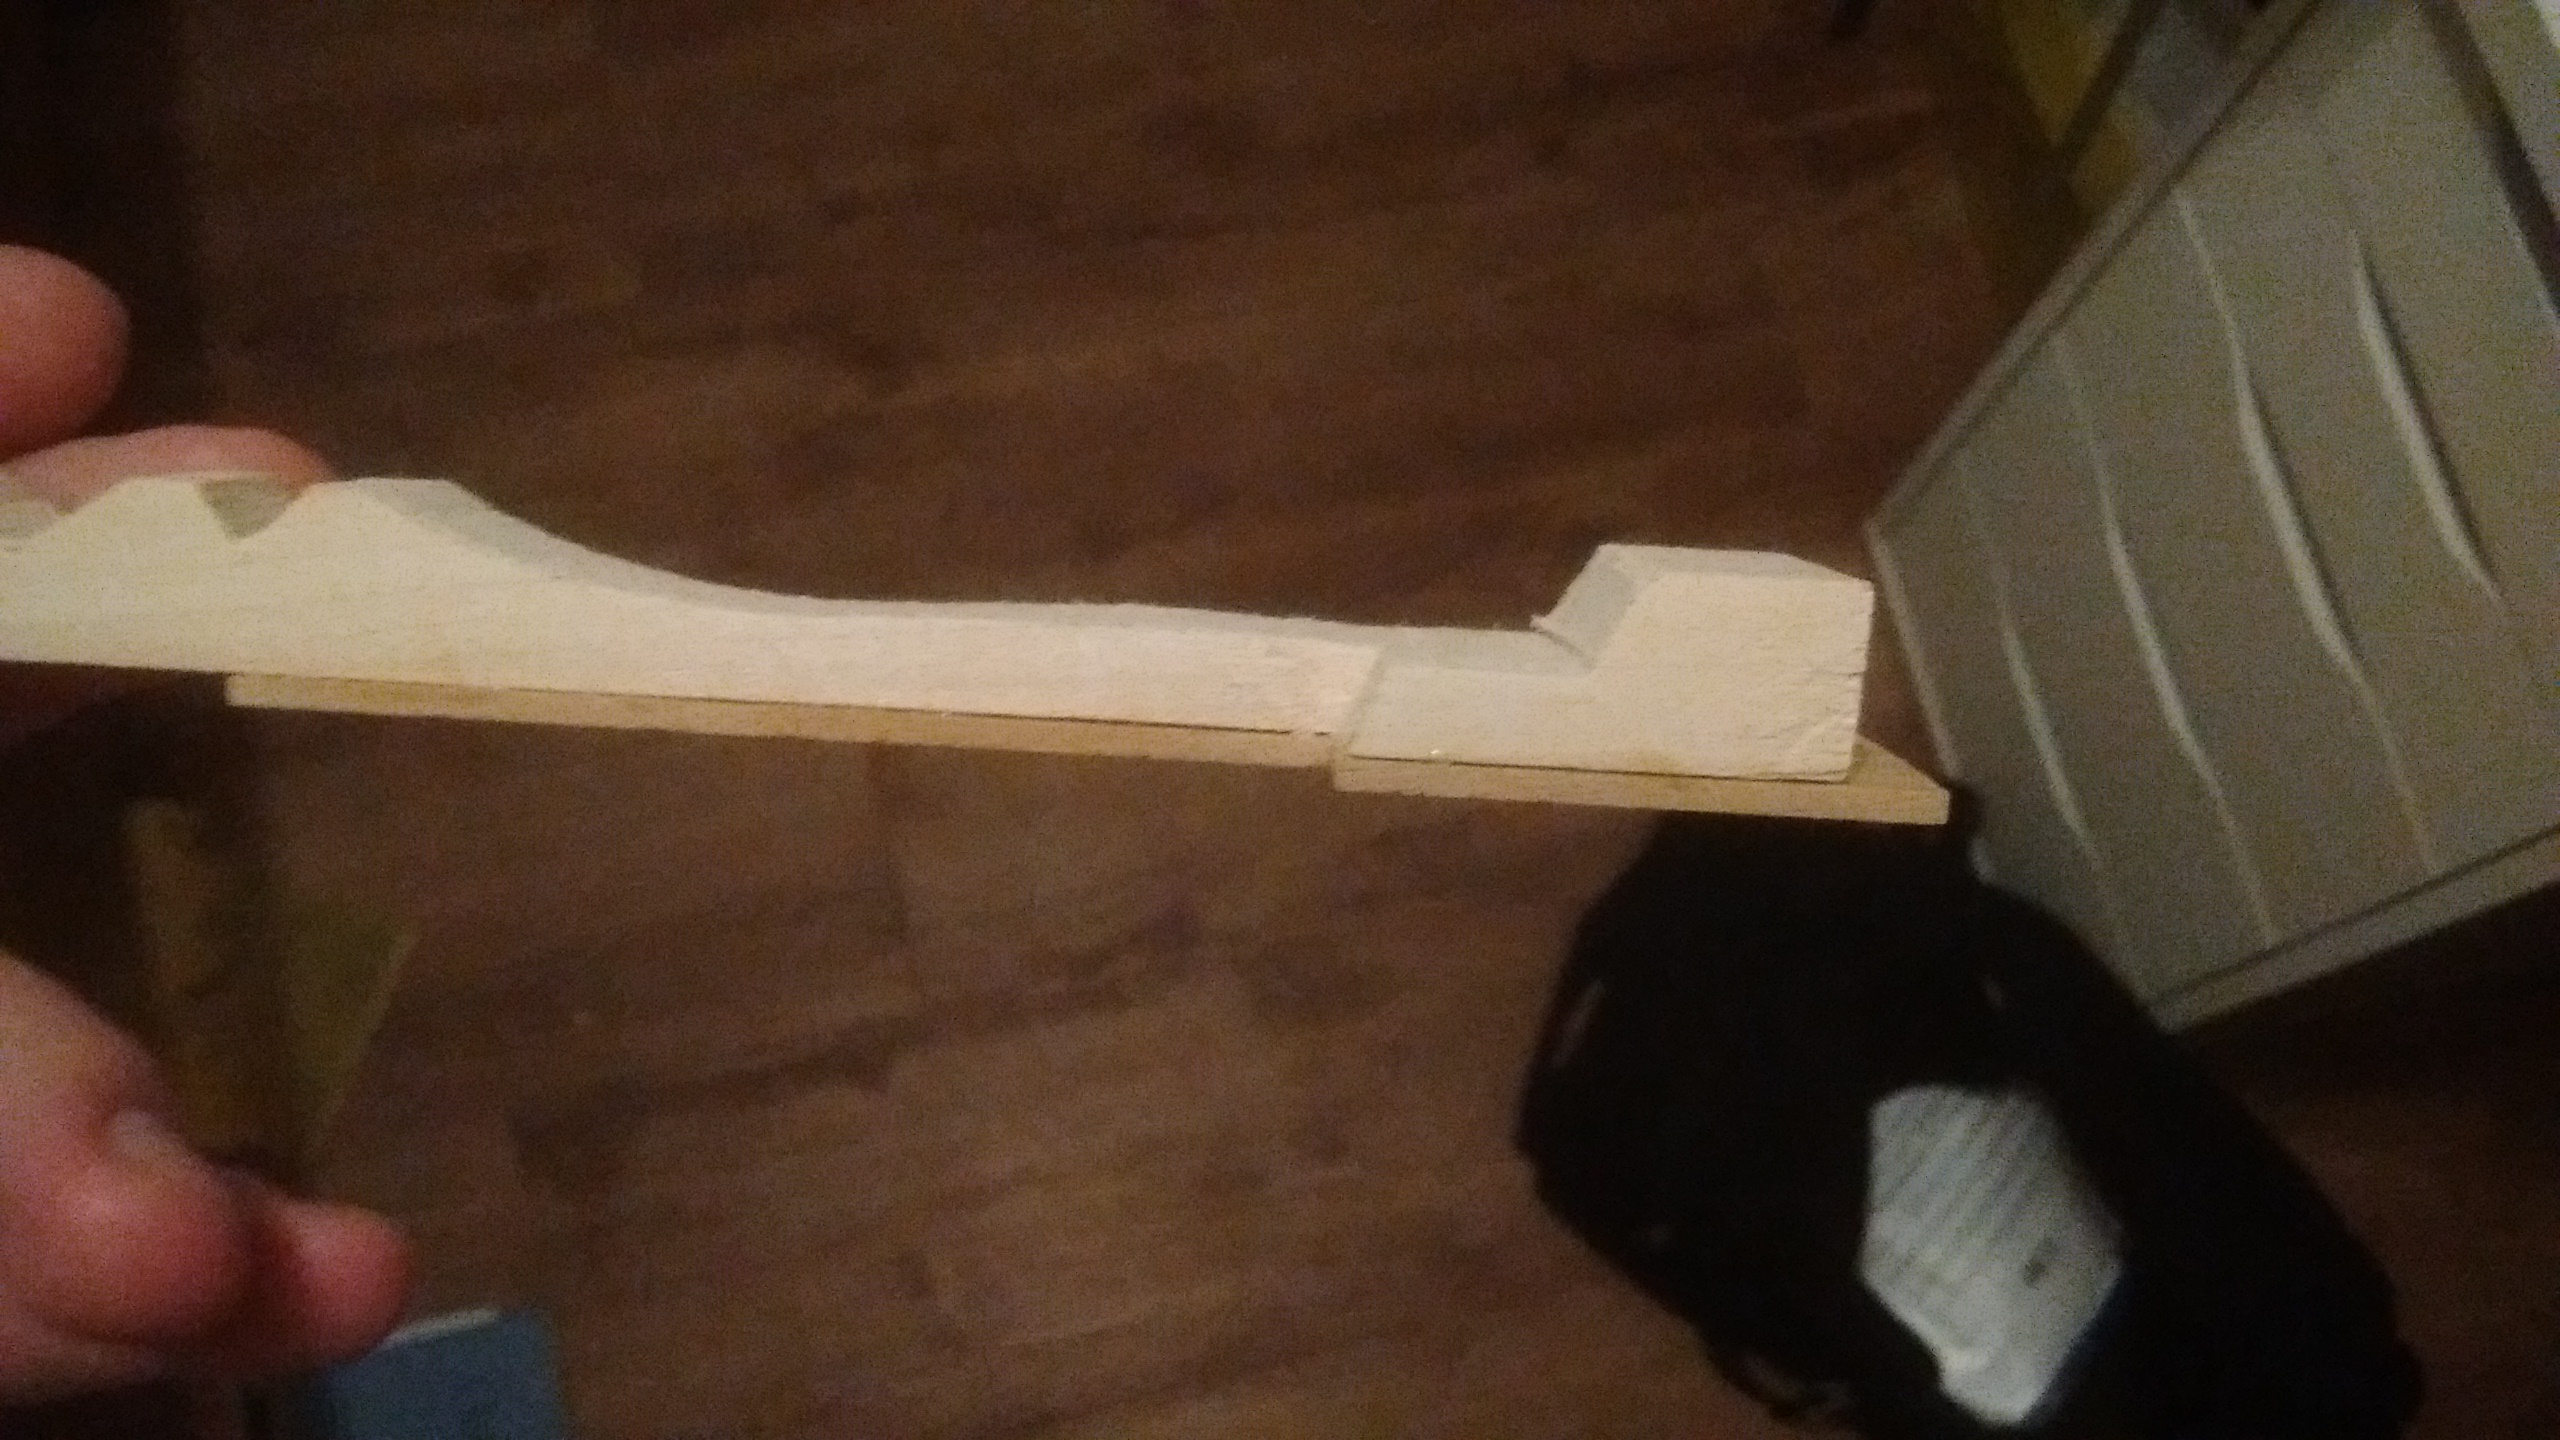
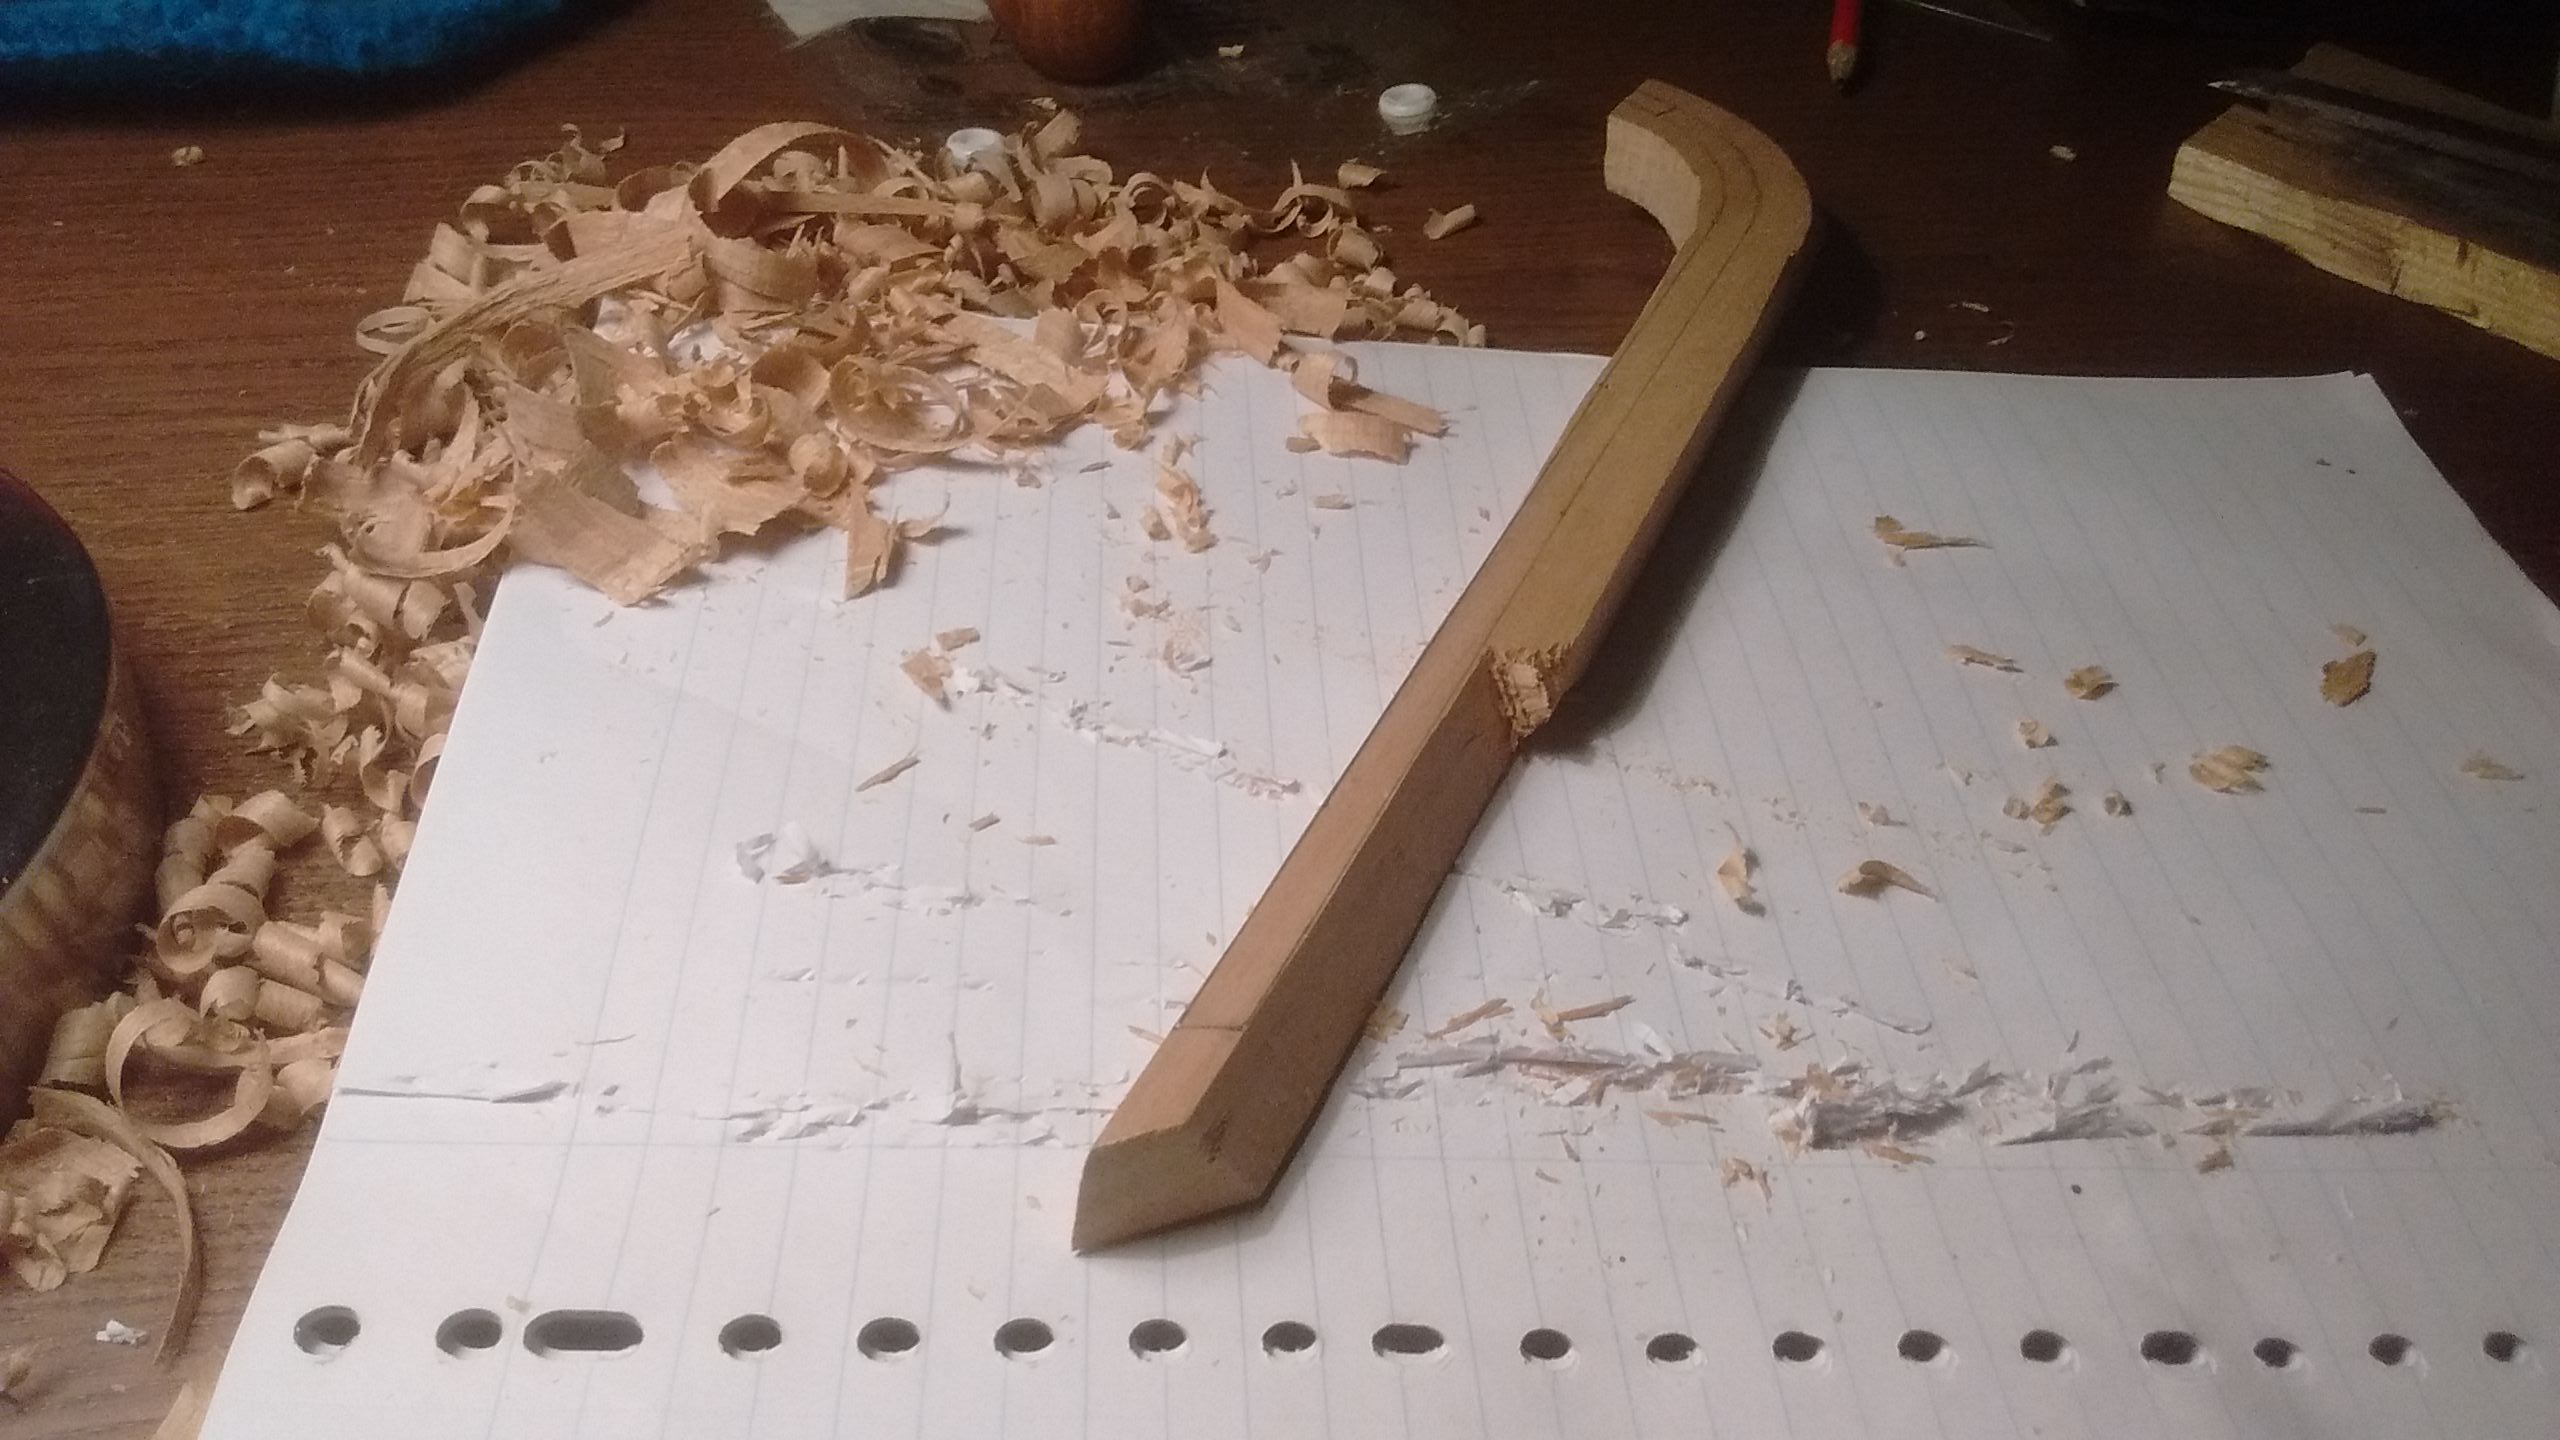 Carving the bridge.
 Bridge pin holes drilled.
 The bridge glued to the soundboard.
 Gaps in the corners filled with plaster.
 Carving the keys.
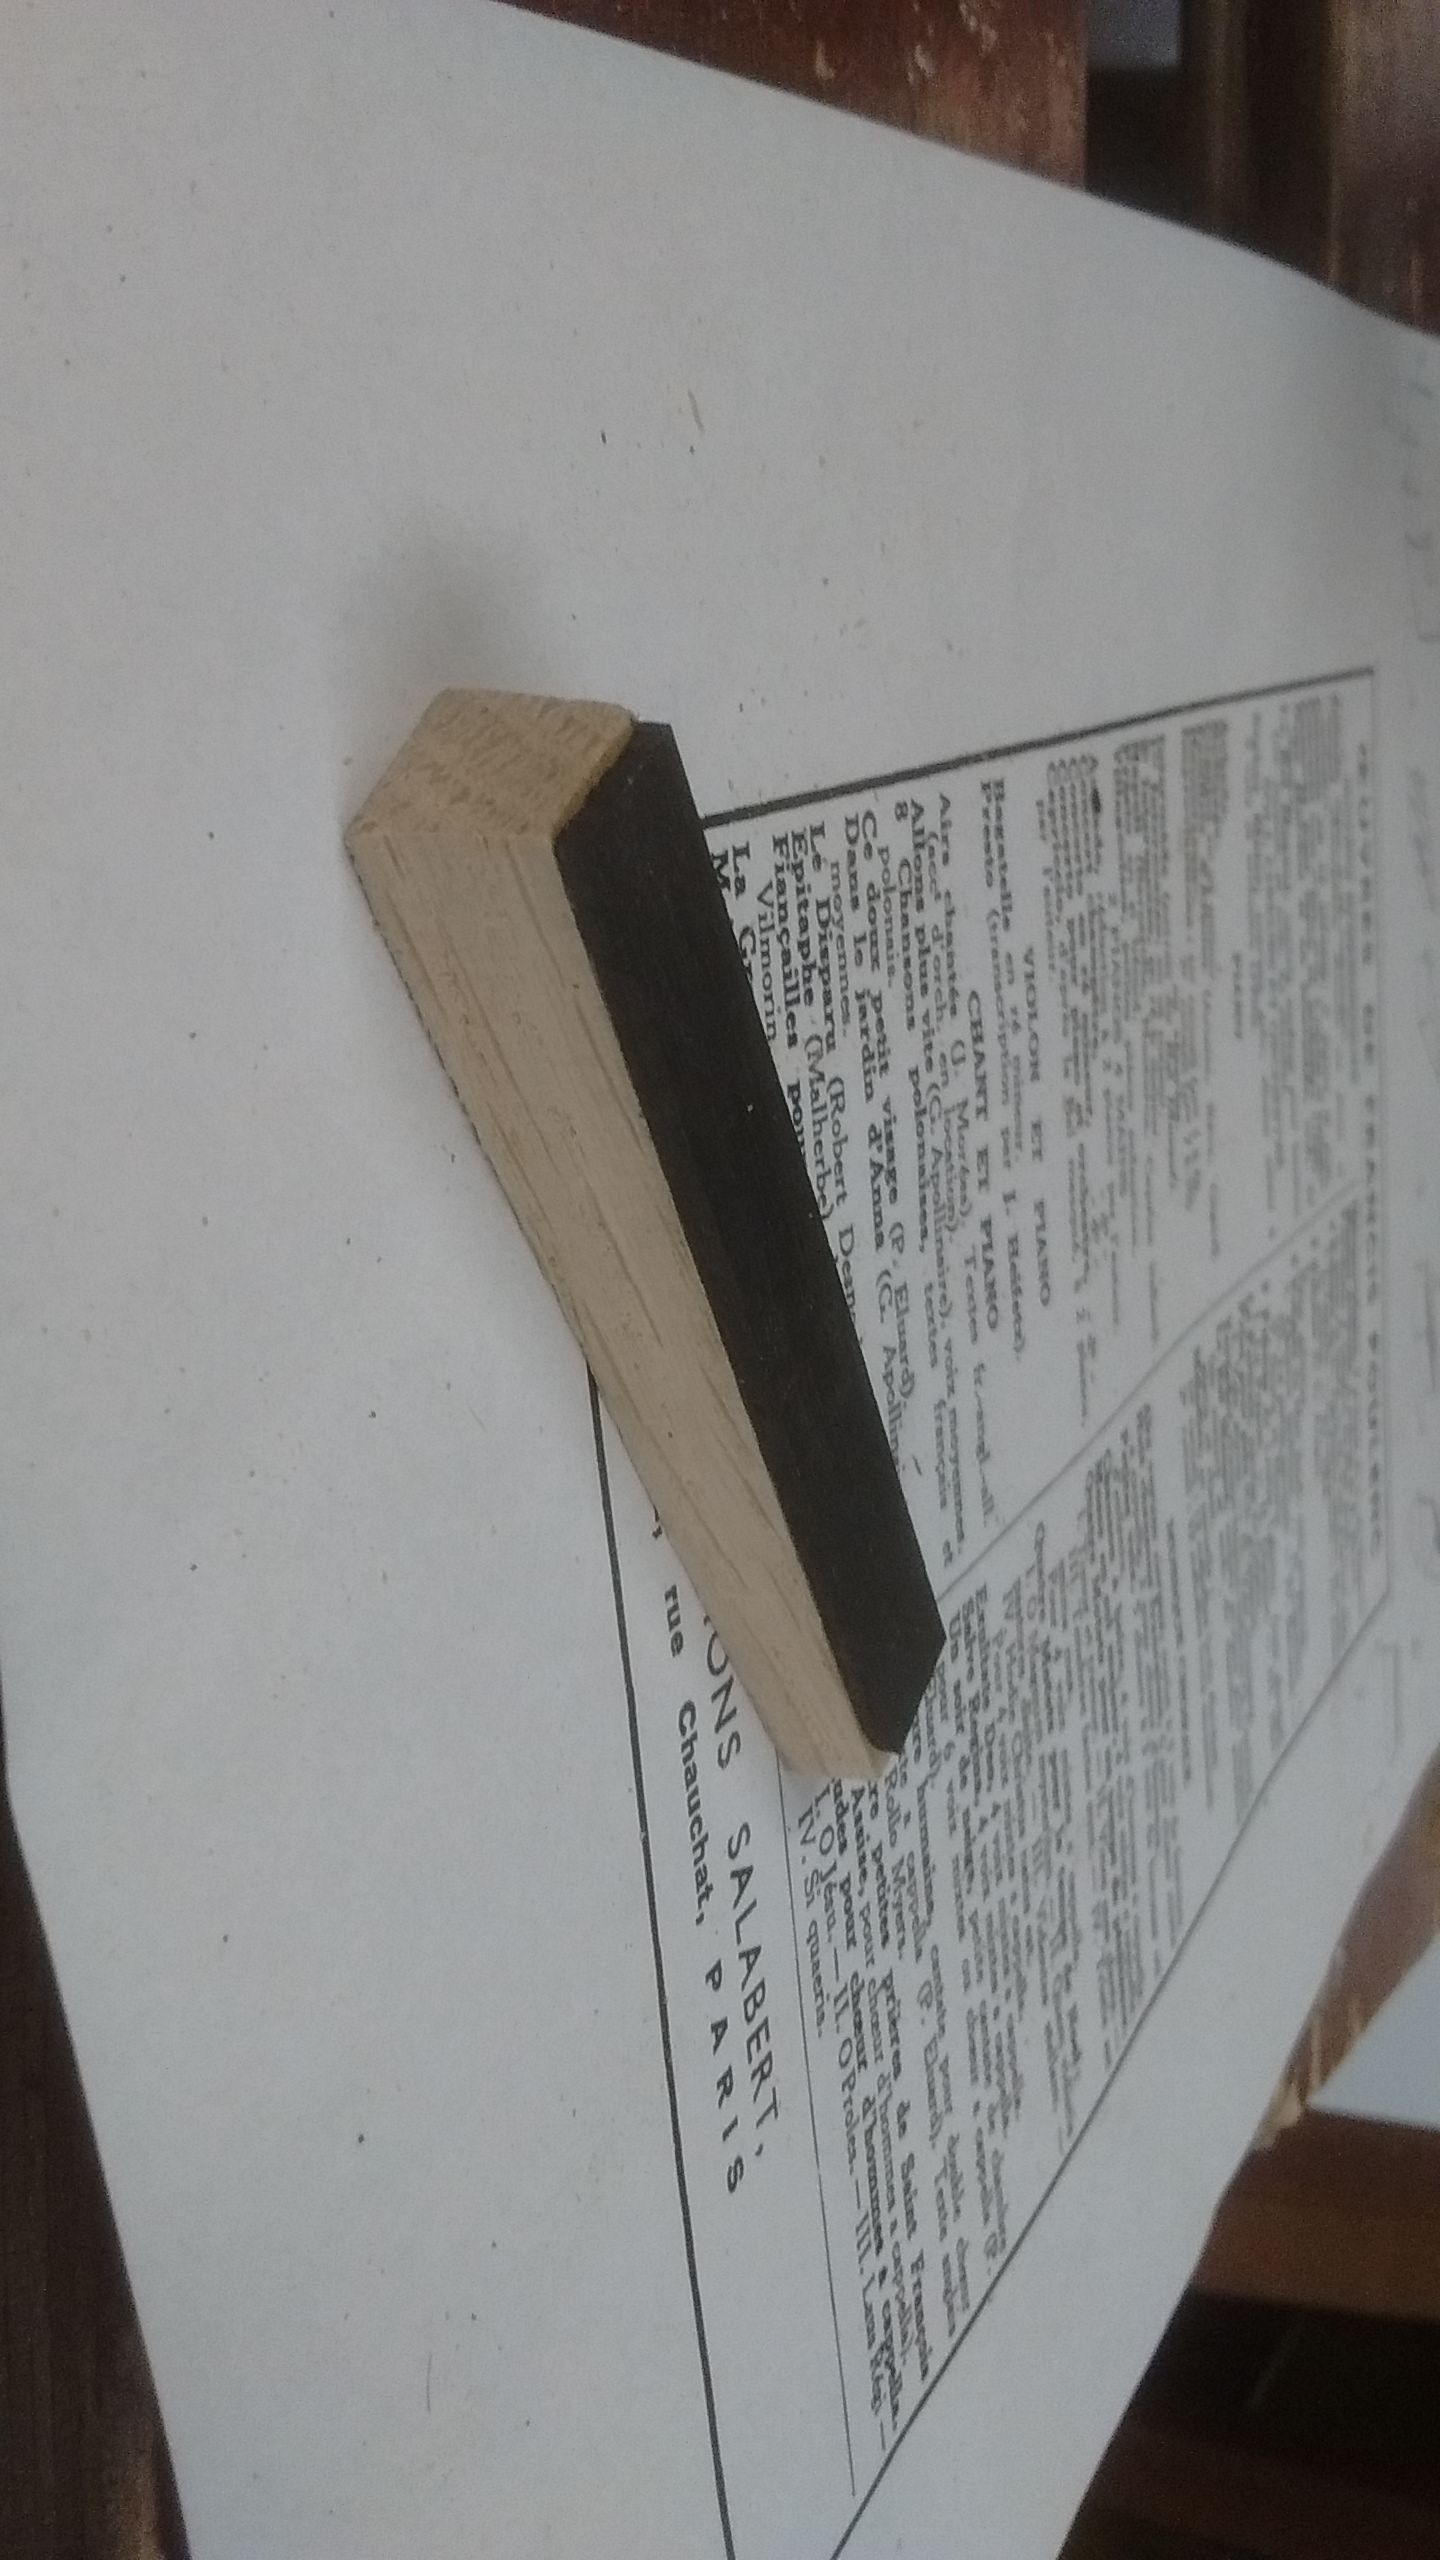 An (unfinished) sharp. Oak and ebony.
 A key with its bottom profile cut out (with bandsaw, not the optimal tool)
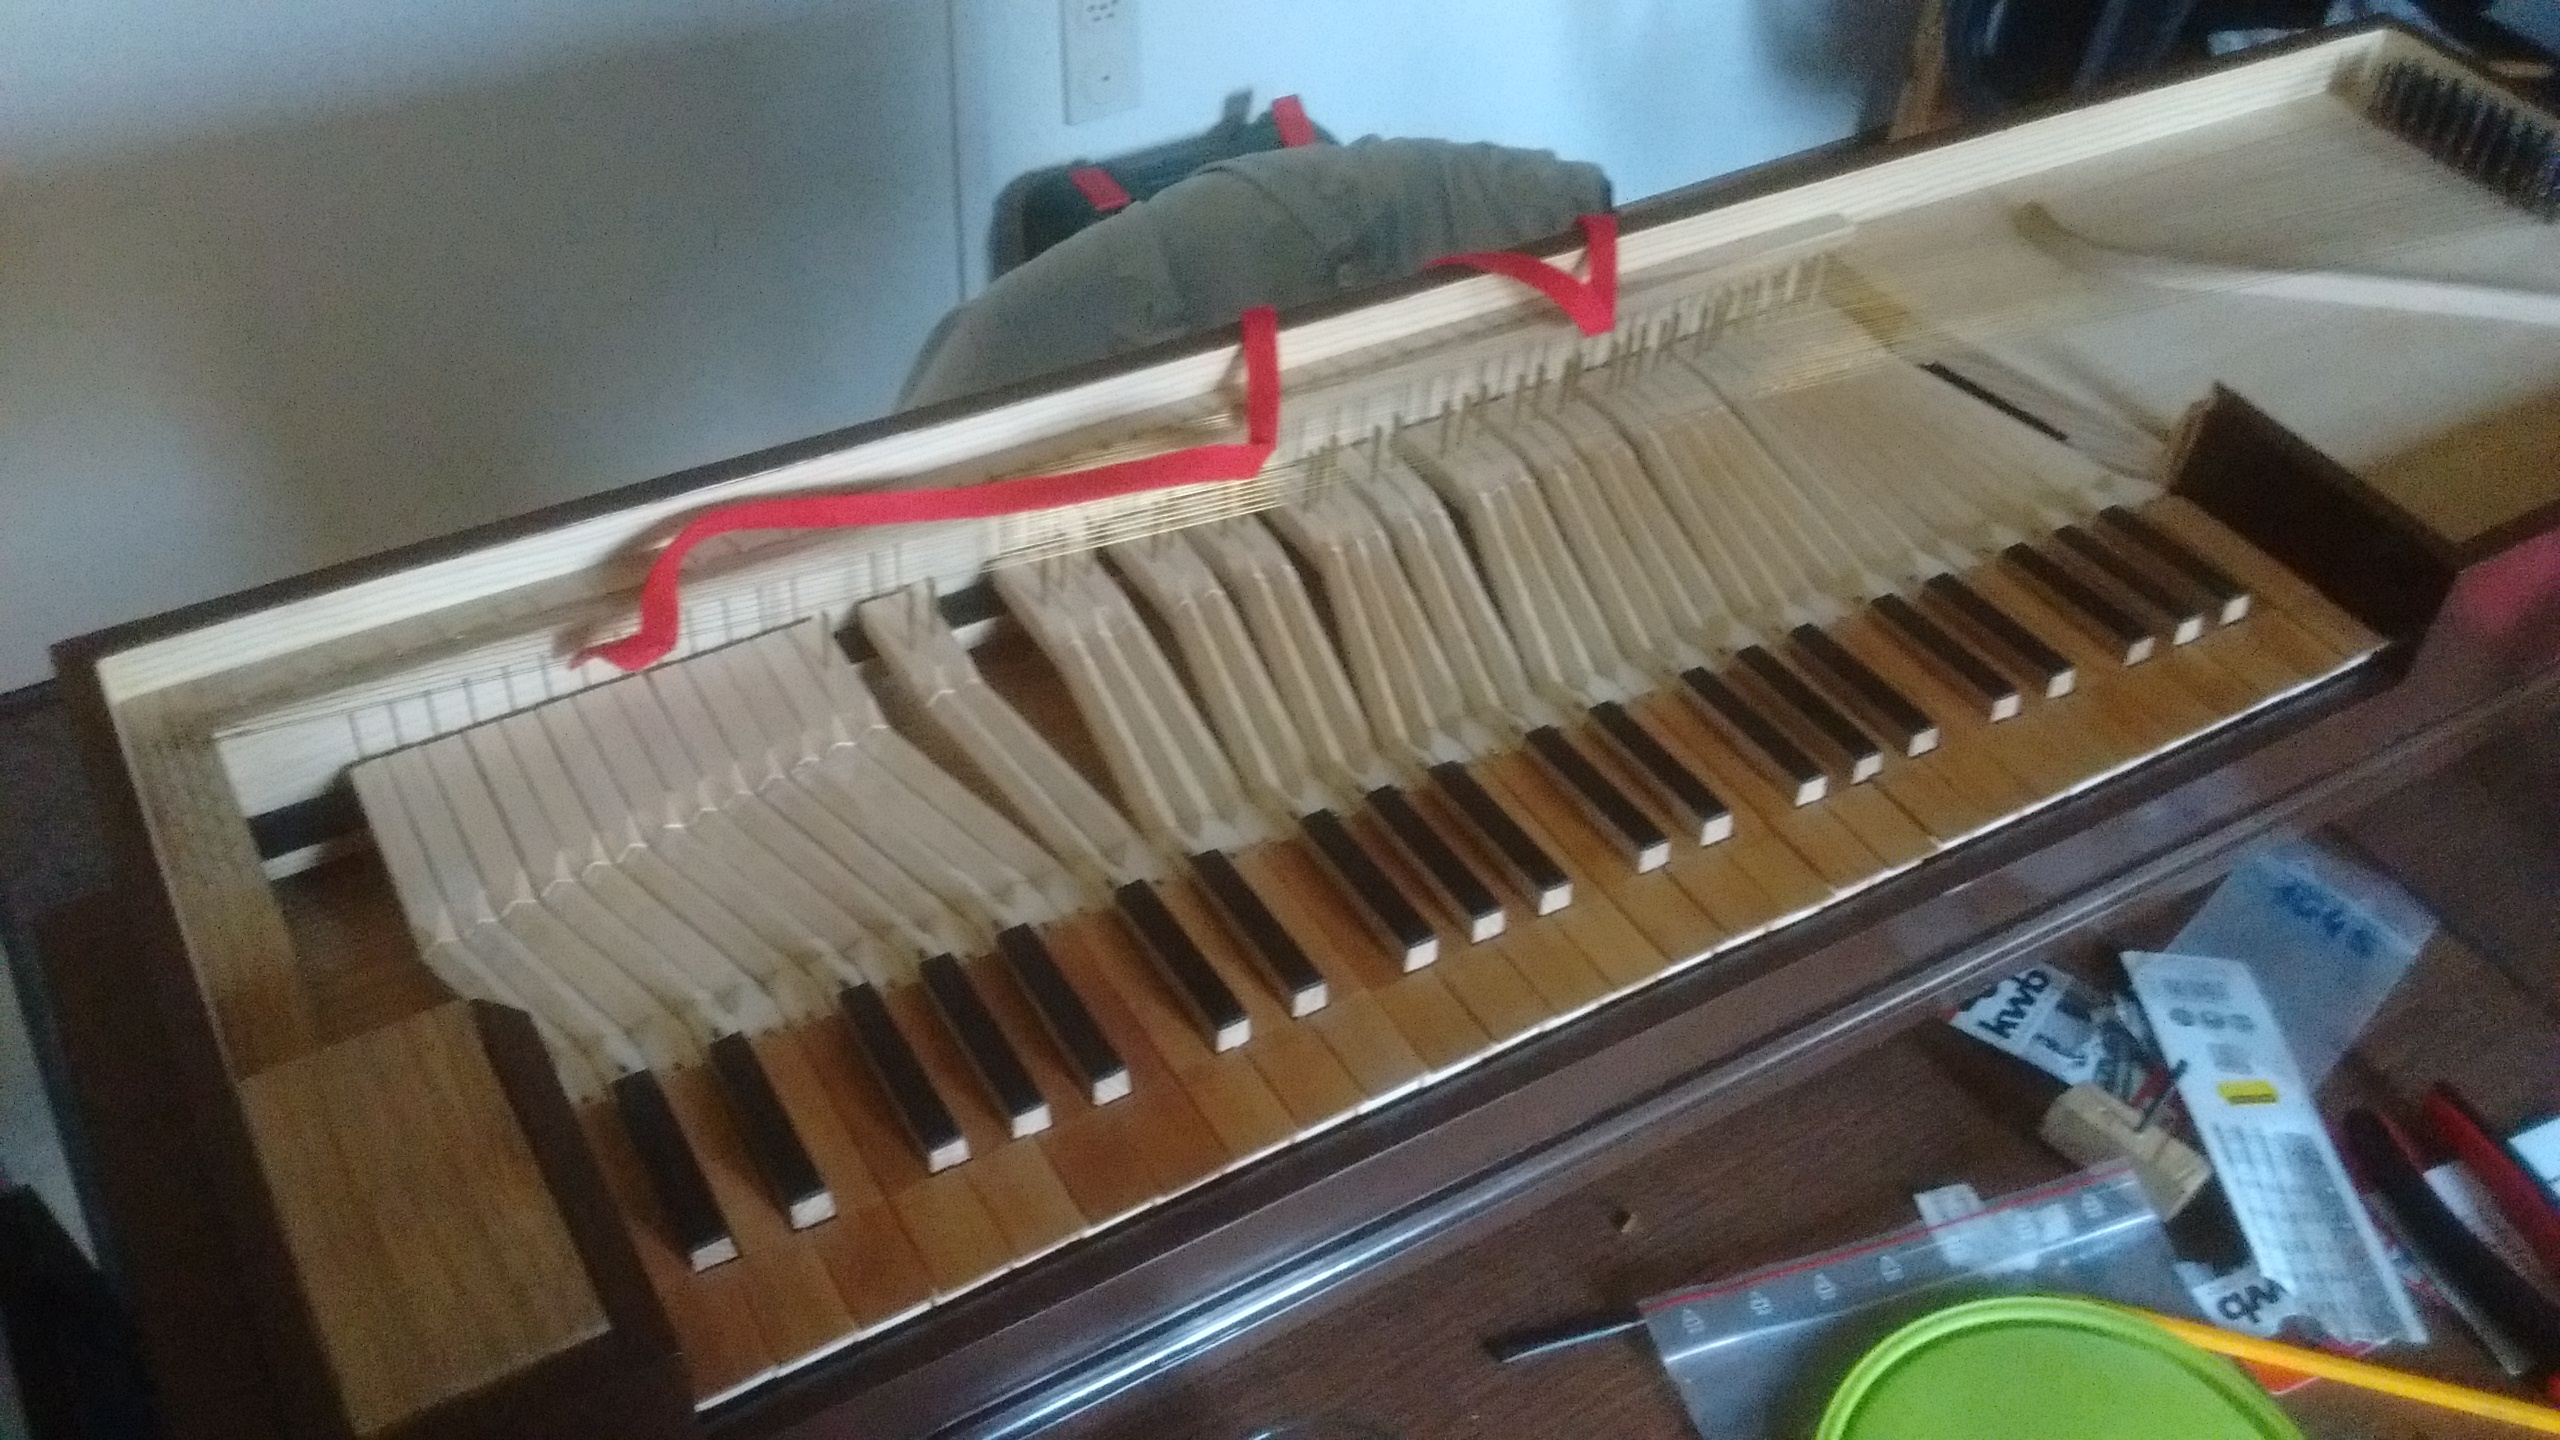
 The keyboard with all keytops attached.
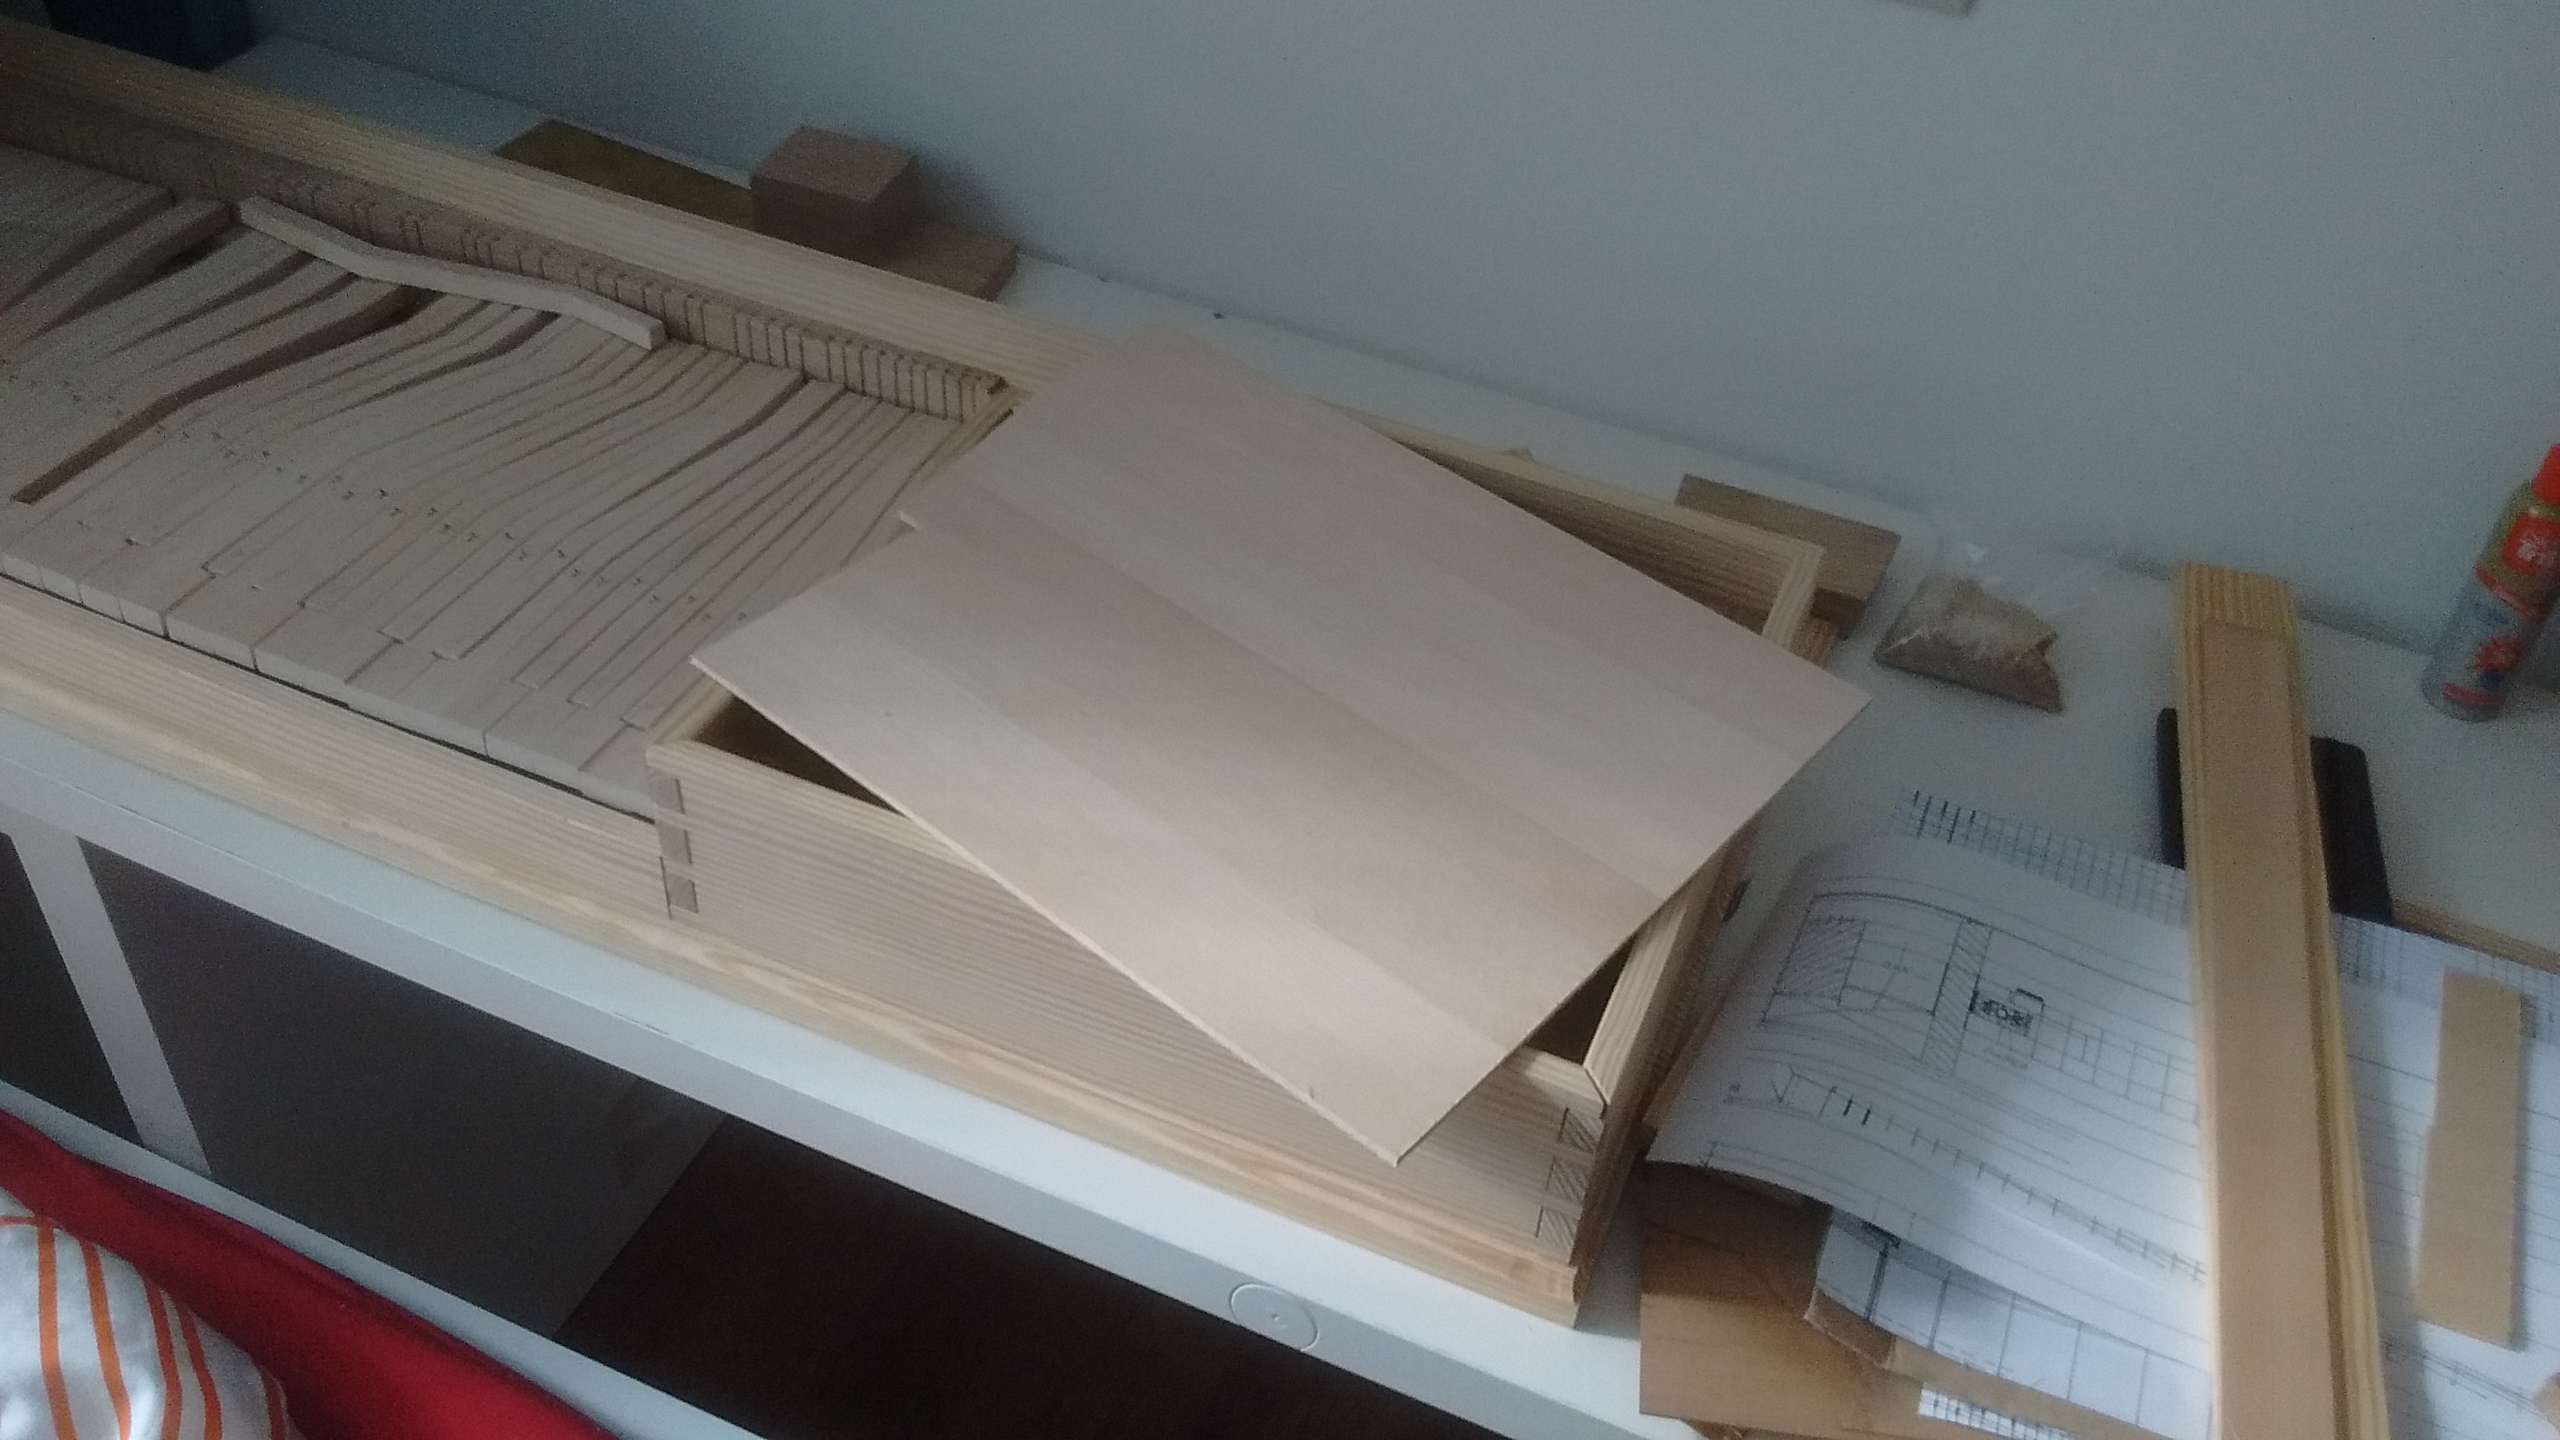
 The soundbox.
 Glueing in the soundboard with hide glue.
 Paint undercoat applied. Should’ve used milk paint.
 Paint applied. Should’ve used milk paint.
 Wrestpin holes drilled. Done with a special drill bit on the drill press.
 Well, I shouldn’t have oiled those keys…
 The first string installed.
 The treble strings installed.
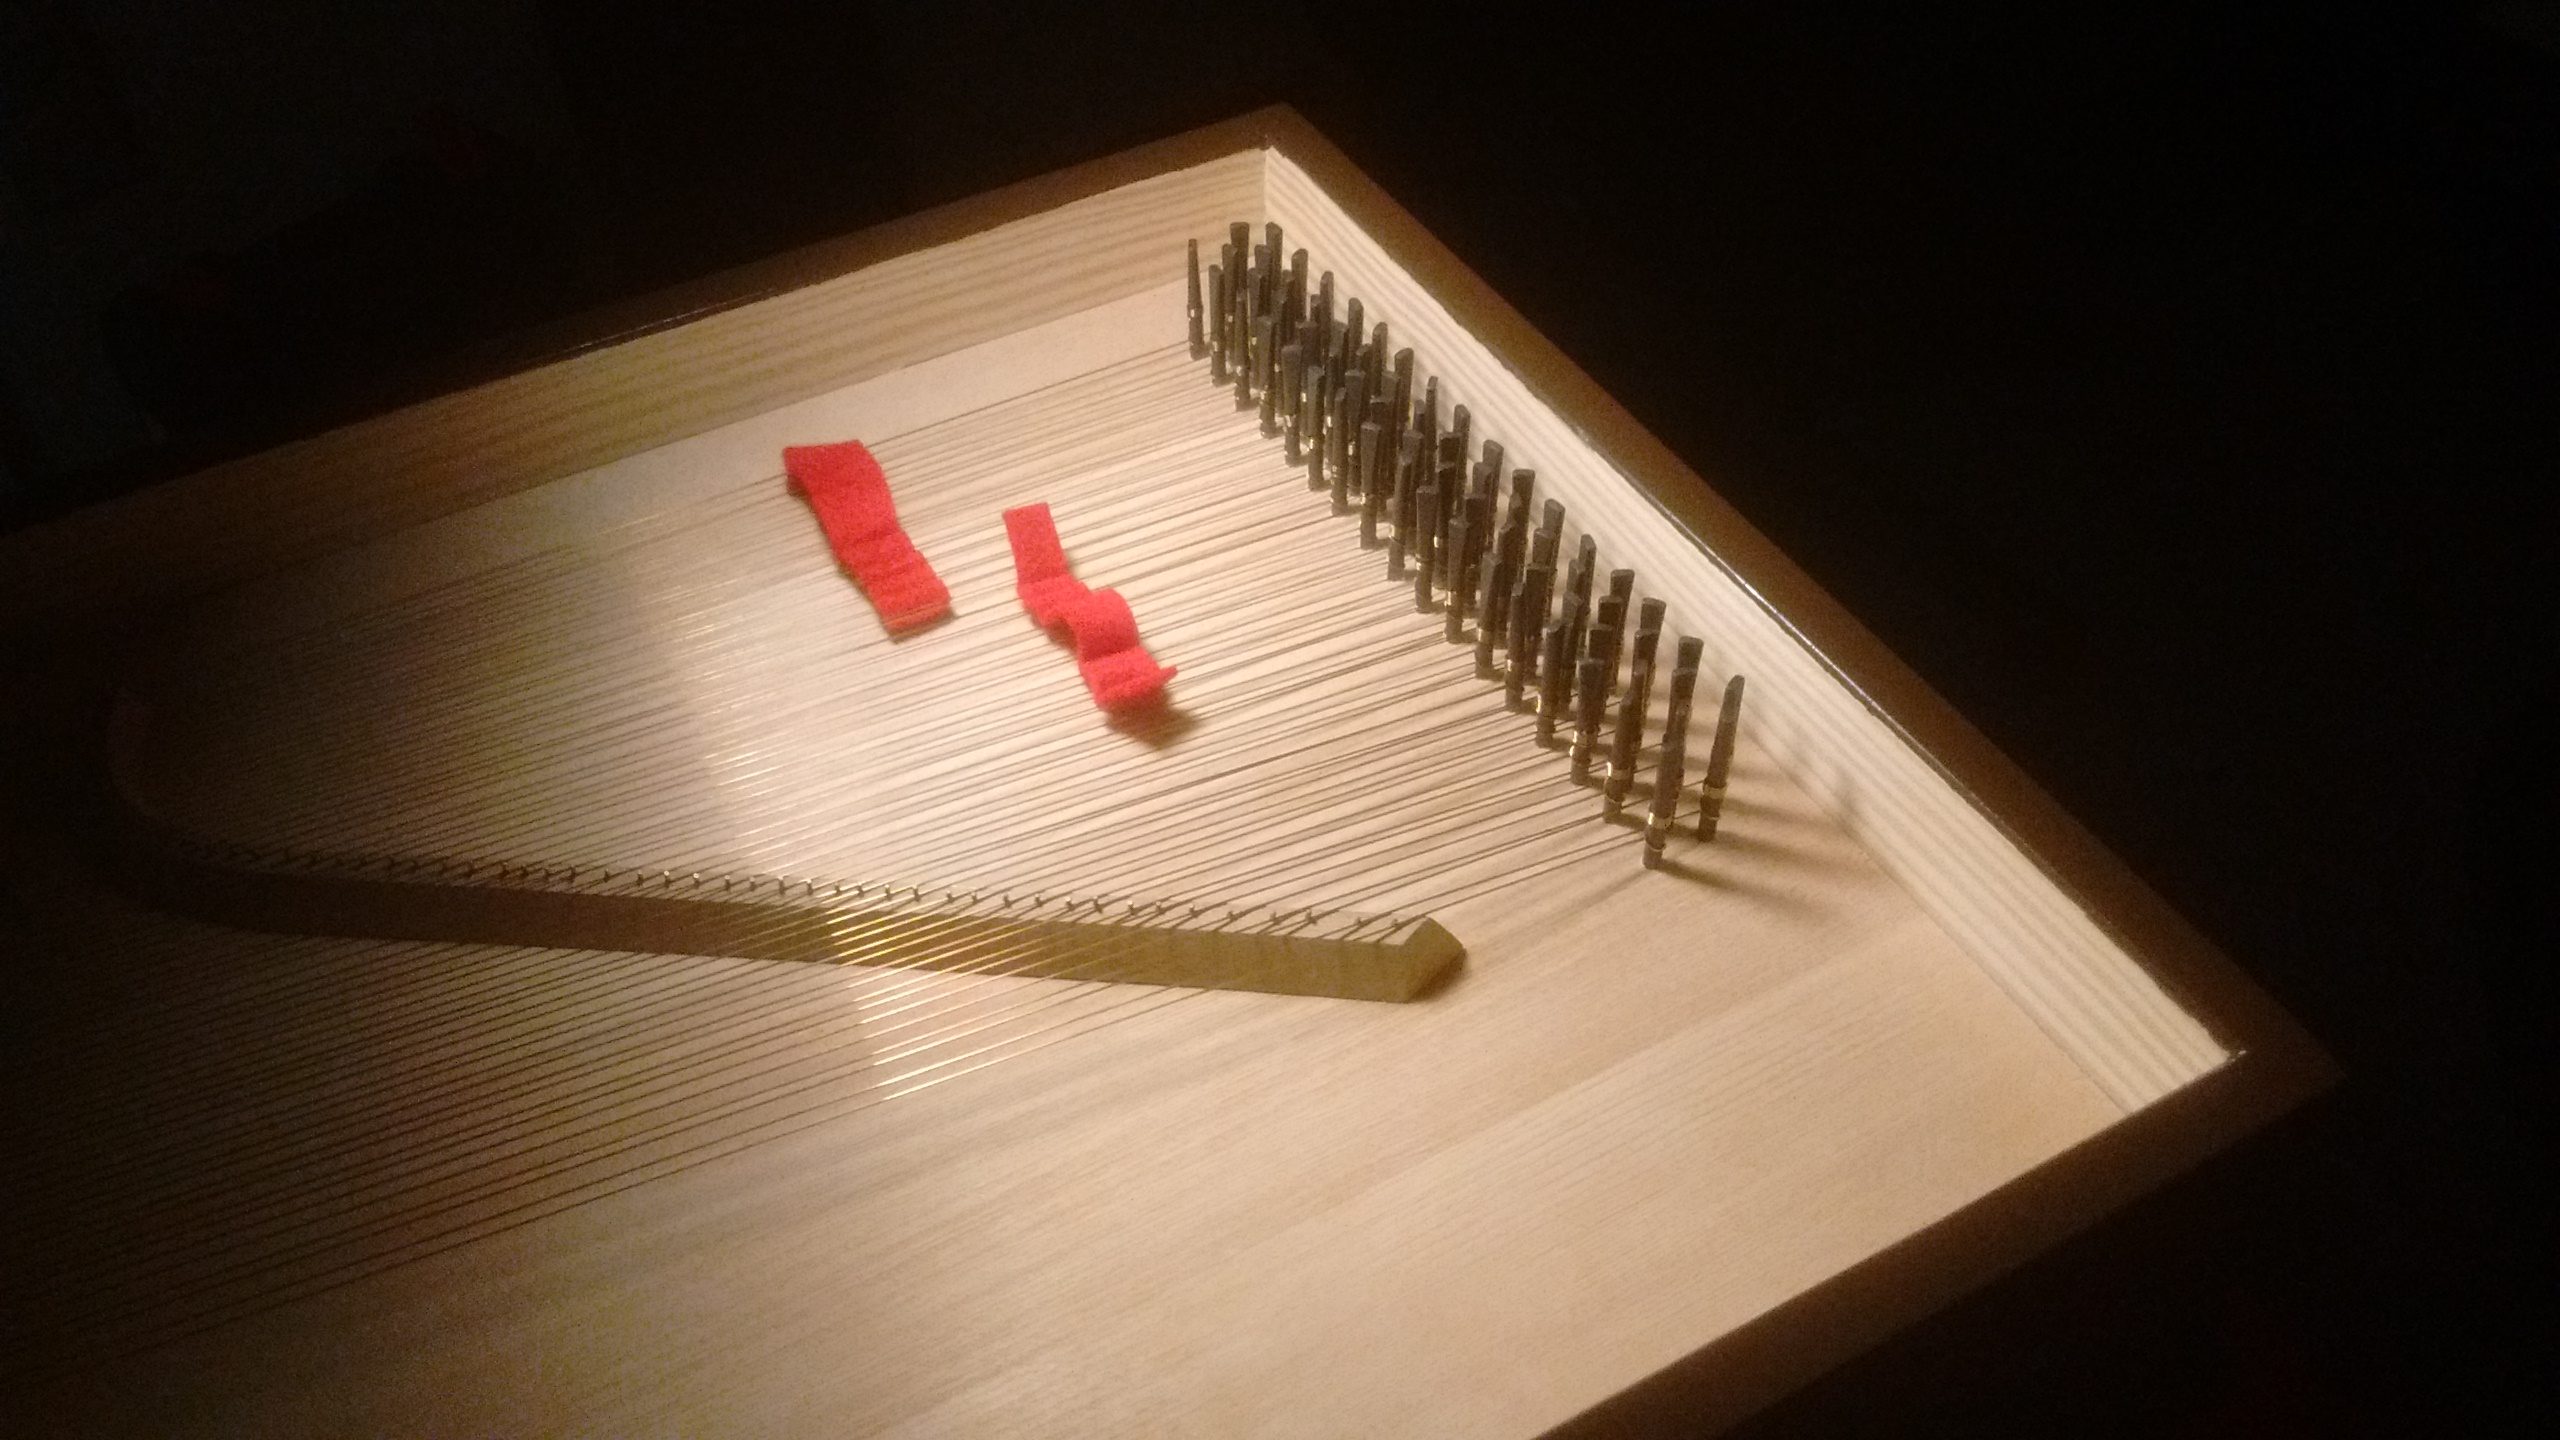 All of the strings installed!
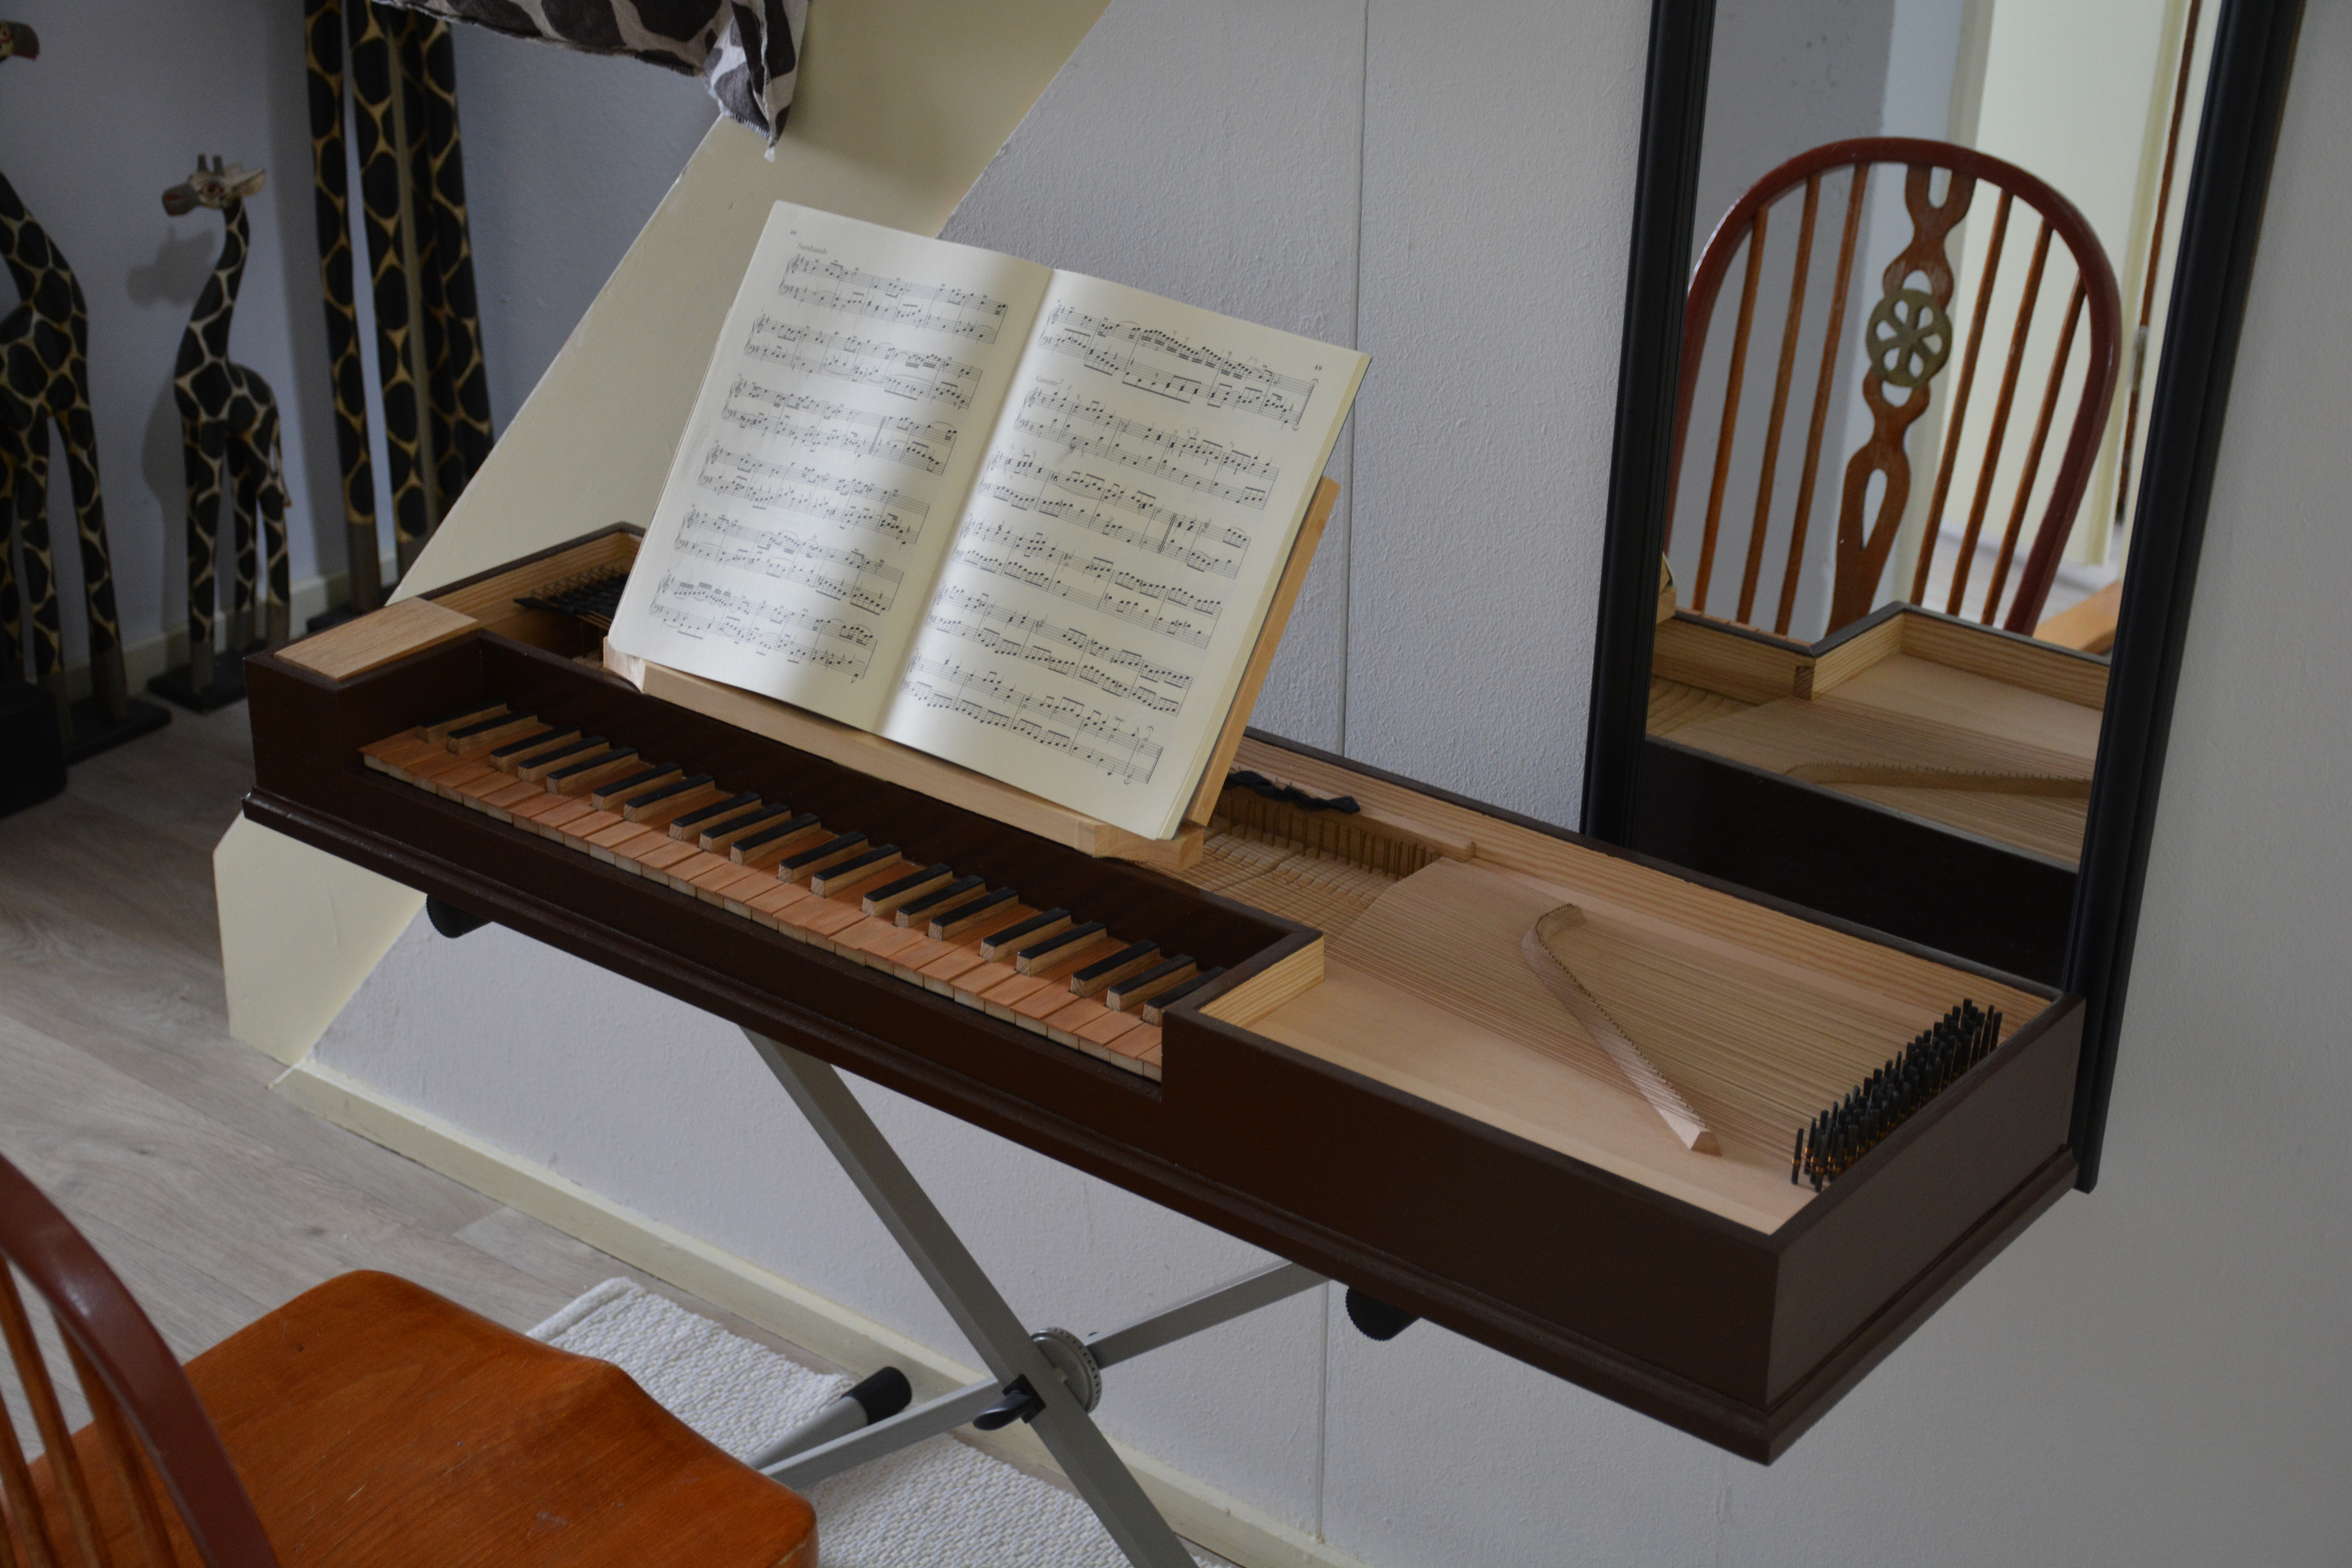 The instrument on a keyboard stand.
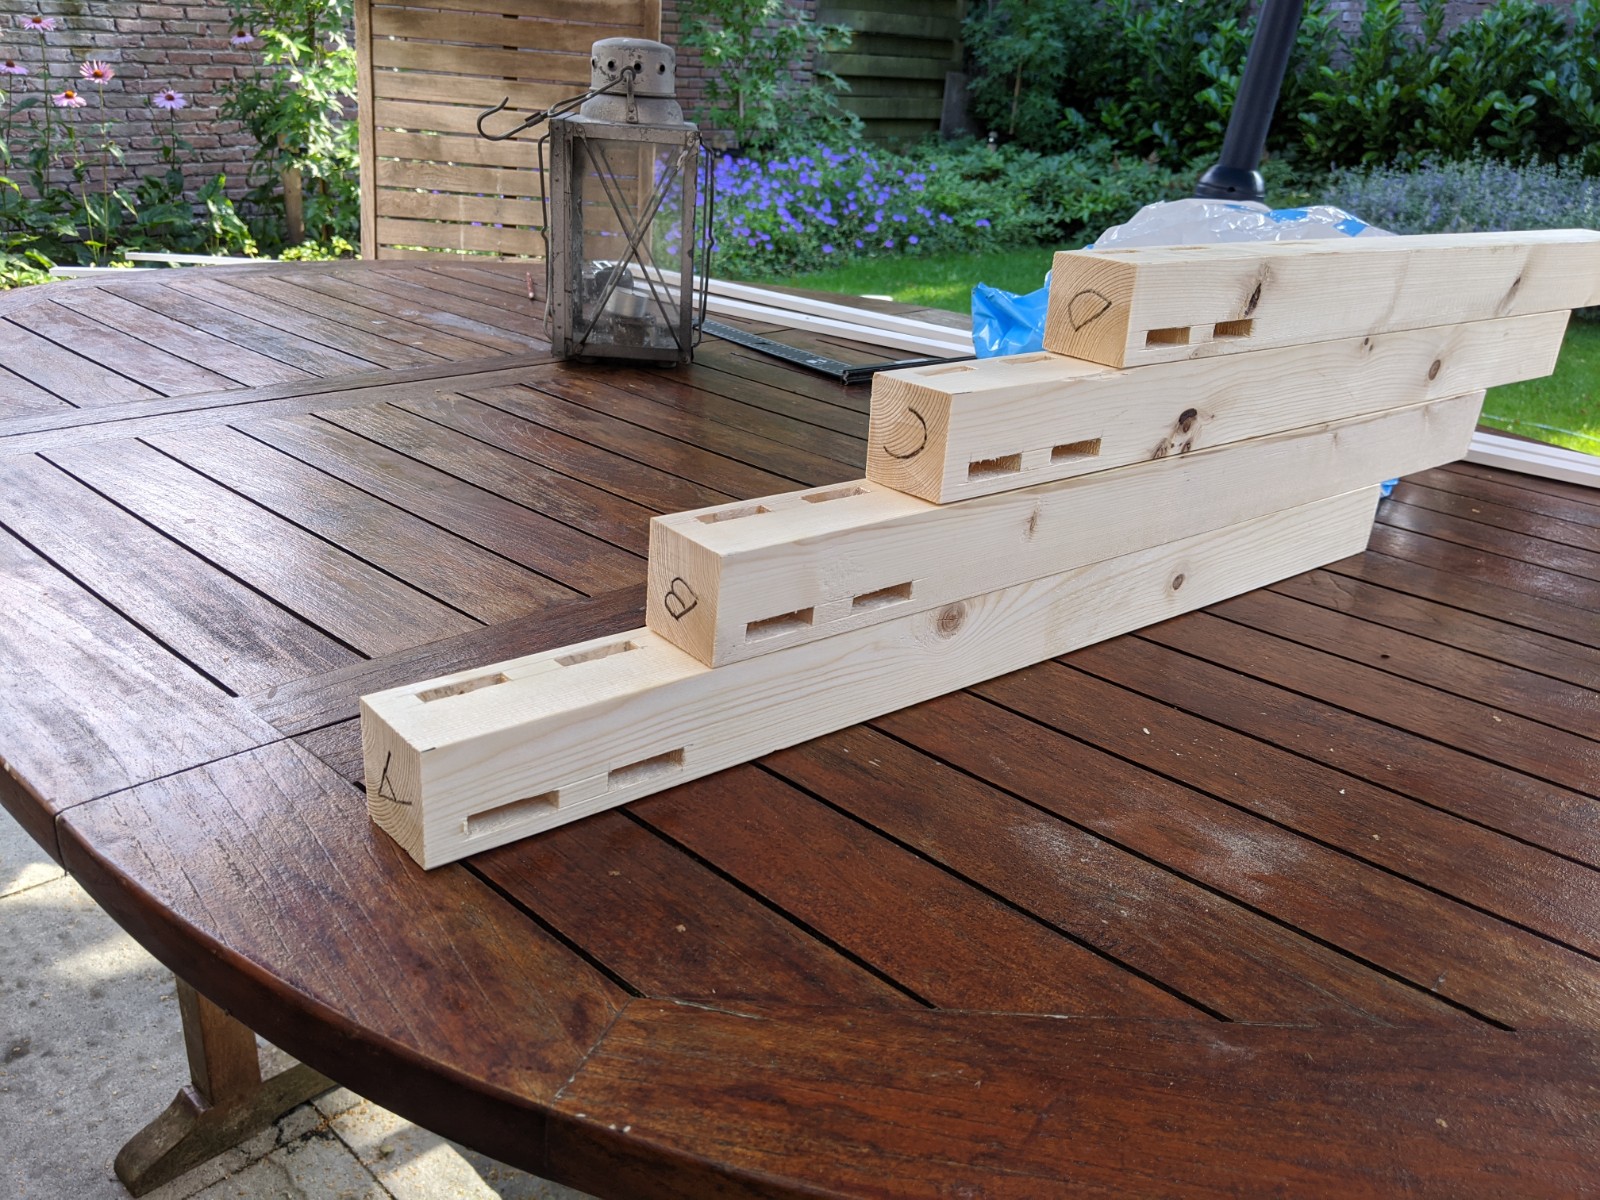 The mortices for the legs of the frame chiseled out.
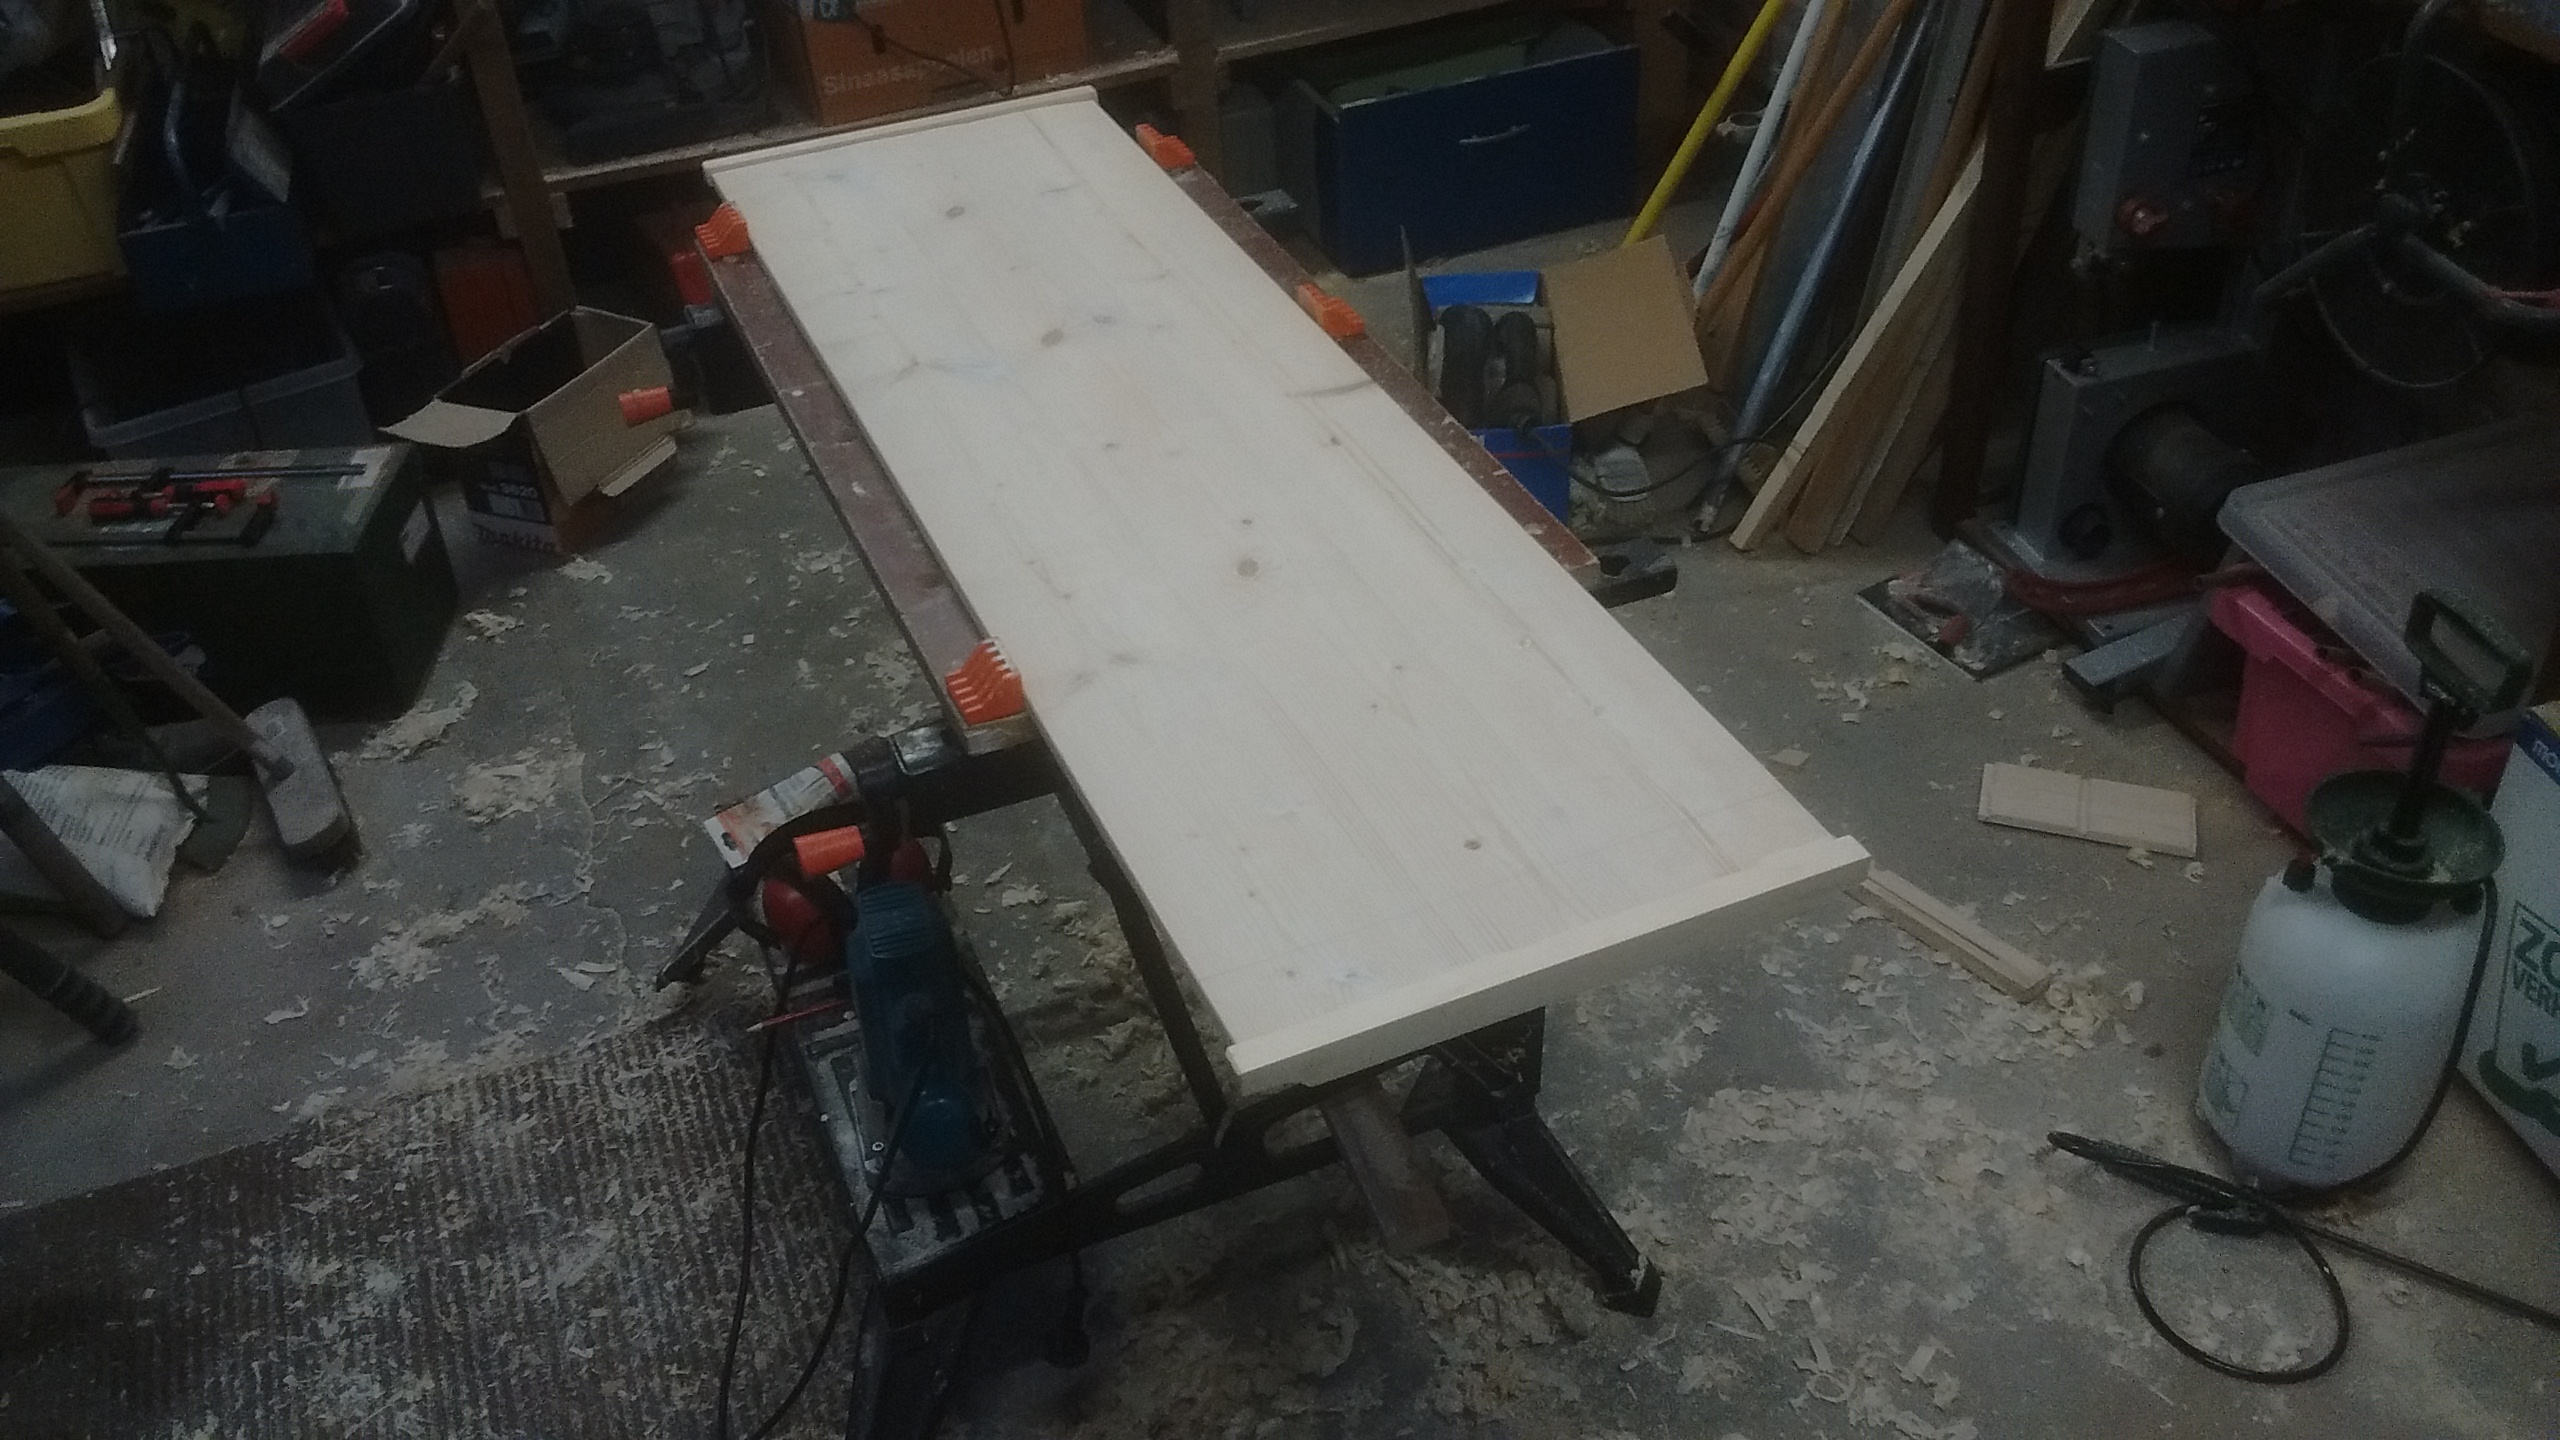
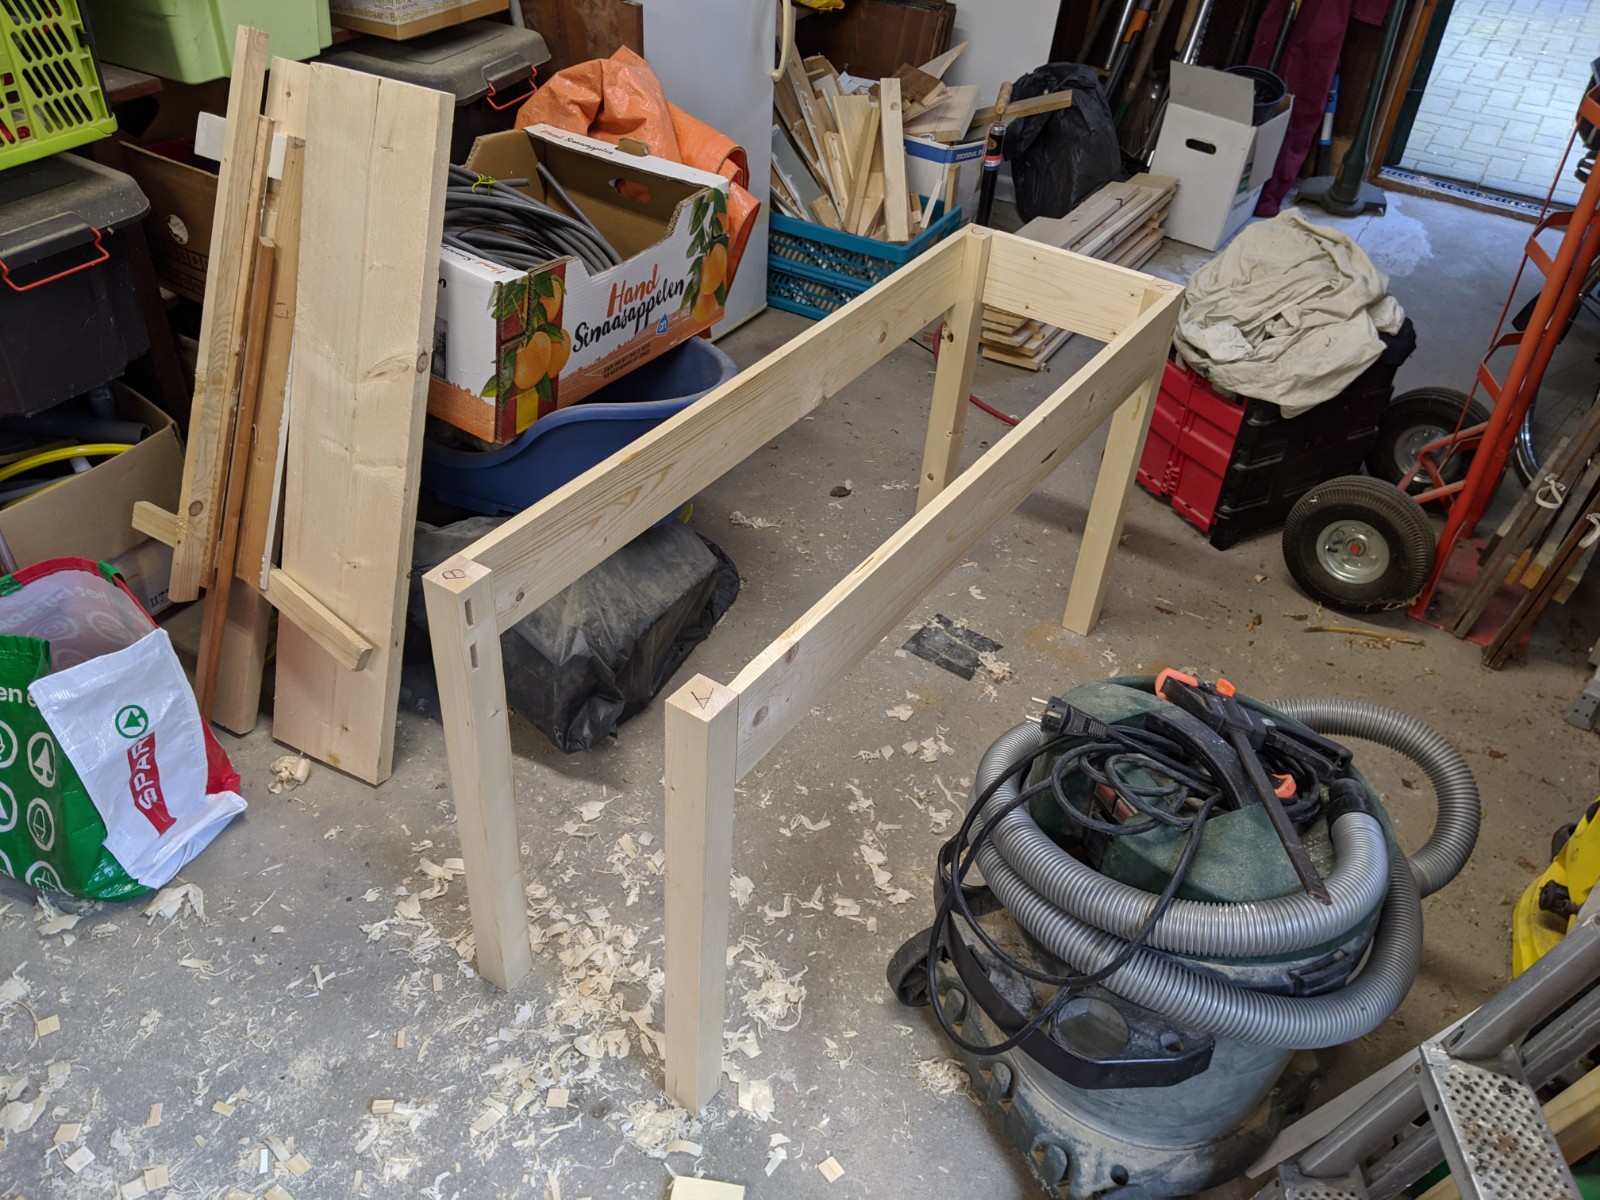 The frame for the stand nearing completion.
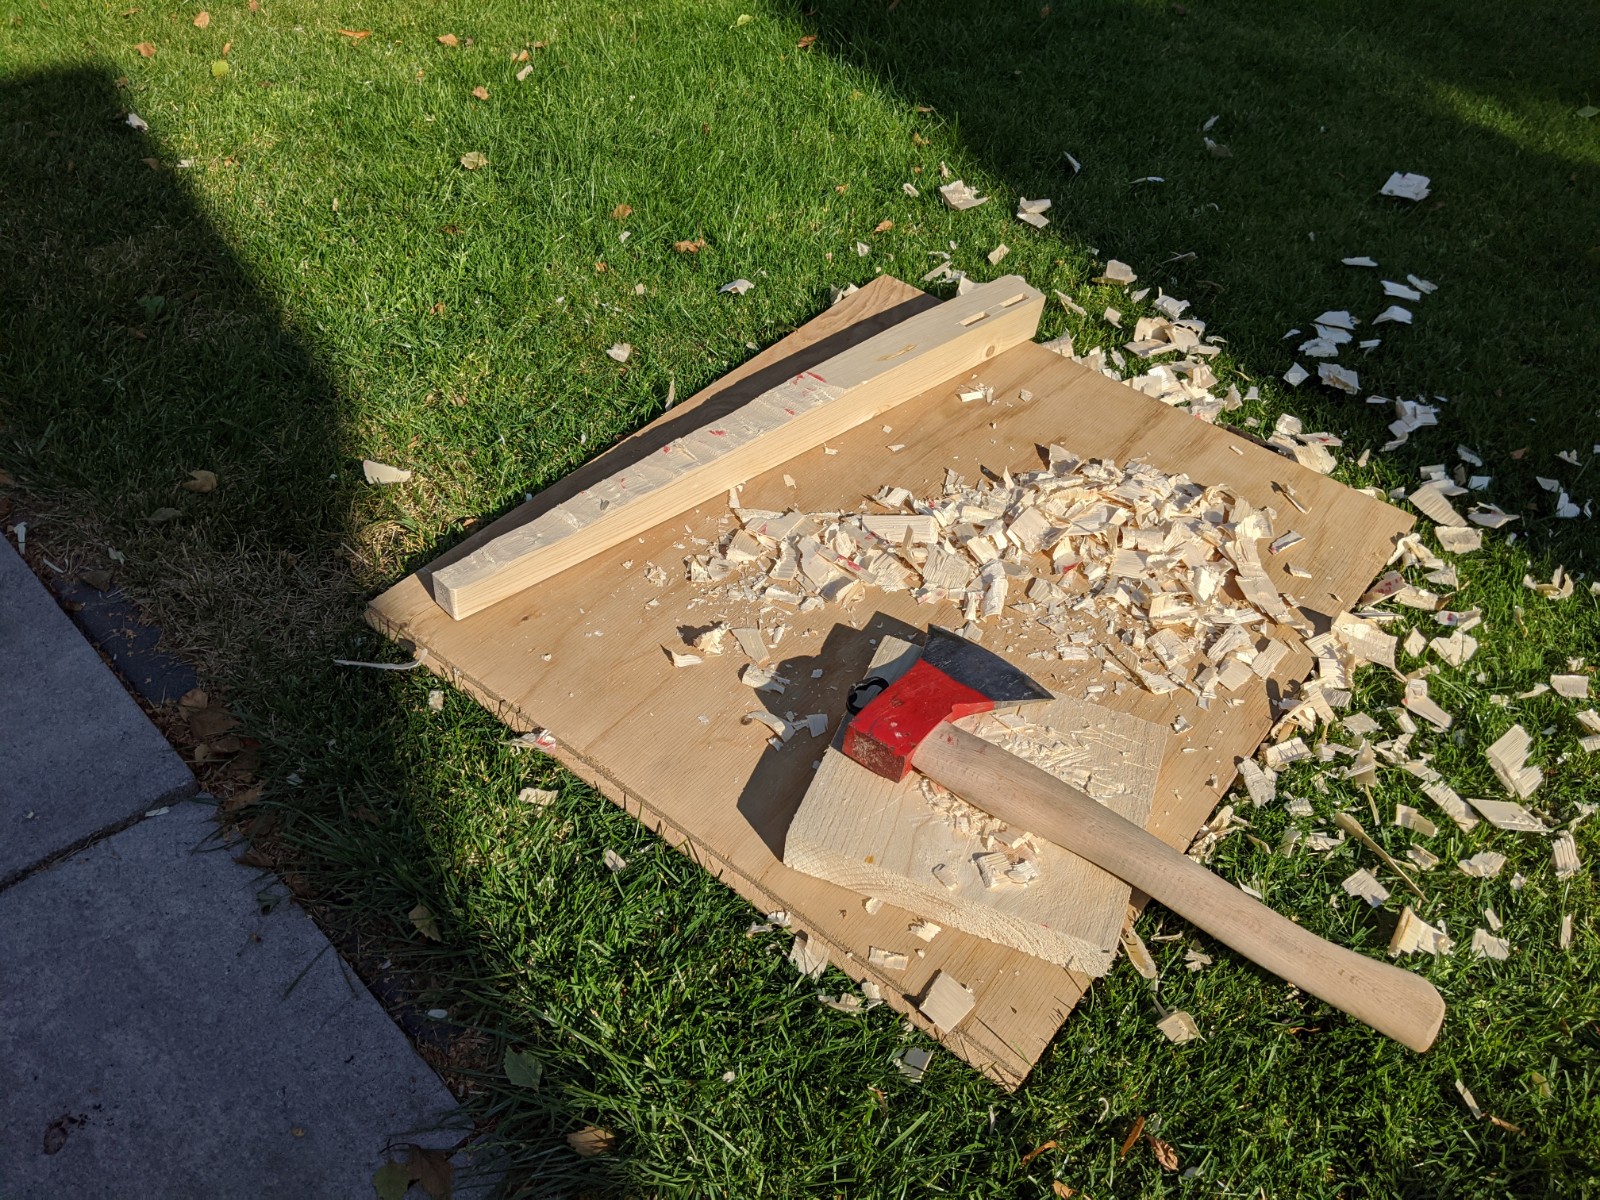 The initial tapering of the legs with an axe.
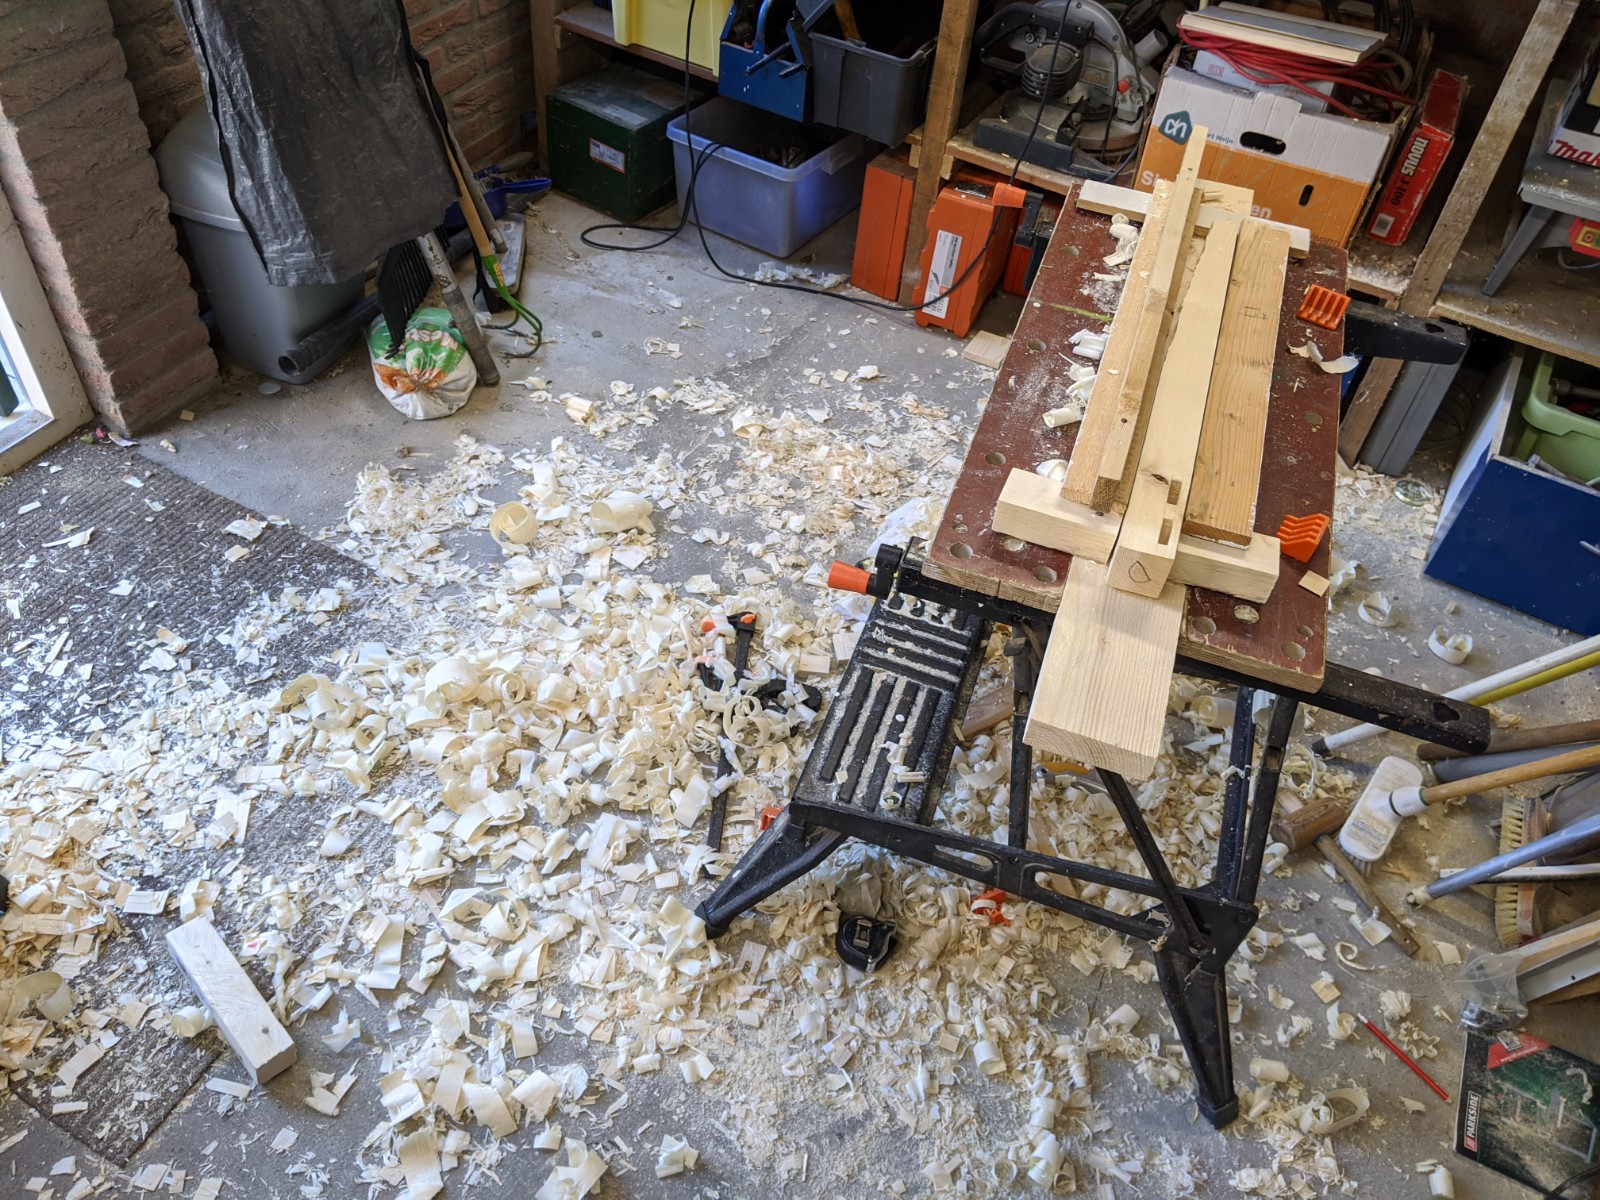 Precisely tapering the legs using a planing guide.
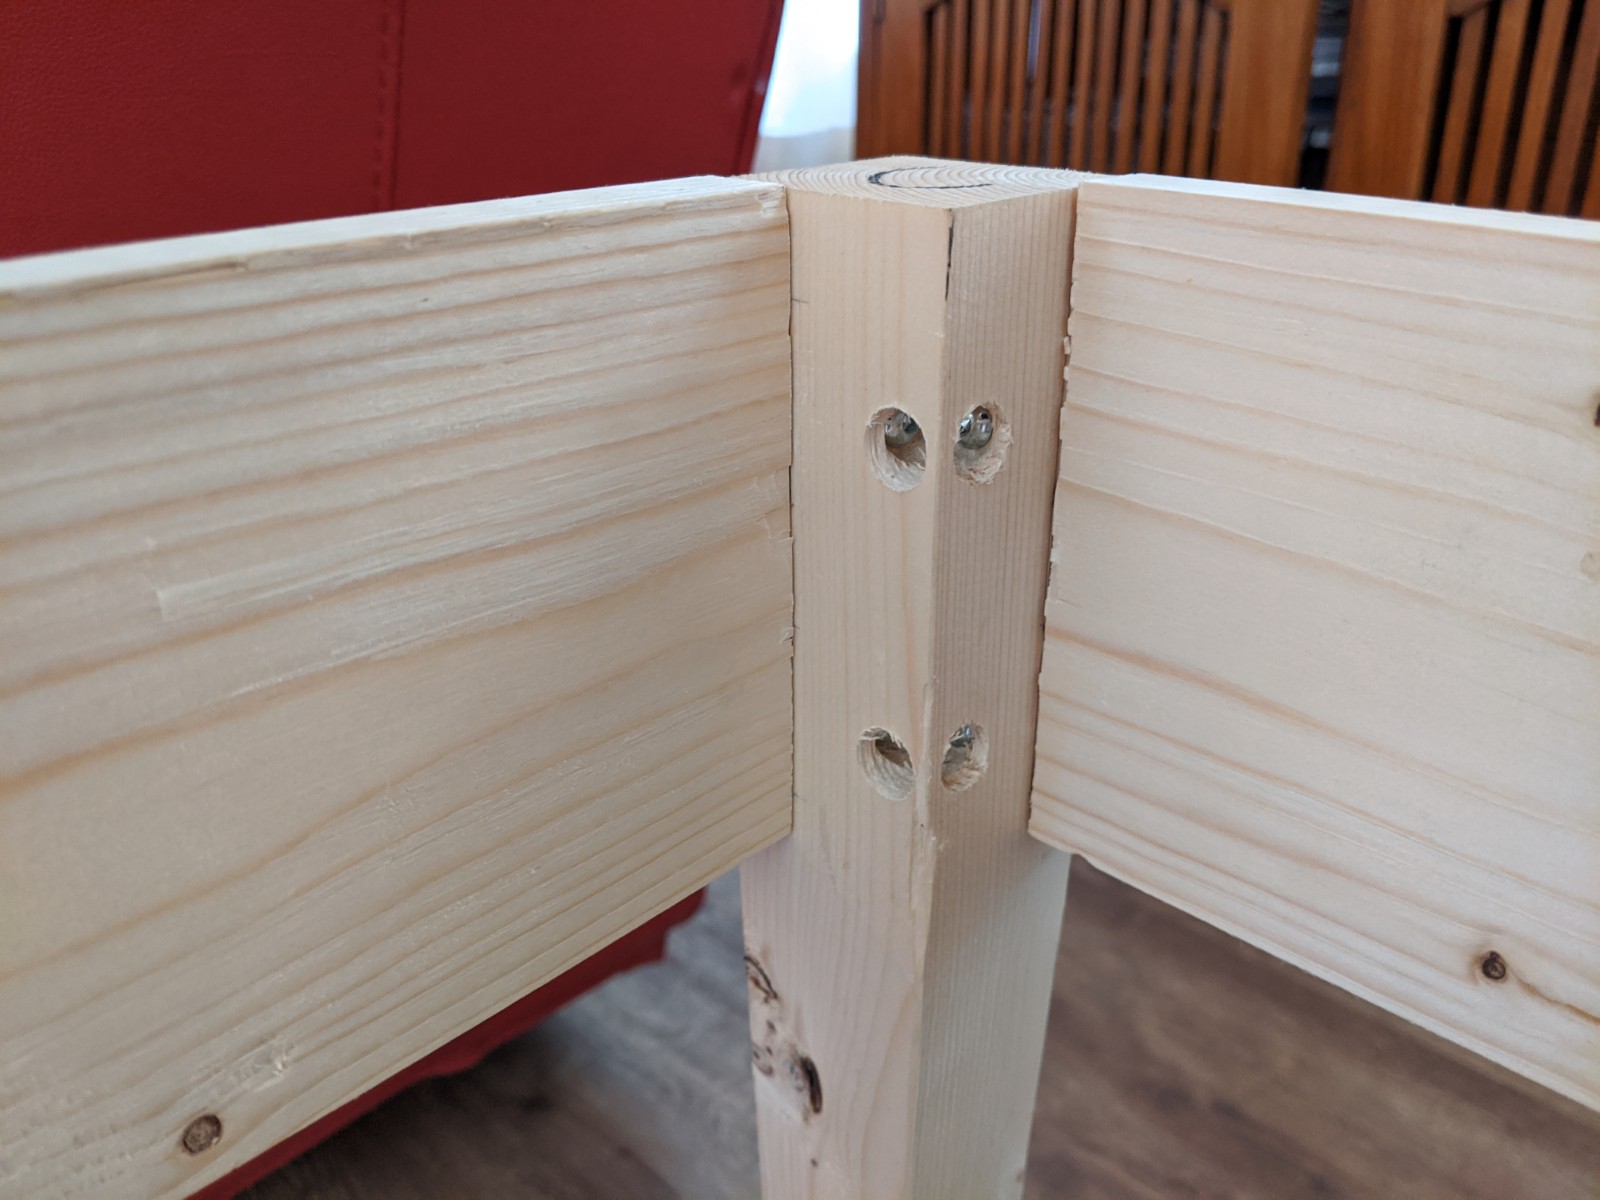 The stand can be disassembled.
 The lid.
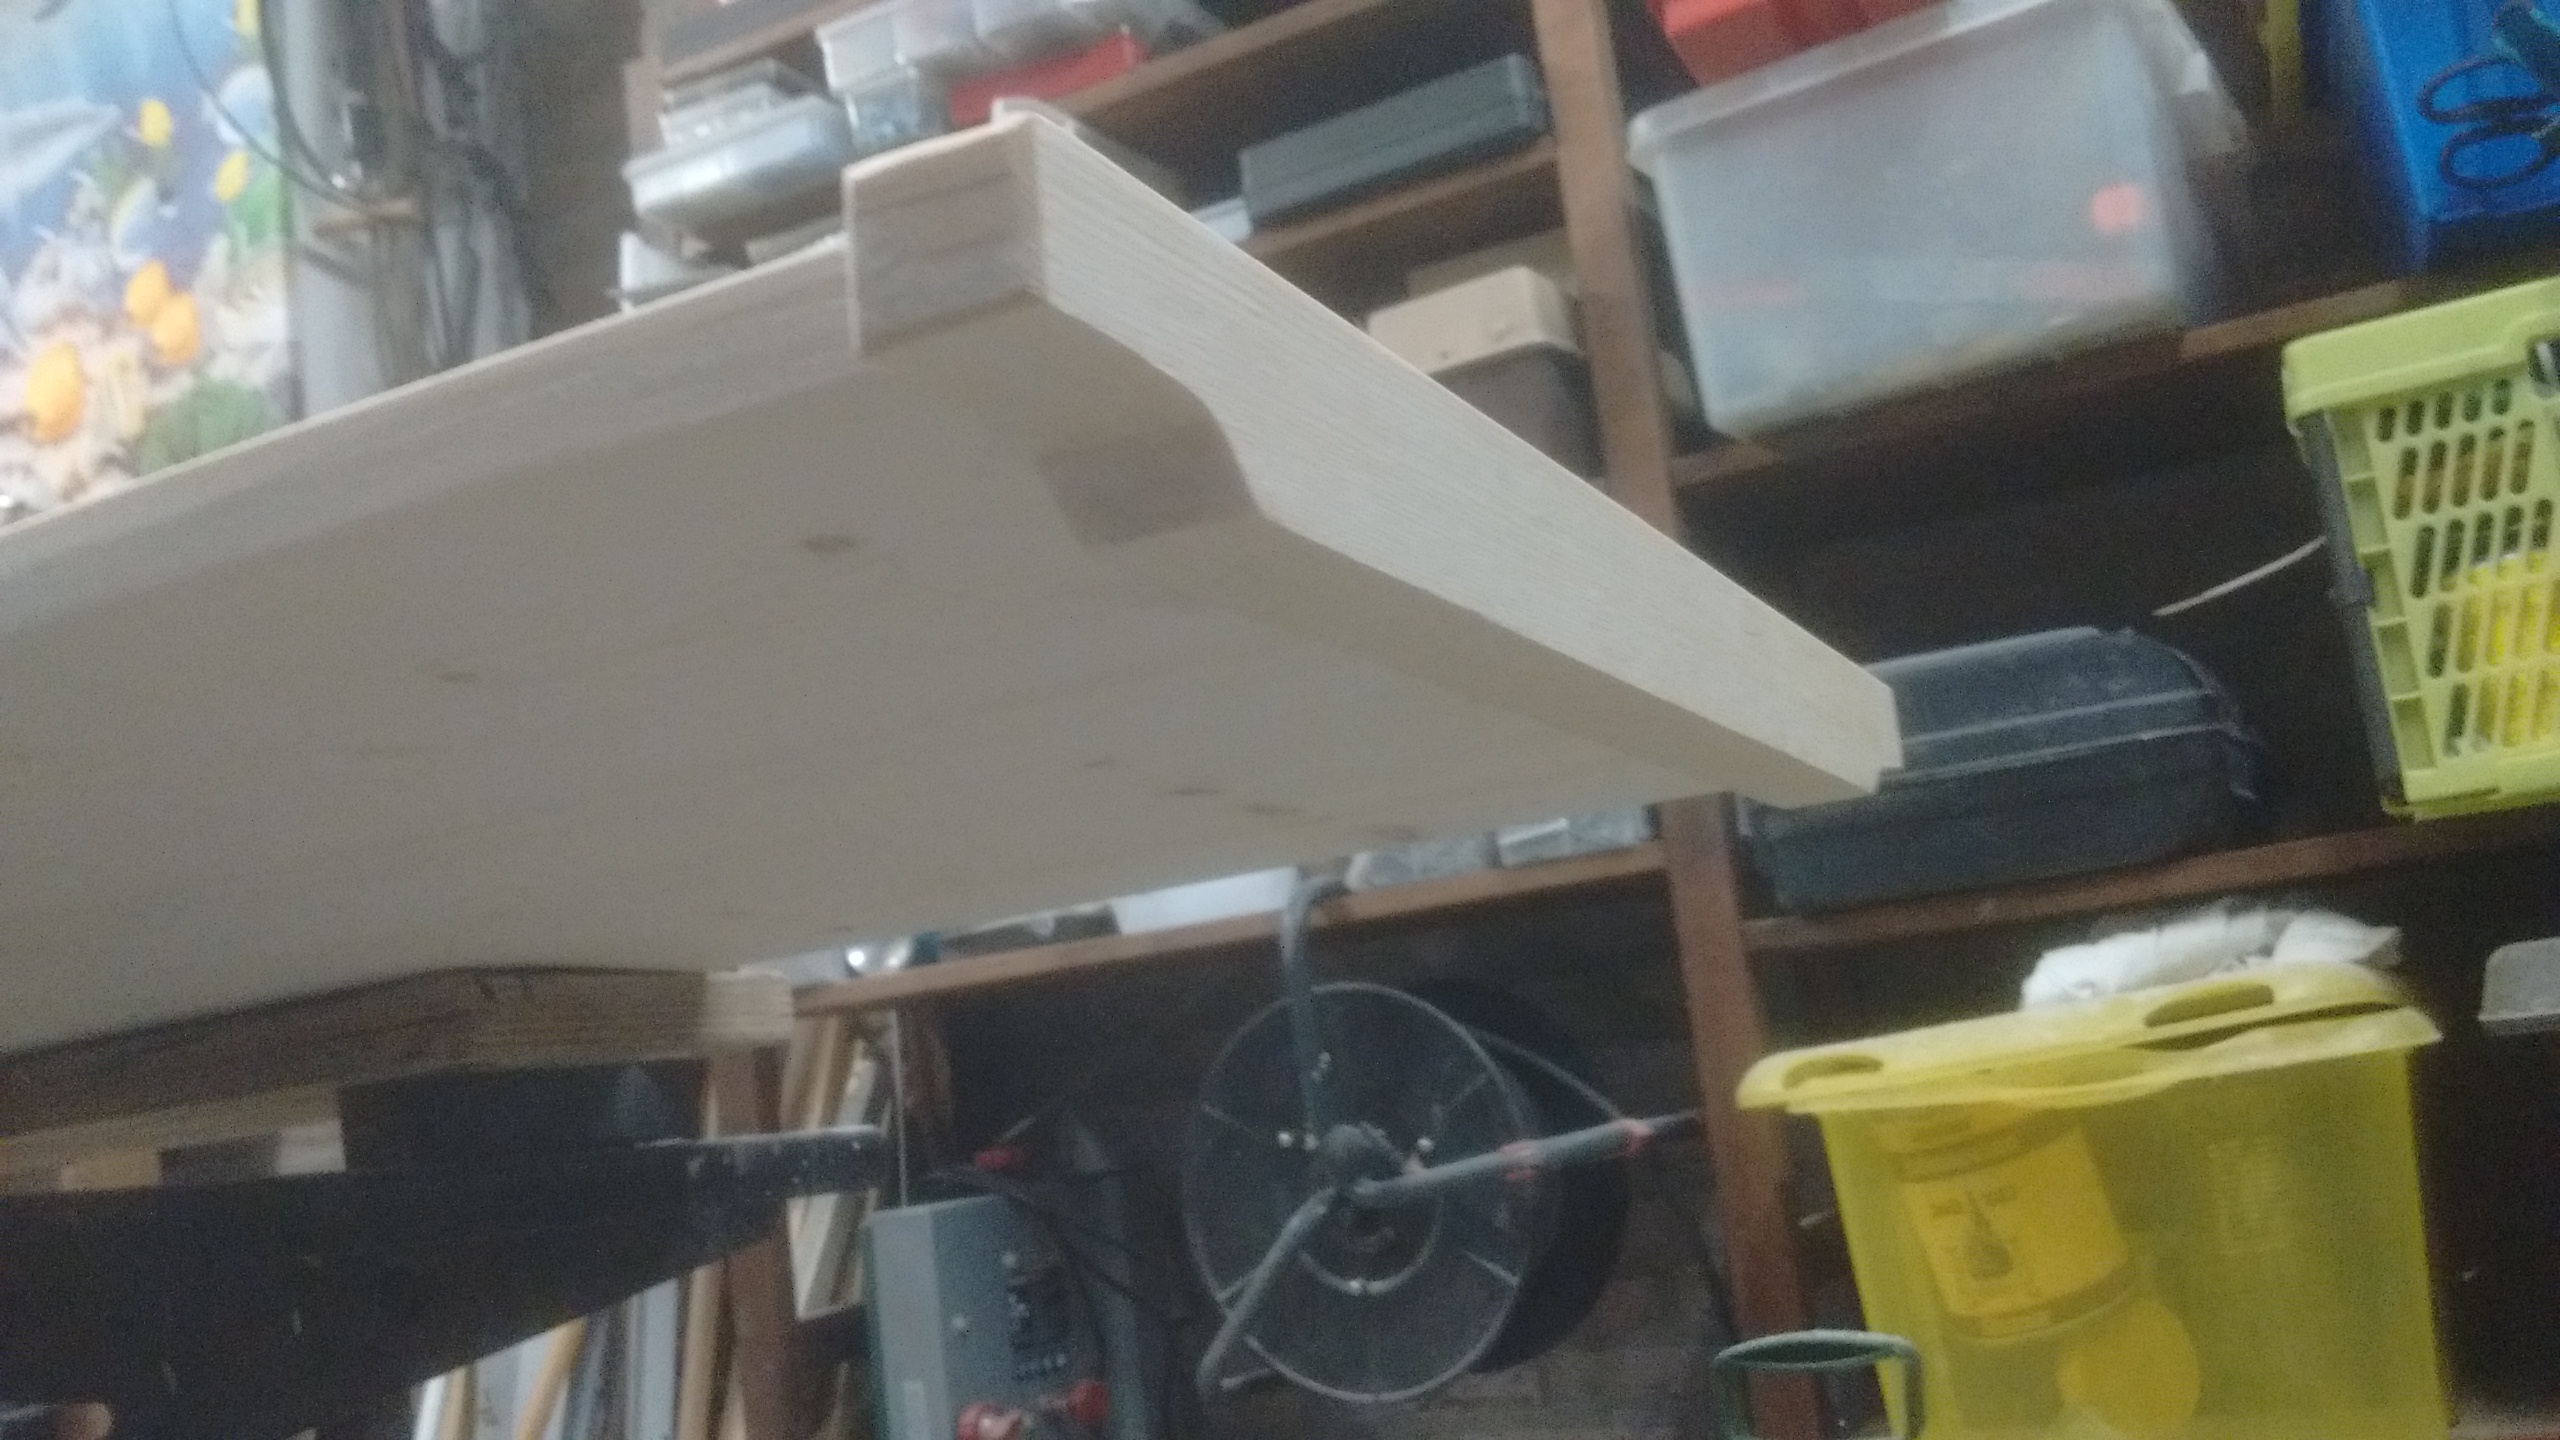 A batten on the lid.
 The lid with an undercoat of paint.
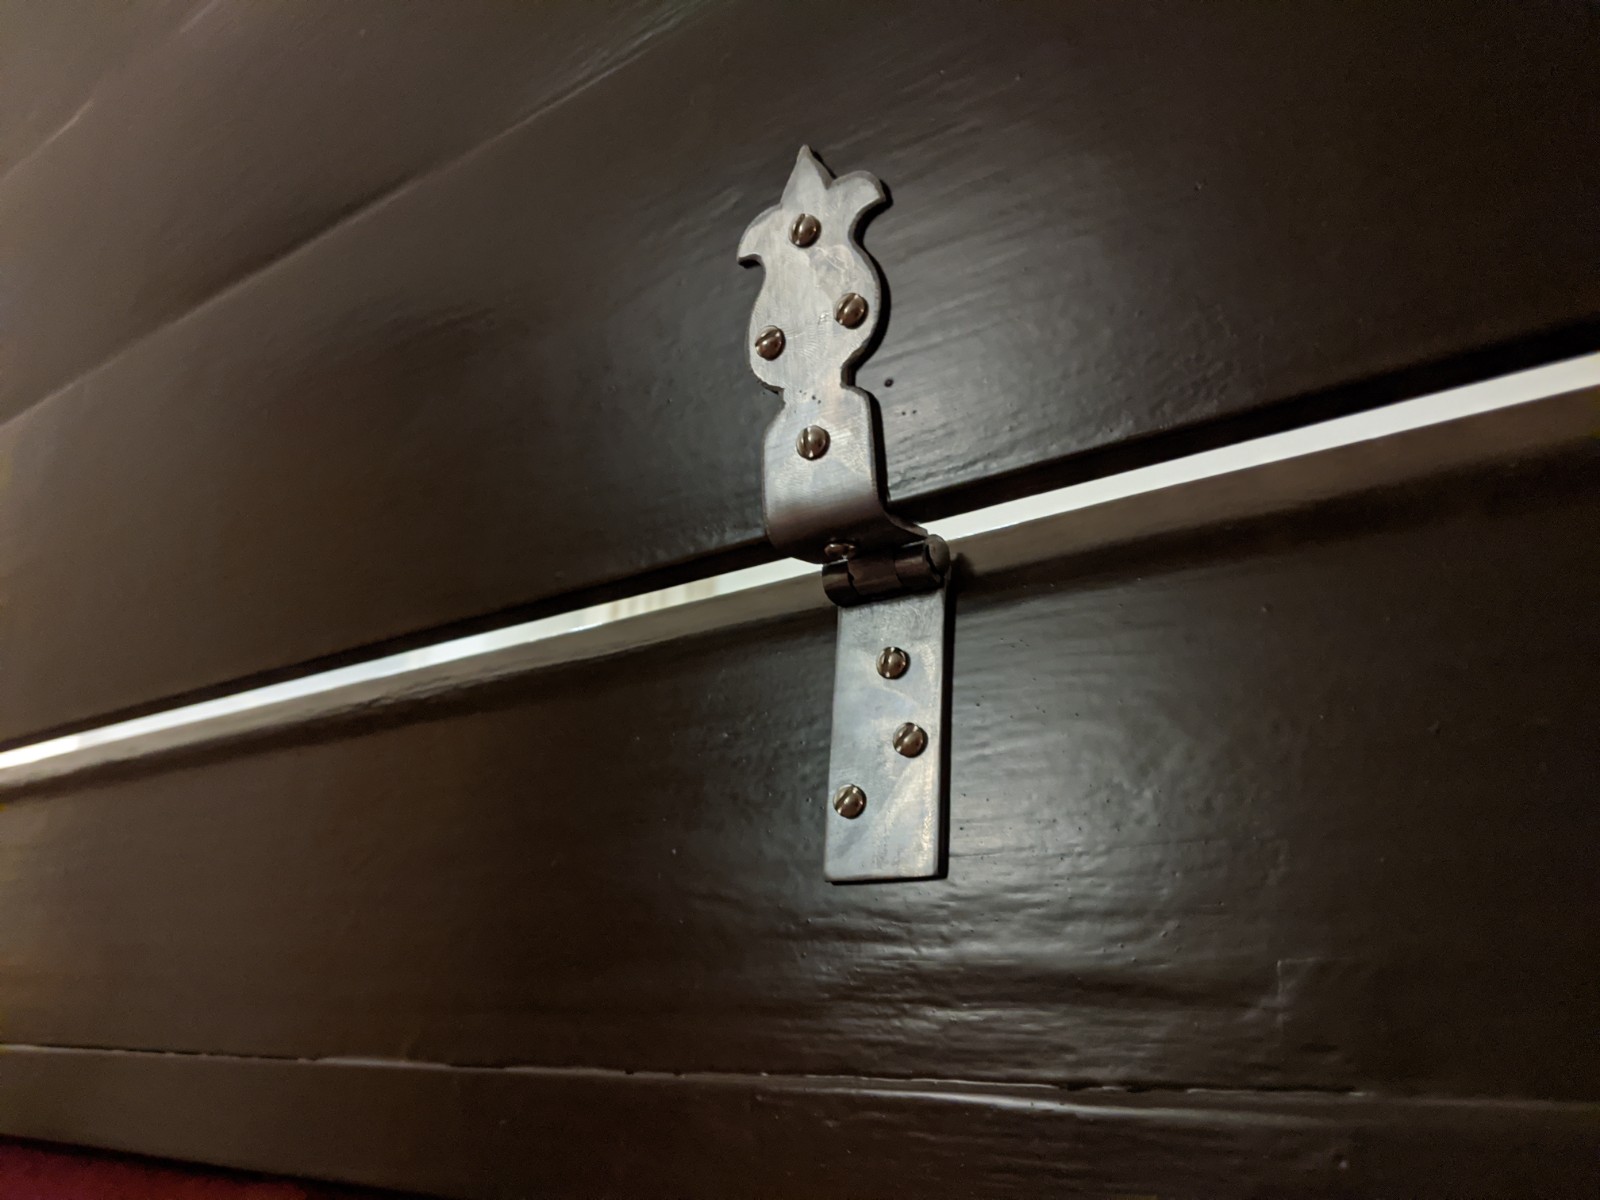 The lid attached to the instrument with a fancy hinge.
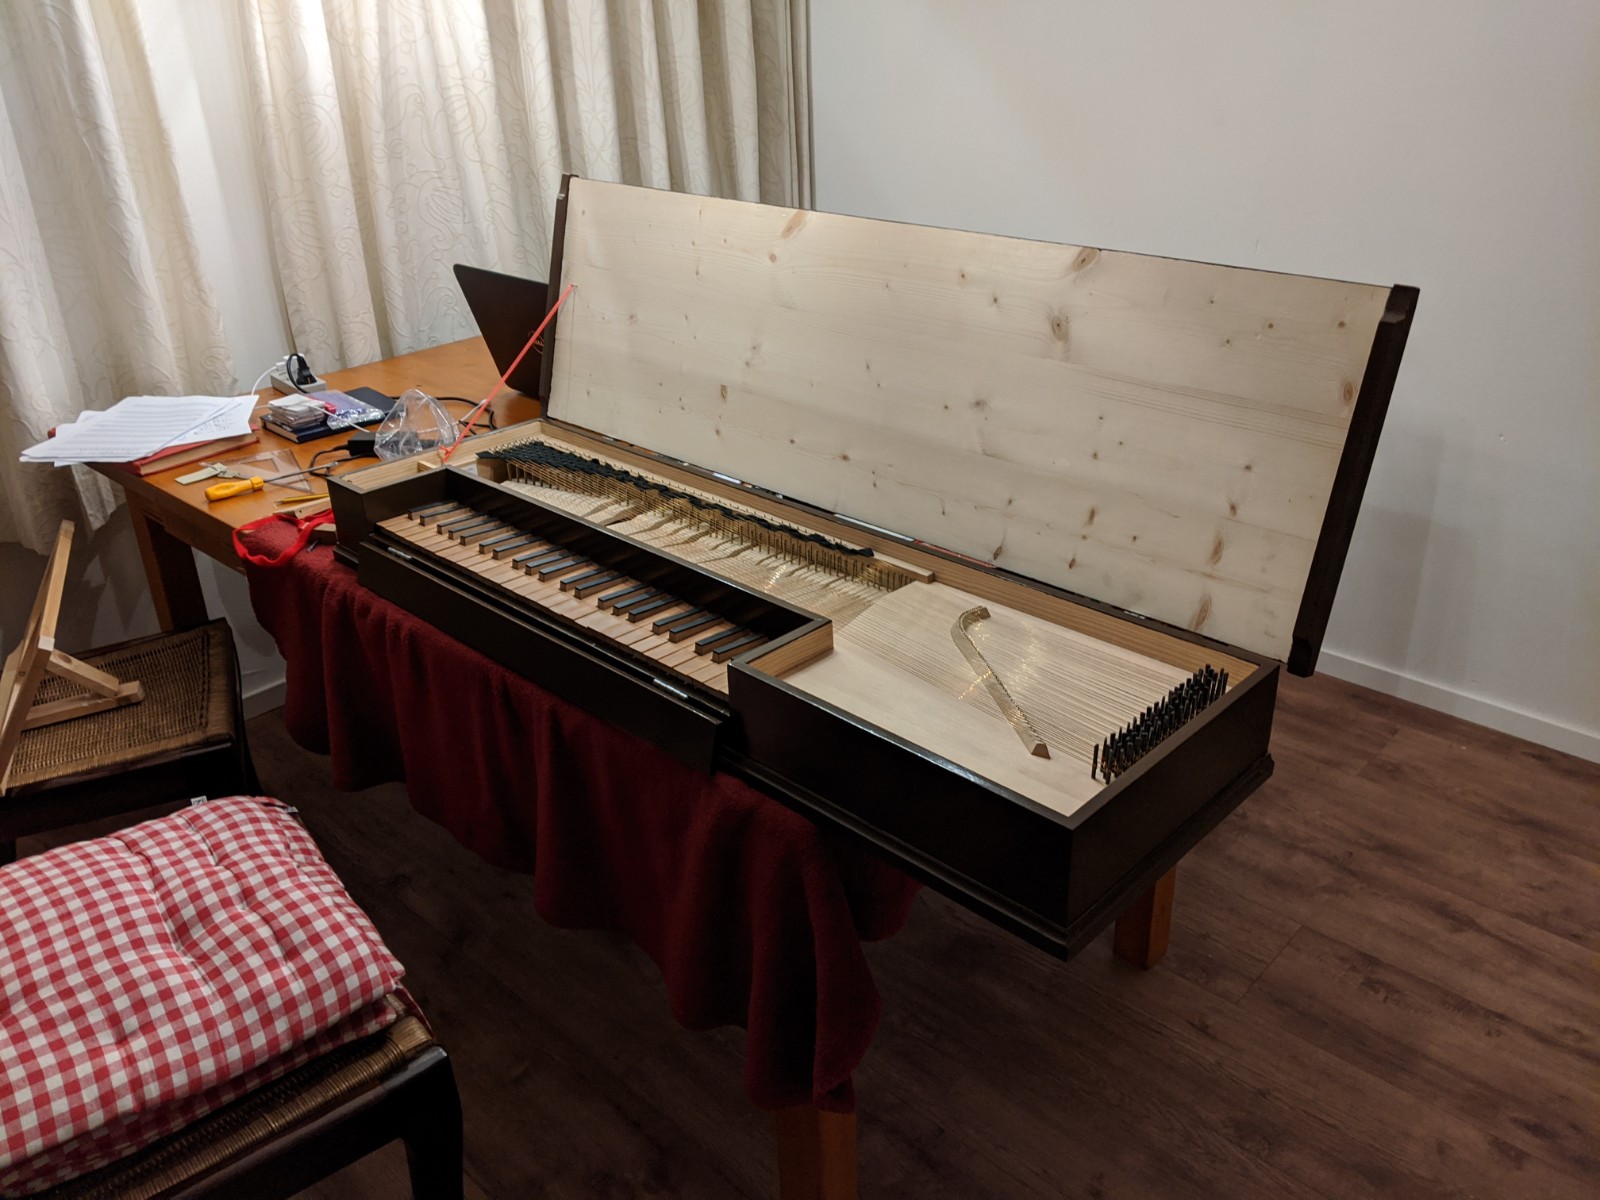 The lid and front flap installed.
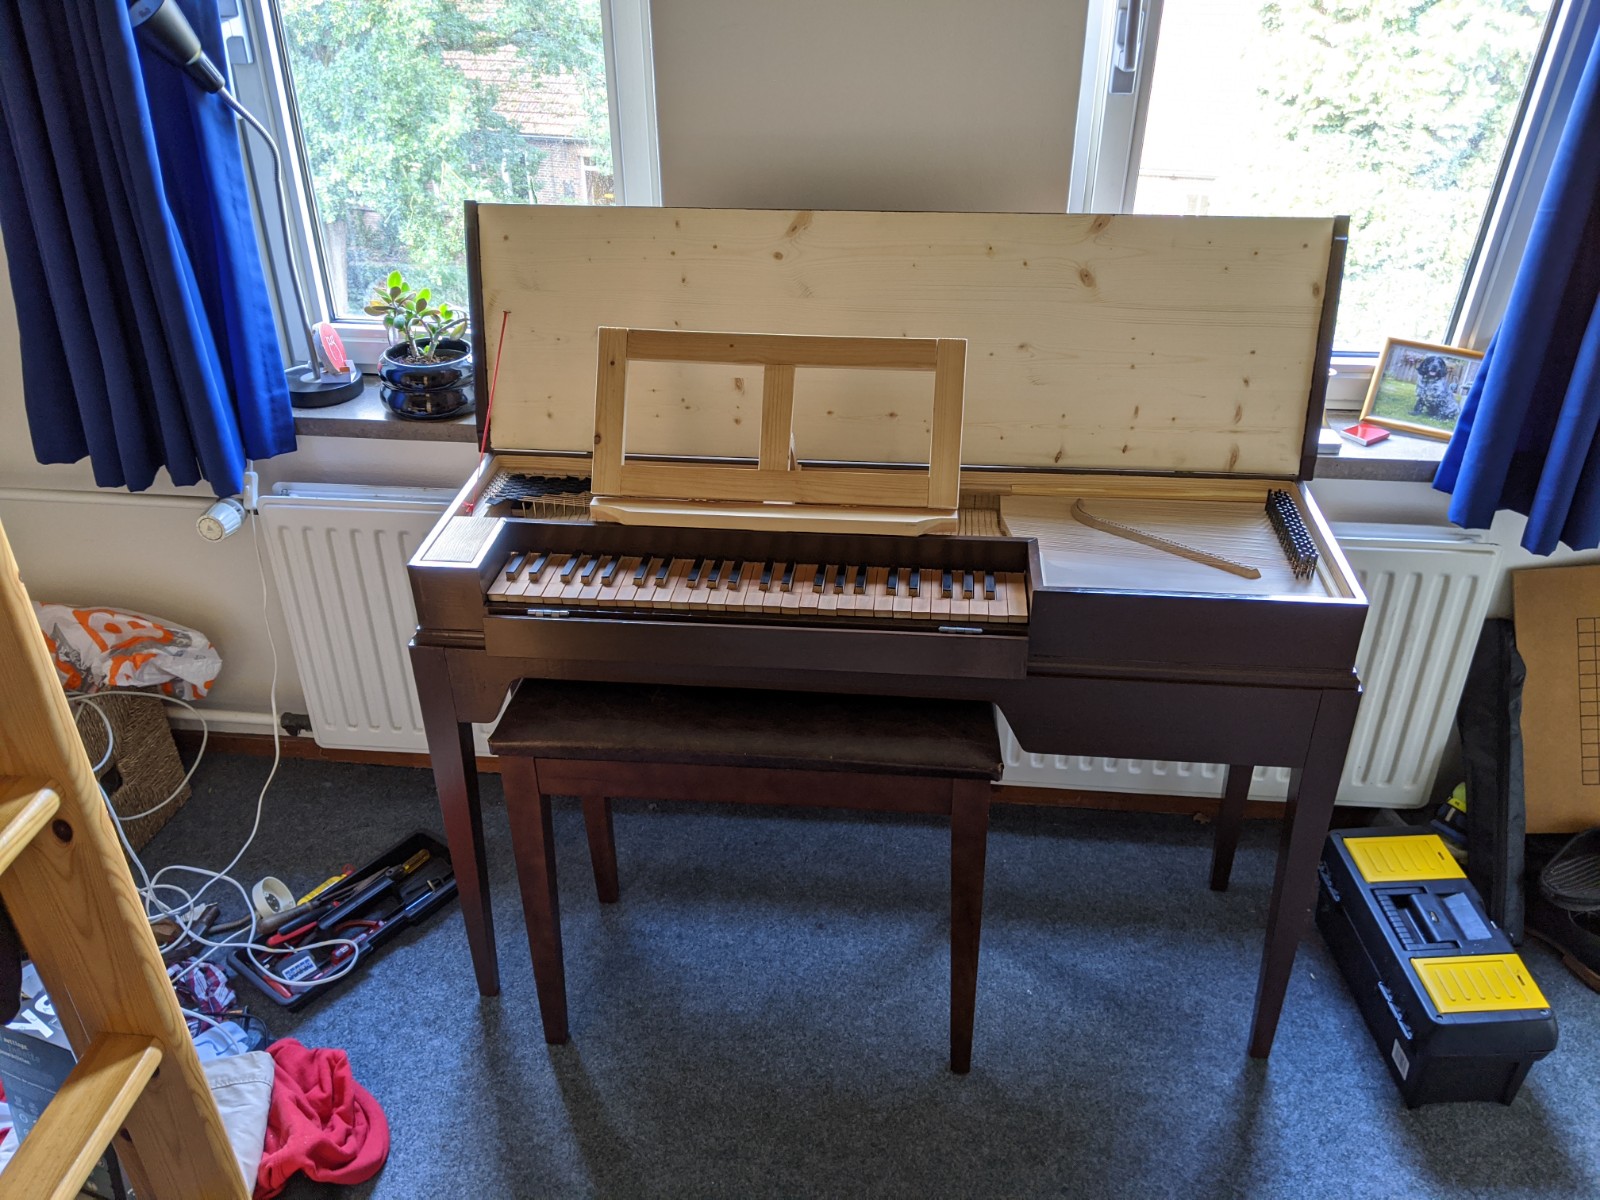 The finished instrument on its finished stand. Don’t mind the mess. Also don’t mind the fact that I’ve placed the instrument not only by the window, but also directly in front of the radiator. It’s the only spot for it in my student room…